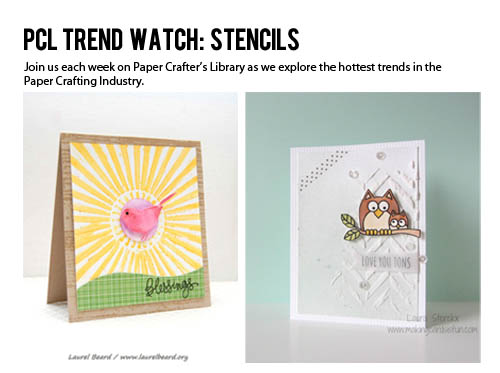
Trendy Tuesday – Stencils
by Katherine Elliot
Paper crafters, have no fear of creating a project which results in ink all over your table or fingers. Ink stained fingers are a rite of passage, even part of the creative process for this craft. Embrace some hands on time with your ink using the fun crafting tools of stencils! Okay, some of you know the secrets of being cautious, keeping your ink contained in the lines and on your paper, but as for some of us, let the ink flow and check out some really fun projects featuring stencils of many kinds.  Card by Laurel Beard, featuring The Crafters Workshop Mini Sunburst template used with Faber Castell Gelatos, image source Papercrafts by Laurel
The sunburst and grunge style doodling templates are just a small sample of the many choices of stencil tools available from The Crafters Workshop. Use stencil techniques with templates, masks and traditionally labelled stencils. A variety of sizes and designs make these tools useful in a variety of projects with many different products.
 Card by Karen Liz Henderson, image source The Crafters Workshop
 The Crafters Workshop Well Rounded Doodling Template, image source Scrapbook.com
Rather than applying ink to a stamp to create your background or image, you are applying ink directly to the paper (or other medium) and using a stencil as your guide. You can experiment with different inks and techniques and see different results in the process. Create a lovely background with a stenciled design controlling the gradient of color with your choice of ink. A sponge dauber offers an added plus since the dauber helps keep those aforementioned inky fingers to a minimum.
 Card with stencilled background by Kathy Racoosin, image source The Daily Marker
 Simon Says Stamp Lined Chevron Stencil
Different colors of Distress Inks blend wonderfully on Pam Sparks stenciled background shown next…
 Card by Pam Sparks featuring dies and Mesh stencil from Memory Box, image source Expressions with Heart

Textured Mesh Stencil from Memory Box image source Bluemoon Scrapbooking
Most often you’ll likely sponge, spray, or directly apply ink on your stenciled project. However, you can also use patterned stamps and designs with stencils. Check out Bibiana Martinez-Ziegler ‘s tutorial and project using a terrific collage stamping technique with stencils.
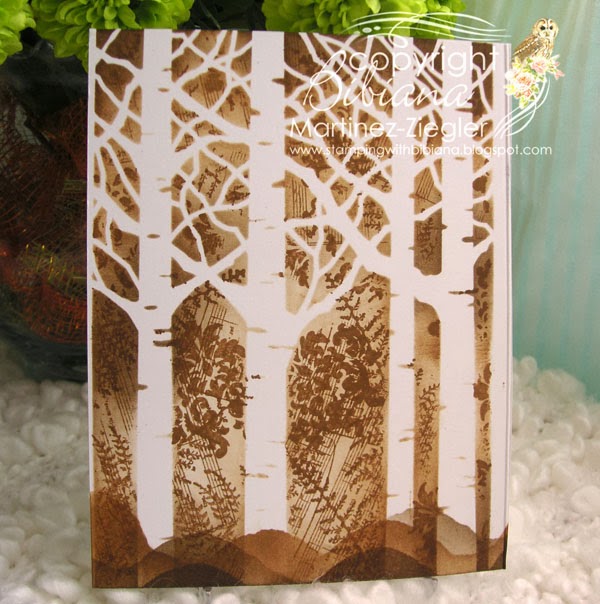
Stamped background with Birch Tree stencil by Bibiana Martinez-Ziegler, image source Stamping with Bibiana

Birch tree stencil from Memory Box, image source Blue Moon Scrapbooking
Whether you are creating a colorfully patterned scene, as shown next on Jennifer McGuire’s beautiful card, or using a single stencil image, like Jamie Pate used on her lovely butterfly cover, your options for using stencils are only limited by your imagination and tools on hand. 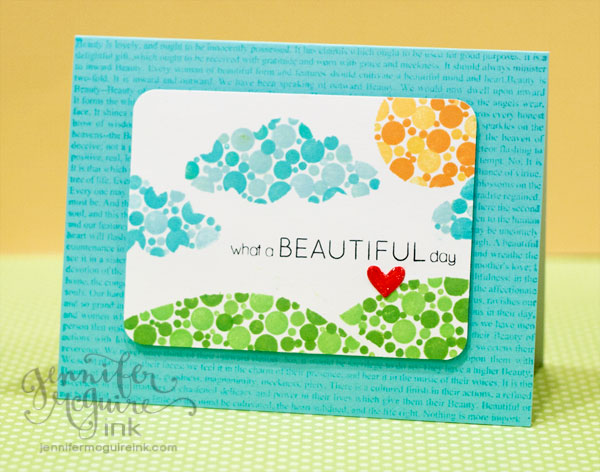 Card by Jennifer McGuire, image source Simon Says Stamp blog
 Simon Says Stamp Make a Scene Stencil

Decorated memory book cover by Jamie Pate using Heidi Swapp Butterfly stencil, image source JMP Girl Designs
 Heidi Swapp Butterfly Stencil
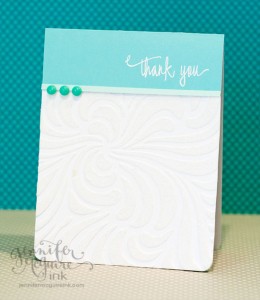
Trendy shapes like hexagons, chevrons, and triangles are still hot and easy to find in a stencil near you! Jen Mitchell created a terrific, clean and simple card with her trendy hexagon stencil & speech bubble sentiment on her awesome Thank You card…
 Card by Jen Mitchell, featuring Heidi Swapp honeycomb stencil, image source I Create
 Heidi Swapp mini stencil kit
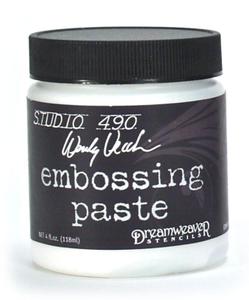
Paint, ink and mists are not your only options when working with stencils. Very trendy today are dimensional pastes that are popular with mixed media aficionados. Last week Aliya White shared many terrific examples in her Liquid Texture post. Check out last week’s Trendy Tuesday post and these next examples demonstrating the use of pastes on their own, or combined with other techniques to achieve amazing artistic results.

Stencil with assorted pastes, mists, ink and tools, image source Andrea Walford the Art of Simple
Paper Crafter’s Library’s very own mixed media artist and creative director, Andrea Walford, creatively used a Donna Downey/Prima Marketing stencil (as well as many other tools) on her expressive art journal page…

Art Journal page by Andrea Walford, image source Andrea Walford, The Art of Simple
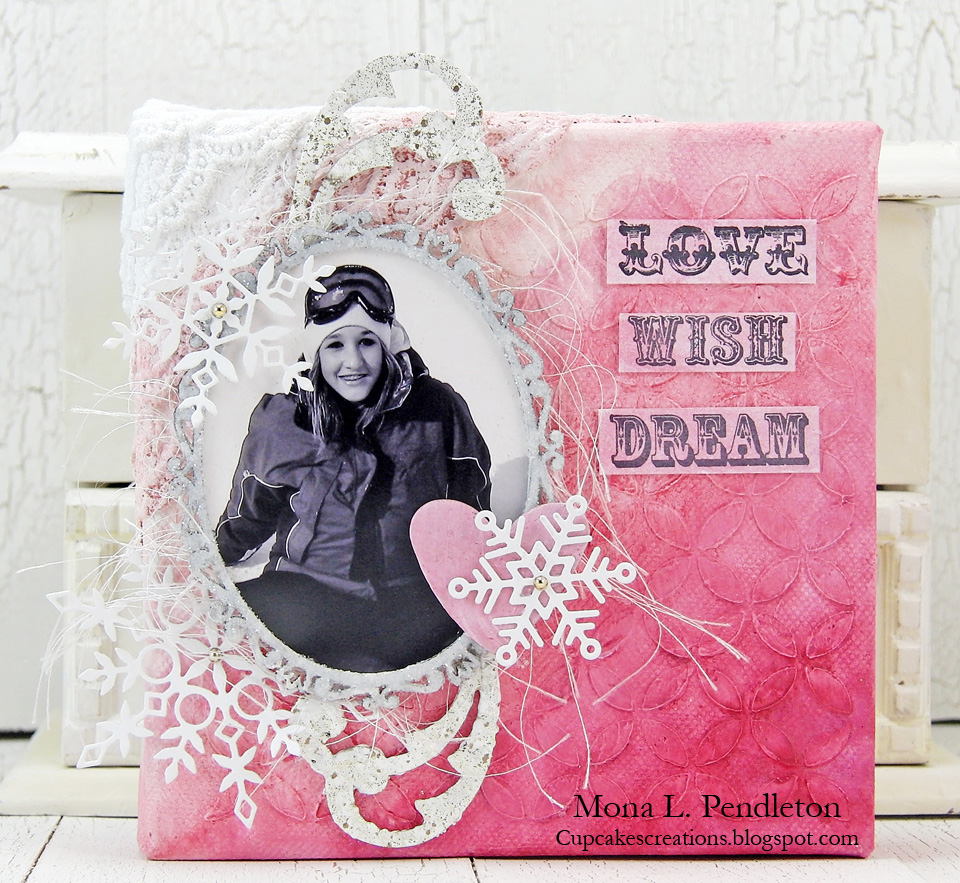
Pastes are fun to work with and transform a canvas or card into a textural, decorative sensation. Mona Pendleton’s canvas featured next shows off the subtle texture of stencil & paste enhanced beautifully by a trendy ombre color scheme…

Decorated canvas with dimensional, painted stencil by Mona L. Pendleton, image source Cupcake’s Creations

My Favorite Things Petal Circles Stencil
You can control the texture you want when using a paste with a stencil. Color it or leave it natural, wipe it evenly smooth or let it show off an uneven stucco effect. Anyway you play with it, the results will definitely make someone touch and take notice when the results look this good…

Card by Laura Sterckx featuring stencil from Hero Arts, image source Making Cards is Fun
 Hero Arts Tweed Pattern Stencil, image source Simon Says Stamp
If you do not have a stencil on hand, you can create your own stencil using the negative of a die cut pattern. In the next card, the negative space cut from a chic pattern die was transformed into a stencil for dimensional paste. Gold tipped feathers and sequins on top of the dimensional triangles on Alice Wertz’s card make for one terrifically trendy design.

Stencil made with negative image from Kelly Purkey Triangles die, card by Alice Wertz, image source Alice’s {Little} Wonderland
For the DIY crafter, a unique, custom stencil may be just the ticket to the creation of a beautiful, original design. Karen Dunbrook shows off one of her own stencil creations in her comforting card below. Carefully blended ink on this very custom card makes this just beautiful!
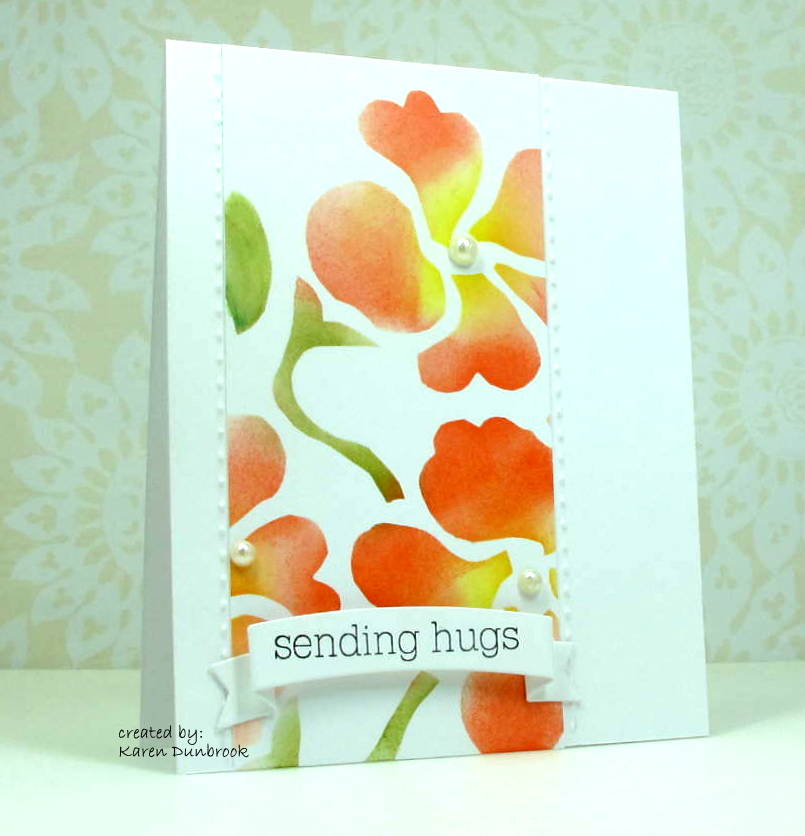 Custom stencil card by Karen Dunbrook, image source Snippets
Floral or geometric, painted or pasted, stencils offer more variety for your projects to get your creative juices flowing. Enjoy making your own stencil or use one of the many fine products featured today. Will your spray, ink, or paste get all over your stencil? Of course, but don’t worry, like your fingers, just wash and re-use! Happy crafting, everyone.