We are happy to bring you this week’s Featured Company: Graphic 45. We are so excited to be featuring them regularly on Paper Crafter’s Library! And this week we have a Good Ol’ Sport collection prize package give-away. Details will be at the end of this post.

For those of you unfamiliar with Graphic 45 , we’d like to take a minute to re-introduce them to you.

Graphic 45 is an award-winning scrapbook and paper crafting company— owned and operated by a mother and her two daughters.
Diane Schultz—Designer and CEO (aka mother)
“I’m passionate about being creative and eager to make it possible for others to find their creative voice. My background includes stints as a designer for, McCalls, Simplicity, Vogue/ Butterick, Mattel Toy Company and a host of other jobs that each, in some way, led me to what I do now. At 45 I went back to school and got my degree in graphic design— I named the company to celebrate that achievement.”
Aimee Filimoehala —Director of Operations
“I wear a lot of hats and love it that way. Business, marketing, operations, etc. have made me a pro at multitasking (aka juggling‑figuratively and literally). When we launched Graphic 45 just three years ago we had no idea what was in store, working together as a family has been an amazing journey that we all feel so grateful to be apart of.”
Charee Filimoehala —Director of Customer Service and Design Team Coordinator
“I joined the team a little over three years ago and haven’t looked back…what a life-changing experience this has been. I love working with and around creative people and products (not to mention I like my co-workers quite a bit). I spend my days working with our friendly stores and talented design team…the occasional trip to a workshop or tradeshow pretty nice too.”
Together we create vintage inspired crafting products that capture the flamboyant style of the 1920’s and 30’s – with vibrant color, irresistible texture and imaginative design to create products with decades-old appeal that’s both fresh and familiar. Let our products inspire your next scrapbook layout, card, album or home decor project.
Graphic 45 Designer Annette Green
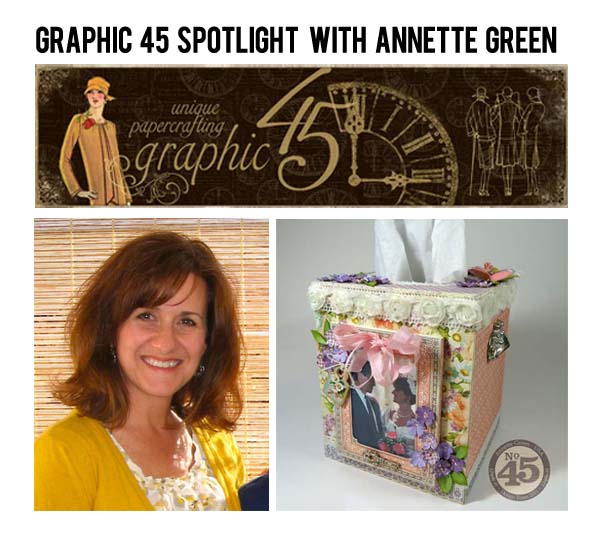
Our Graphic 45 Guest Designer for this week is Annette Green who is part of the 2013 Graphic 45 Design Team. You can see Annette’s fabulous project below, but first, here is a little more about Annette:
 In my professional past, I worked as a graphic designer in the advertising world and was an all-around crafter on the side; cross-stitching, quilting, painting, beading. Once my daughter was born (16 years ago) as many of us moms do, I naturally became an avid scrapbooker and papercrafter. I discovered Graphic 45 a handful of years ago when shopping in my local scrapbook store. The beautiful vintage imagery caught my eye right away. I remember in particular seeing those flying pigs from Olde Curiosity Shoppe and knew that I was going to love everything Graphic 45 produced. And I still do! For the past 8 years, I’ve worked from home full time as a designer, teacher and artist hosting workshops and classes. I’m a certified Ranger educator and an active blogger with how-to videos on my YouTube channel. My husband, teenage daughter, our Sheltie “Suki” and I live in sunny Melbourne, Florida near Cocoa Beach. Hubby shoots off rockets from the Kennedy Space Center, daughter is an uber-talented artist, and Suki is our little love. Life is good.
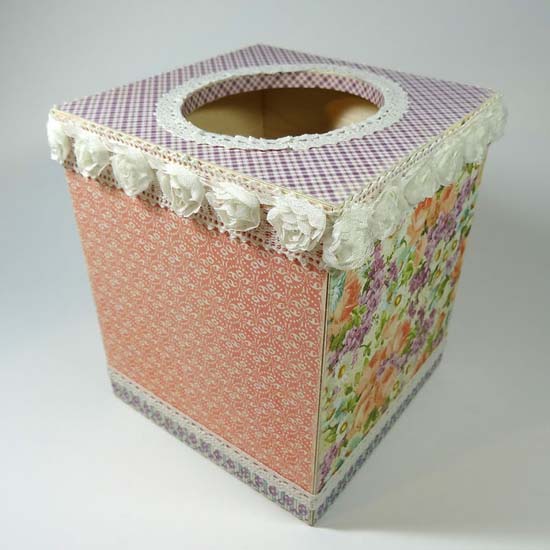
Altered Tissue Box
Graphic 45’s Sweet Sentiments collection is perfect for Spring projects. One of my favorite things to do with Graphic 45 papers is to alter objects. Clocks, shelves, boxes, you name it. Function is always important, so I chose a tissue box cover to alter this season. This will look so pretty sitting on my bedside table. I enjoyed making it and hope you’ll give it a try too.

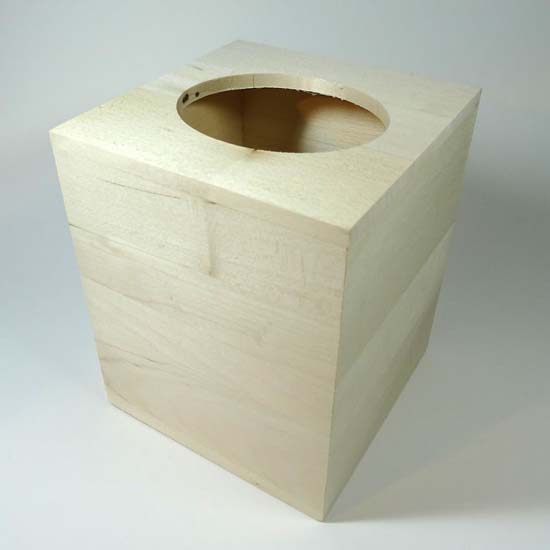
1. Start with an unfinished wood tissue box cover. Sand lightly if needed.
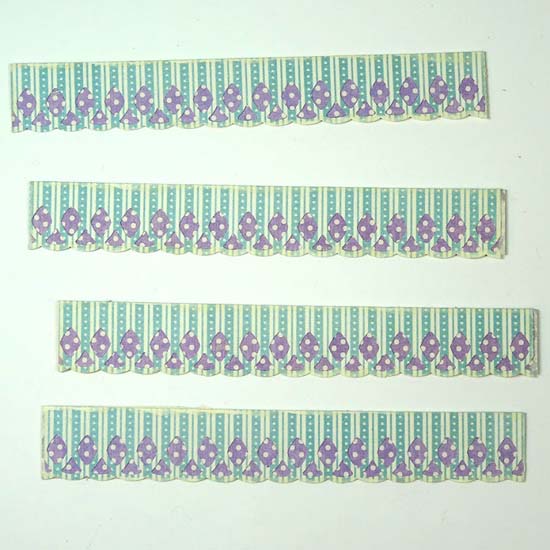
2. Cut 4 strips of the purple with white polka-dot side of “Perfect Petals” paper. For my box, these measure 5 inches long and ¾ inches high. Then cut four strips from blue striped side of “All My Love” paper. Mine were cut 5 inches long and 1 inch high, then I used a border punch. Adhere these together and put aside. (all papers have been dabbed with cream colored acrylic paint for a shabby look.)
3. Cover box sides and tops with paper. For my box, I cut two pieces of “Perfect Petals” at 5 x 6 inches and two pieces of “Heart Song” (using the pink pattern on the back side) cut at the same measure. The top piece is 5 x 5 inches, cut from “Violet Bouquet.” To line the oval opening of the box, I cut two ¼ inch pieces (one at 8 inches long and another 1 ½ inches to patch the rest.) Adhere the four border strips along the bottom of each panel.

4. Add lace and rosette ribbon along bottom and top, wrapping all the way around the box. For the oval opening, you’ll need to clip the curves slightly to help it follow the shape.
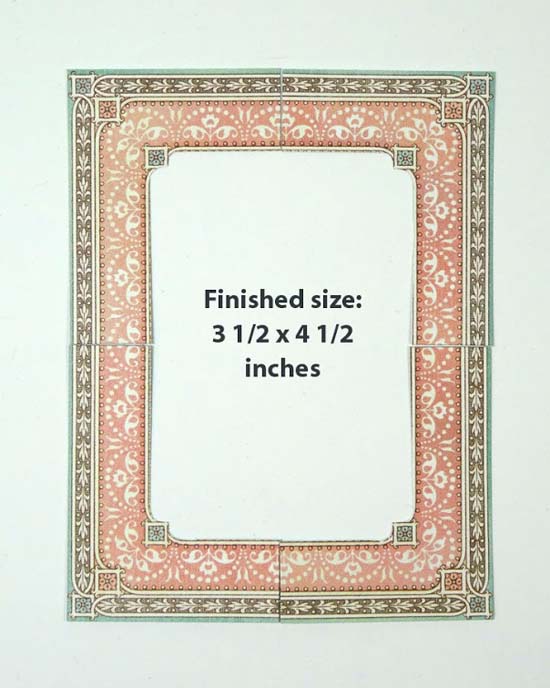
5. Next you’ll create a photo frame for the front of the tissue box. From the “Sweet Sentiments” paper, cut away the frame. I use a craft knife on a mat with a ruler, then fussy cut with my knife in the corners.

6. Cut the left and right sides first. The scraps can be put aside for another project.

7. Cut the tops and bottoms off the pieces from Step 6. Put aside scraps.

8. Put your four pieces back together and tape securely from the back side using clear tape.
9. To create the photo frame, cut any plain chipboard into pieces as indicated in photo. (I used silver in this photo for demonstration purposes.)

10. (The pieces in this photo are white, but they are the same pieces from Step 9) Adhere the two largest pieces together to create thickness. Then adhere two of the long strips together, the other two together and the short two together. Adhere these to your largest piece on three sides, leaving the top open for a photo to slide into. Cut a piece of clear acetate the same size as your large piece and adhere to frame as shown.

11. Apply double-sided sticky tape to all four sides of the back side of your paper frame and adhere to chipboard unit.

12. Before adhering your chipboard frame to the front of the tissue box, cut a few strips of paper at ¼ inches and adhere to three outer edges of your frame (leave the top open) to finish it off. Add a pretty bow to the top and a metal key to the bottom.

13. Use dies and punches to cut leaves and flowers as desired and adhere to the top of your box. I use colored card stock and pattern paper for a mixture of colors and textures.
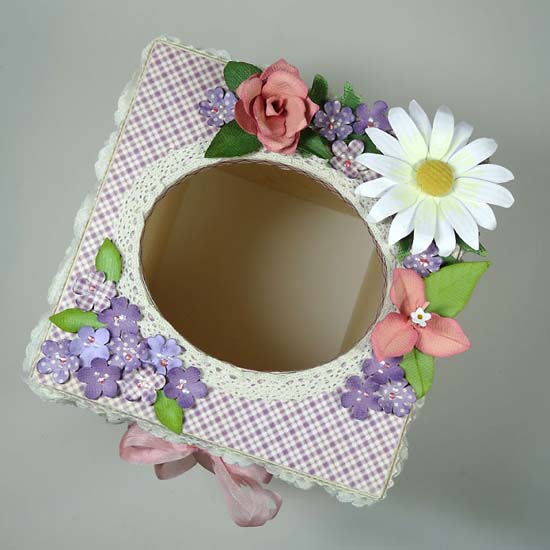
14. Adhere two Shabby Chic door pulls, one to each side of the box. These are decorative, but serve as a lifting point when changing out the tissue box that fits inside. Add more flowers and leaves to the front of the box.

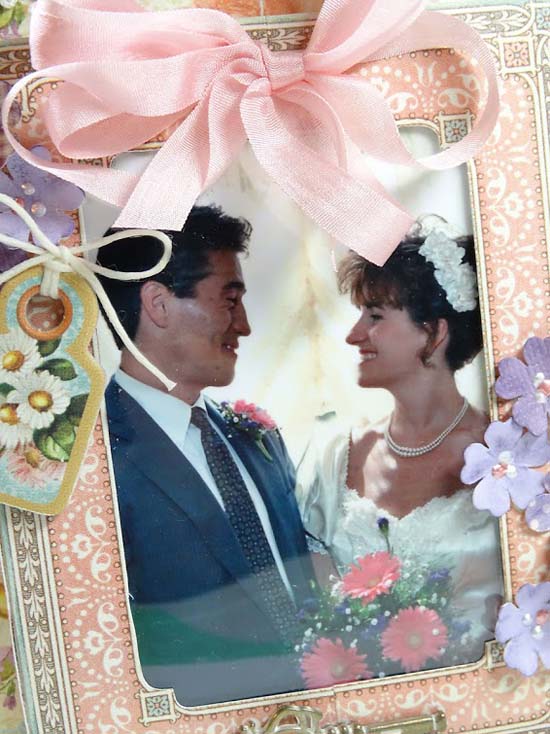
15. For your photo frame you’ll create a slide-in piece with a photo. Cut any cardstock, then select any photo. Adhere as shown, leaving more space at the top to grab ahold of.

16. Slide your photo unit into your frame. When you want to change out the photo, simply use tweezers to lift it out. I added a chipboard tag to my frame as a final embellishment.
Supplies
Graphic 45 8 x 8 Sweet Sentiments paper collection
Graphic 45 Sweet Sentiments chipboard tag
Graphic 45 Staples Shabby Chic Door Pulls (2)
Graphic 45 Staples Shabby Chic small key
Basswood Box “Boutique Tissue Box” by Walnut Hollow
Pink Ribbon: May Arts
Card stock: smooth white and colored textured by Core-dinations Signature Series for Graphic 45
Perfect Pearls, pink and white
Craft knife and mat
Other: Lace, rosette ribbon, plain chipboard, acetate, flower punches and dies, border punch,
Mod Podge and various other adhesives.
We hope you have enjoyed this fun creation from Annette. I would also like to extend a warm thank you to Annette for sharing her fabulous project with us! Please take a minute to stop by Annette’s blog and of course the Graphic 45 blog to check out all their amazing creations! Be sure to leave a comment on this post to enter to win the Graphic 45 collection listed above.