Today on the Paper Crafter’s Library blog, we’re continuing our weekly featured artist spotlight whereby each week we spotlight a different artist/designer in the paper crafting & mixed media world and introduce you to their fabulous work.
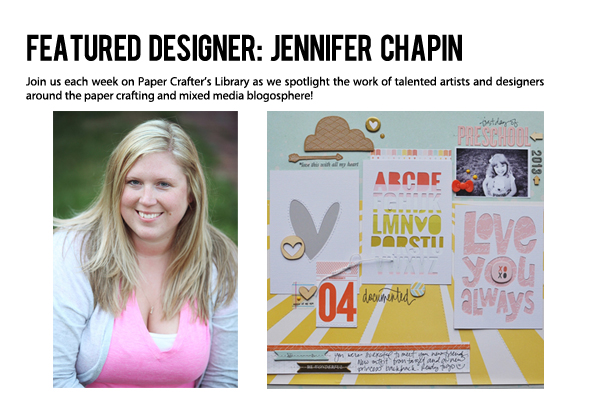
Today we’re thrilled to welcome Jennifer Chapin.
Before we show you Jennifer’s project, let’s get to know her a little bit more…
 Hello! My name is Jennifer Chapin and I am really excited to be sharing a few projects with you today. I’m a 30 year old mom, wife and nurse living in Eastern Iowa. My husband Adam and I have two children – Keira (4) and Connor (18 mos). I work full time but after the kids are in bed I love to sit down in my scraproom and create. I have been scrapbooking since 2006 and would describe my style as bright, colorful and layered. I love to use my sewing machine and die cuts on my projects. Currently I am designing for Bella Blvd, Glitz Design, Elle’s Studio, Citrus Twist Kits and Paper Issues. I am so thankful for this hobby and truly cannot imagine my life without it. If I’m not scrapbooking, you will probably find me curled up with a cooking magazine or trying out the latest recipe in my kitchen. Thanks so much to Paper Crafter’s Library for having me!
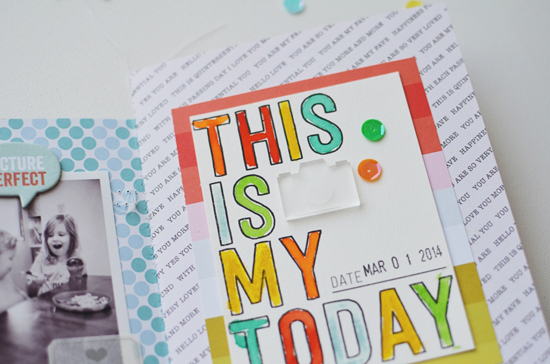
Today I’m sharing a quick mini book tutorial with you, as well as a 12×12 layout.
Mini Book
For the mini book, I gathered up some patterned paper and Project Life cards, creased them, then used my sewing machine to sew down the fold to bind the book. After that, I embellished with a few fun sequins, more PL cards and wood veneer.

Here’s what some of the inside pages look like.

Here’s a photo tutorial of how I made my mini book as well as some other photos of the pages inside.


Supplies:
Patterned paper: Studio Calico
Project Life cards: Studio Calico
Acetate Letters: Crate Paper
Chipboard, sequins, wood veneer, acetate heart, rub ons: Studio Calico
Washi Tape: Bella Blvd
Other: Watercolors, sewing machine and thread
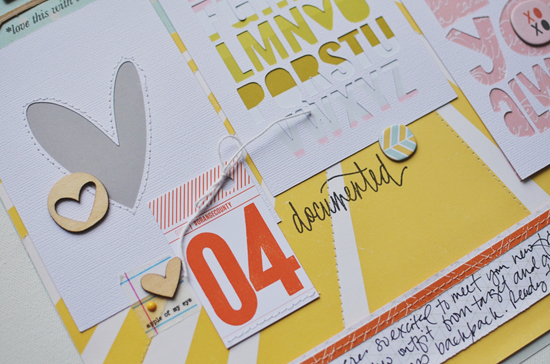
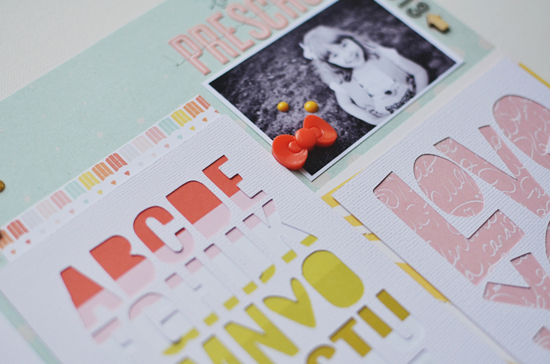
Love You Always
The layout was really inspired by the die cuts I made with my Silhouette Cameo. I layered them up with some complimentary patterned paper underneath, then added my photo. To embellish I added a few tags, wood veneer and chipboard embellishments. I love using my sewing machine to add great texture to my pages as well.

Here are some close up pictures of my page.

Supplies:
Cardstock: American Crafts
Patterned Paper: Studio Calico
Chipboard, wood veneer, resin bow, kraft elements: Studio Calico
Pink letter stickers: October Afternoon
Black letter stickers: Studio Calico
String: Stampin Up
Other: Silhouette Cameo, sewing machine and thread
We hope you have enjoyed today’s projects courtesy of Jennifer Chapin. Also, be sure to stop by Jennifer’s blog to see even more of her beautiful work (and let her know we sent you). You can also find Jennifer on Pinterest, Instagram, her Studio Calico gallery, or follow her on Twitter @chapinjen.

What a fun album! I need to try that! Super cute layout too!
Excellent ideas! thanks for sharing! I will go now to Jennifer’s blog.
This mini is so easy to put together…the beauty depends purely upon the paper collection. Thanks for featuring this crafter.