Win a One Year Membership to Paper Crafter’s Library & the August 1st Winners!

This past January Paper Crafter’s Library celebrated our first year anniversary – and in that time we have established ourselves as the THE all-in-one learning solution for paper crafters with the largest {and best} online library of video tutorials on the internet. From beginner through to advanced, covering product instruction, techniques and project ideas for stamping, card making, scrapbooking and altered art – we have something for everyone! We’re proud of how far we have come, and we’re hoping you can help us spread the word!

That’s why as part of our first anniversary celebrations we have an exciting new contest which we are running for a total of 9 months – where we will be giving away a total of 18 ONE YEAR MEMBERSHIPS to the Paper Crafter’s Library – each valued at $200! We will announce 2 winners at the beginning of EACH MONTH – we started in April, and we’ll be ending in January of 2013.

There’s several ways to enter, and each way gives you 1 entry into our draw – so the more ways you participate the greater your chances of winning:

1. Put our Fan Badge on the sidebar of your blog or website. In the right hand sidebar of our blog, under the heading “Grab Our Fan Badge” you’ll find a box with the html code which you just need to copy and paste into the sidebar of your blog.

2. Create a post on your blog letting everyone know they can win a One Year Subscription to Paper Crafter’s Library and linking back to this post for instructions on how to win.

3. Post about our give-away on your Facebook Page linking back to this post.

Once you have done any or all of these things, leave us a comment here on this post letting us know, with a link back to your blog or FB page and we’ll pop by for a visit. When you leave your name, make sure that if you don’t put your full last name, at the very least you put your last initial.

So how do you enter if you don’t have a blog or FB page? Simple, leave us comments on our daily blog posts. We love hearing back from you, we love your feedback and we read each and every comment. For every comment you leave on one of our blog posts* you get one entry into that month’s draw. * Please note Freebie Friday is separate from this contest – comments left for our Freebie Friday give-aways do NOT count as entries in this contest.

Remember, we’ll be running this contest for the next 4 months, so you will have LOTS of opportunities to win. The next two winners will be announced at the beginning of September. Please note this contest is open to current Paper Crafter’s Library members – if you are a current member and you win, that time will be added on to the end of your subscription.

And now on to our winners for August…

and

Congratulations to both of you! Please email us at customerservice@papercrafterslibrary.com and put “PCL One Year Subscription Winner” in the subject line. We’ll need you to email us all your info – first and last name, your choice of a username and password, your mailing address and phone number.

We’ll be picking two more winners in September- so if you’ve entered already but weren’t picked, there are still plenty of opportunities to win! Make sure the badge is still there on your blog, put up another post or tweet or FB letting people know about our contest and then leave a comment here in this post linking back, or simply keep visiting and leaving us comments.

Our Girl Mini Album

OurGirlMiniAlbumCover

I am so excited to share with all of you the “Our Girl” Mini Album!  I had so much fun taking pictures of Andrea’s daughter Julia, when I decided to create this album. Julia and I when outside and I just said to her to be herself and have fun!  Wow what a girl and it sure does show in the photos that she was having a great time in her photo shoot!  I had a few of the pages in my head but once I had taken Julia’s photos, the rest just happened once I layed out all of the photographs.  Andrea saw a few of the photos but did not see the entire ablum until it was complete.  Both Andrea and Julia just loved it the finished album!

I used the “This and That – Graceful” collection from Echo Park to create the page backgrounds and some of the embellishments. I also used some chipboard elements, pearl flourishes as well as some of Prima’s beautiful flowers to complete this extremely girly mini ablum!  All of these fun embellishments just pulled the entire album together to complete this adorable mini album that holds a very special moment in time!

This project is available free to Paper Crafter’s Library members here, as part of the benefits of membership.  (You must be logged in to view the page.) 

We are also making this project available to non Paper Crafter’s Library members.  As with all of our mini albums, the design for this is an original.  There are six pages in all and can hold up to 17 photos!  For only $9.95 you’ll receive a link to a private web page from which you can download a pdf handout with step-by-step photo instructions on how to create the album, as well as access a video tutorial. No Supplies are included.

Above you can see the front cover and below are a few images of what a couple of the pages in the album look like:

Supplies:

Ink: Brown Sugar Acrylic Paint (Jenni Bowlin – Ranger)

Paper: Java CS (Bazzill); This & That Graceful Collection (Echo Park)

Accessories: Hot glue (Martha Stewart); Stampin’ Dimensionals, basic pearls, linen thread, chipboard sheets, chipboard labels (retired) (Stampin’ Up!); Tape Runner XL (thermo-web); Claudine Hellmuth Multi-Medium Matte (Ranger); foam brush (Craft Store); Charmé Rose -En Francais (Prima Marketing); pearl flourish (Zva Creative); Bind-it-All, 1” Brass rings, ½” Round-it-All (Zutter)


This project is available free to Paper Crafter’s Library members here, as part of the benefits of membership.  (You must be logged in to view the page.)  Non members can purchase this tutorial by clicking on the Add To Cart button below.

Digital Kit – $9.95 CAN
(No Supplies Included)


A Bit About Paper Crafter’s Library

The world of paper crafting is HUGE! Whether you are a beginner, or you’ve been creating for years, the sheer number of different products, tools, techniques and project ideas can be overwhelming. After spending 6 years helping thousands of paper crafters around the world become more successful in the creative space through her series of kits, digital tutorials and online classes, Andrea Walford began looking for a new approach to education. In 2011 she launched Paper Crafter’s Library – the first, and still to this day, only website that provides an all-in-one learning solution for paper crafters. With almost 800 videos currently in their library and 4-5 new videos added each week, Paper Crafter’s Library offers comprehensive training on products, tools, techniques, and project ideas. From beginner through to advanced, whether your interest is in stamping, card making, scrapbooking, creating 3D items or altered art – you’ll find all the resources you need to navigate the world of paper crafting in ONE place, organized and indexed so that it’s quick and easy to find.

Be sure to sign up for our free email newsletter which features weekly video tutorials. For more information about Paper Crafter’s Library and how we can help you take your paper crafting to the next level, check out the Benefits of Becoming a Member.

Project Newsletter Makeover Challenge – Background Button Thank You

Welcome to the Makeover Monday challenge. Every Monday, as part of our project ideas newsletter we’re going to make over a card, scrapbook page or 3D project, showing you how easy it is to use existing designs (your own OR someone else’s) as inspiration. This week, Tracy has designed this Background Buttons Thank You card.

Your challenge – as with our previous Makeover Monday Challenges – is to use our piece as inspiration and make it into a card, scrapbook page, or other project. You can use the layout, the colors, an element you like…it can look like our piece, or nothing at all like our piece. We want to see where YOU take this. This challenge is strictly a “work from your stash” challenge.

As a newsletter subscriber you will have received a link to a private web page, from which you can watch the video tutorial. If you didn’t receive the email, then please email us to confirm your subscription at customerservice@papercrafterslibrary.com. In order to ensure you don’t miss any more of our Makeover Monday Challenge video tutorials, please be sure you sign up for our FREE email newsletter from the top right sidebar of this blog. Please note that the video tutorial will be available for general viewing for one week only – and then will be moved into our library for our members only

Every Monday, here on the blog, we’re going to post the original picture, and the made over picture. You will have ONE week to upload your challenge piece. Instead of a weekly prize though, we’re going to award a prize monthly. So for each week you participate and each project you submit – you will get one entry into our monthly draw. On the first Monday of each month – we will announce one challenge winner, who will be featured as a guest designer on the Paper Crafter’s Library blog as well as our Facebook page. As a guest designer, we’ll feature your biography, some of your favorite paper crafting projects and we’ll link to your blog.

Our inspiration piece, shown below, is a project found on Kristina Werener’s blog. We loved the way that Kristina created a multicolored cardstock background and embossed a background stamp image over that.  

Here are the details on how you can participate in the Makeover Monday Challenge:

A new Makeover Monday Challenge video tutorial will be emailed out to newsletter subscribers every Monday (so make sure you are signed up). Then, here on the blog, we will post a picture of our inspiration piece and made-over project along with an Inlinkz button for you to enter your project. Here are the details:

  • Work from your own stash to create a project based on the inspiration project provided – you can use any products you would like, and make any type of project you like – card, scrapbook page, album, 3D item etc.
  • Post your project on your blog, in your gallery or on any other photo-hosting site (such as photobucket or flickr).
  • Click on our inLinkz button below to add a link to your project for our challenge
  • You will have until 7am, Monday, August 6th to add your link to the list to be eligible to win. And you can enter as many times as you like.
  • For each project you submit, your name will be entered into our monthly draw. The winner will be announced on Monday, August 6th.

Good luck to everyone and we look forward to seeing your projects!


For You Embossed Circle Card Video Tutorial

Last Saturday I mentioned that I had created several cards featuring a variety of different techniques using Wow! Embossing powder products.  I shared three cards last Saturday, and today I would like to share two more with you.


For You Embossed Circle Card

For this card, I created my own background paper by stamping the text image multiple times, covering the entire piece of cardstock.  I applied some Cotton Candy embossing powder to the perimeter of this piece of cardstock, mimicking the look of brushing on Acrylic paint.  The differently colored embossed chipboard elements finish off the card!

Download the pdf handout here

Supplies

Stamps: She Art Print Texture (Christy Tomlinson – Unity)

Ink: Jet Black Archival ink (Ranger); Frost White ink (ColorBox); VersaMark ink refill (Tsukineko); Bombay Black India ink (Dr. Ph. Martin’s)

Paper: Ebony CS, Smooth White CS (Bazzill); Tempting Turquoise CS (Stampin’ Up!)

Accessories: bone folder, Stamp-a-ma-jig (Stampin’ Up!); California Sunshine Regular embossing powder, Cotton Candy Regular embossing powder, Bubble Gum Regular embossing powder (WOW! Embossing); Heat It! tool (Ranger); chipboard circles, chipboard rings (Maya Road); Tape Runner XL (thermo-web); Tombow multi-purpose liquid adhesive (Tombow); alphabet stickers (lily bee designs)


When One Door Closes, Another Opens

I started this card by layering different multi-media background techniques over the stamped text. I really loved the mulitple layers of different colors on the background. Once the background was created, the addition of the greeting and embossed chipboard element, with Fluorescent Tickled Pink embossing powder, added the finishing touches!

A video and pdf handout is available to our members here. (You must be logged in to see the page)

Supplies

Stamps: She Script (Christy Tomlinson -Unity)

Ink: Jet Black Archival ink (Ranger); Fresh Lime Ink Spray, Bubble Gum Ink Spray (Dylusions); Citron Acrylic Paint (Craft Smart); VersaMark ink (Tsukineko)

Paper: Ebony CS, Smooth White CS (Bazzill); Taffy CS (American Crafts); Simply Chartreuse (papertrey ink)

Accessories: Dotto temporary adhesive (Optional)(Dotto); bone folder, Stamp-a-ma-jig (Stampin’ Up!); Heat It! tool , Claudine Hellmuth Gesso, Claudine Hellmuth paint brushes (Ranger); Chicken Wire Reversed template (Crafter’s Workshop); Workable Fixatif (Krylon); punchinella (Fabric Store); Primary Ebony embossing powder, Fluorescent Tickled Pink embossing powder (WOW! Embossing); doorway chipboard set (Maya Road); Tape Runner XL (thermo-web); Tombow multi-purpose liquid adhesive (Tombow); Alphabet Sheet – Almanac (Prima Marketing); black alphabet stickers (My Little Shoebox); black rhinestones (Kaiser Craft)


Have a wonderful weekend!

Technique Thursday: Faux Patina Technique

This week on Paper Crafter’s Library’s Technique Thursday Sophia shows us how to create a Faux Patina look. On the Fan Mail tag, Sophia creates the Faux Patina look on a smooth piece of cardstock, which she then die cuts an element from, to embellish the tag. For the tag on the left, Sophia creates the Faux Patina look on a dry embossed piece of cardstock, which she uses as a background for her tag.

For those of you unfamiliar with Technique Thursday , this is where we create and feature projects for our Club 52 online class (our year-long technique club), which our Paper Crafter’s Library members also access as a free benefit of their membership.

If you’re interested in checking out what we’ve covered so far, you can look at our Club 52 page. If you’re a technique junkie and would like to learn new techniques (as many of them are ones we have created), or revisit old ones – you can still sign up from this page – you’ll be able to access all 48 weeks we’ve done so far, plus the remaining weeks, and your access to the classroom will last for 15 months.

If you are not already receiving our weekly email newsletter, make sure you take a minute to sign up from the top right sidebar of our blog. Every Monday we create an exclusive project with a video tutorial for all of our newsletter subscribers and Paper Crafter’s Library members. So make sure that you sign up now, so that you don’t miss out!

July Design Team projects – Ezlie Perez

Hello there!  Happy summer to you all!  I’m excited to share my projects with you for my final month as a Design Team member.

Dear Friend Shaker Card

My first project is a fun shaker card.  I used the paper piecing technique with my stamp to decorate the image on the inside of the card. Making the confetti was easy with my Crop-a-dile and was a great way to use up my small scrap pieces of paper.  I hope you like this card.  A video and pdf handout will be available to our Paper Crafter’s Library members on Friday.


Hydrangea Card

My second project features one of my favorite stamps from Stampin’ Up!  This hydrangea is from the set Because I Care.  I used my markers to create a multi colored image on this wonderful stamp.  I simply added some layers with designer paper, ribbon and cardstock to make this simple, yet elegant card.

Paper Crafter’s Library Members can view the video and download the pdf handout here.  (You must be logged in to view the page)


Say It With Flowers 8″ x 8″ Layout

My final project is an 8×8 scrapbook page.  This page is unique in that it does not have any photos on it.  I used memorabilia as the focal point of this layout.  Twine & stickers were my go to items for this layout.  I mixed various designer paper scraps to create the background.  This is a bonus project, so there is no video tutorial but the PDF instructions are available to Paper Crafter’s Library members here.  (You must be logged in to view the page).

Thank you all for your kind comments throughout these last few months.  I’m glad I was able to inspire you with my projects.  If you would like to continue following me, check out my blog at www.madebyejp.com or my You Tube channel: madebyejp.

Thank you PCL for letting me contribute to this inspirational and creative group!

Trendy Tuesday – Circus

   Trendy Tuesday- Circus Themes

by Katherine Elliot

Oh yeah, life can sure feel like a circus lately, and maybe that”s what draws attention to so many of these images… But I also notice that circus and carnival themes incorporate many of the trends we”ve already checked out in past trend articles, including bright colors, banners, & ticketsThere are a lot of different stamp sets with this theme from a variety of companies.  I”ll admit it now, I am addicted to collecting stamps…so if you are like me, addicted to this hobby, I hope you”ll appreciate a LOT of stamp set choices in today”s post.  Whether you love cling, traditional rubber stamps, or digi-stamps, there is a set with this theme found at many different outlets. 

 It”s a Circus card by Wanda Guess, featuring Life is a Circus stamps from Taylored Expressions

Life is a Circus

Life is a Circus stamp set, image source Taylored Expressions

A sweet cartoon theme set can make a cute “any occasion” card, and great for kids” parties and birthdays, too.


 Life”s a Circus by Kelli Palmer, featuring stamps from Gourmet Rubber Stamps image source My Little Orts

Stampin” Up! has brand new stamp sets, like the ones used in the project listed below, including the sets You”re Amazing, and World”s Greatest …

Ticket frame and image source

…and of course Stampin” Up! has a coordinating designer series paper to complement the stamps as well.


World Spectacular Designer Series Paper from Stampin” Up, image source stampinup.com

 Circus and carnival stamp & paper themes seem to come in two basic categories or styles, that of cute cartoons or the more artsy, vintage styles, as showcased in the Graphic 45 project seen below.  This project was highlighted in a past guest designer post here at the Paper Crafter”s Library.

cuevas

Circus Shadow box by Arlene Cuevas featuring Graphic 45 Le Cirque paper, image source Papercrafter”s Library

Graphic 45 is a top choice when it comes to vintage styles, and they also have cling rubber stamps to coordinate with their ultra-chic papers! 

 Cling Le Cirque 3

Le Cirque 3 Cling Stamps and image source at Graphic 45

The altered canvas decoration below, in addition to matching today”s theme and displaying another inspirational Graphic 45 LeCirque project, also shows a very unique way to blend a papercrafter”s love of all things decorative – a mixed media “three ring family showcase” if you will…

Sharon Ngoo G45 Le Cirque Altered Canvas Trio

Sharon Ngoo”s altered canvas Family Circus decoration with tutorial and image source found at Graphic 45

 You can find more vintage circus theme stamps from other companies as well, such as the art stamp creations from Artistic Outpost and from the popular Inkadinkado brand stamps, as shown below…

Vintage circus theme card, image source Artistic Outpost.com

 Vintage Circus

Artistic Outpost Vintage Circus stamp set, image source Artistic Outpost


Big Top Elephant wood mount stamp by Inkadinkado,  image source eksuccessbrands.com

 As for some more cute circus images… Check out these cards with such perfectly colored line stamps…

Class Act card by Kristine Reynolds featuring rubber stamps from High Hopes, image source Stamping and Scrapping in California

Digi-stamp fans, there are more images for you as well, as used in the festive invitation card shown below… 


Circus Time featuring MayzyArt image, Human Cannonball, image source My Creative World

As previously mentioned, circus theme sets often inspire the use of other trends we”ve seen, such as the use of banners and tickets on projects.  A few of the card fronts showcased below, using some Darcie”s stamps, are perfect examples of this combo of some of those fresh design elements.

Cards featuring images from Darcie”s Cling Mounted Circus Circus stamp set, image source stampyourartout.com

Here”s a look at the cute stamps that are included in the set used above:

Circus Circus stamp sent from Darcie”s Cling Mounted rubber stamps, image source stuff4scrapbooking.com

Now, I am biased towards stamps since I love them so much, but what has to be another fun papercraft addiction are die cut shapes, and I found some cute ones matching this theme from Lifestyle Crafts!


animals

tent

State Fair scrapbook layout (shown below) using Big Top dies (shown above), image source Lifestyle Crafts

Busy juggling all the different responsibilities of home, family & work?  Take some time to sit back, relax and be inspired to create your own bit of crafting fun today.

Enjoy and happy crafting!

Project Newsletter Makeover Challenge – You’re Purrr-fect

Welcome to the Makeover Monday challenge. Every Monday, as part of our project ideas newsletter we’re going to make over a card, scrapbook page or 3D project, showing you how easy it is to use existing designs (your own OR someone else’s) as inspiration. This week, Sophia has designed this “You’re Purrr-fect” card.

Your challenge – as with our previous Makeover Monday Challenges – is to use our inspiration piece and make it into a card, scrapbook page, or other project. You can use the layout, the colors, an element you like…it can look like our piece, or nothing at all like our piece. We want to see where YOU take this. This challenge is strictly a “work from your stash” challenge.

As a newsletter subscriber you will have received a link to a private web page, from which you can watch the video tutorial. If you didn’t receive the video tutorial link then please be sure to email us at customerservice@papercrafterslibrary.com. In order to ensure you don’t miss any more of our Makeover Monday Challenge video tutorials, please be sure you sign up for our FREE email newsletter from the top right sidebar of this blog. Please note that the video tutorial will be available for general viewing for one week only – and then will be moved into our library for our members only

Every Monday, here on the blog, we’re going to post the original picture, and the made over picture. You will have ONE week to upload your challenge piece. Instead of a weekly prize though, we’re going to award a prize monthly. So for each week you participate and each project you submit – you will get one entry into our monthly draw. On the first Monday of each month – we will announce one challenge winner, who will be featured as a guest designer on the Paper Crafter’s Library blog as well as our Facebook page. As a guest designer, we’ll feature your biography, some of your favorite paper crafting projects and we’ll link to your blog.

Our inspiration piece, shown below, is an archived project on the Andrea Walford blog.

Here are the details on how you can participate in the Makeover Monday Challenge:

A new Makeover Monday Challenge video tutorial will be emailed out to newsletter subscribers every Monday (so make sure you are signed up). Then, here on the blog, we will post a picture of our inspiration piece and made-over project along with an Inlinkz button for you to enter your project. Here are the details:

  • Work from your own stash to create a project based on the inspiration project provided – you can use any products you would like, and make any type of project you like – card, scrapbook page, album, 3D item etc.
  • Post your project on your blog, in your gallery or on any other photo-hosting site (such as photobucket or flickr).
  • Click on our inLinkz button below to add a link to your project for our challenge
  • You will have until 7am, Monday, July 30th to add your link to the list to be eligible to win. And you can enter as many times as you like.
  • For each project you submit, your name will be entered into our monthly draw. The winner will be announced on Monday, August 3rd.

Good luck to everyone and we look forward to seeing your projects!


Thanks For Your Kindness Tag

Happy Saturday!  Don’t you just love weekends?  I apologize for the late post – this was actually supposed to be Friday’s post.  I’m getting ready to go away for the next two weeks though and things have been crazy, so I totally forgot.  Today I have a few things to share with you.

Thanks For Your Kindness Tag

First off, Tracy created a simple but beautiful tag you could use instead of a card to adorn a thank you gift or hostess gift. For this tag, Tracy brayered ink onto the top of a manilla tag, stamped a background image over top, and then covered the bottom portion of the tag with a coordinating DP.  She finished off the tag by adding a matching DP border, stamping a greeting and adding some buttons and twine.

Download the pdf handout here

Supplies

Stamps: Grid Patterns, Friends Are Treasures (Hero Arts)

Ink: Peach Parfait Classic ink, Melon Mambo Classic ink (Stampin’ Up!); Jet Black Archival ink (Ranger)

Paper: Sketchbook Collection DP (Amy Tangerine – American Crafts)

Accessories: #8 Manilla tag (Ranger); Brayer (Speedball); Tape Runner XL, Lots of Zots Medium glue dots (thermo-web); paper snips (Stampin’ Up!); Black Jute (May Arts); black buttons (papertrey ink)

The second thing I wanted to show you was some cards I created featuring a variety of different techniques using Wow! Embossing powder products.  I created a series of about 7 different cards, each featuring a different use of embossing powder. The ones you see below have already been placed in Paper Crafter’s Library for members.

Spread Your Wings

The first project is this “Spread Your Wings” card.  I used an overstamped embossed technique whereby I created a sponged and embossed background and then stamped over top of it with my butterfly images, cut them out and mounted them ot my card.

A video and pdf handout is available to our members here. (You must be logged in to see the page)

Supplies

Stamps: Quintessential Quotes (Dylusions)

Ink: Shabby Shutters and Peacock Feathers and Distress inks (Ranger); VersaMark ink (Tsukineko); Jet Black Archival ink (Ranger)

Paper: Ebony CS, Kraft CS (Bazzill); For The Record Collection (Echo Park)

Accessories: ink blending tool, Heat It! tool (Ranger); Dotto temporary adhesive (Optional)(Dotto); Clear Gloss embossing powder (WOW! Embossing); paper snips, bone folder, mini glue dots (Stampin’ Up!); Tape Runner XL (thermo-web); black rhinestones (Kaiser Craft); sewing machine and black thread


Embossed Butterfly Thank You

This second card features a multi-colored embossing technique, whereby I stamped the butterfly, sprinkled on different colors of embossing powder and then heat embossed the image.

 A video and pdf handout is available to our members here. (You must be logged in to see the page)

Supplies

Stamps: She Script (Christy Tomlinson – Unity); Think Big Favorites 5 (papertrey ink)

Ink: VersaMark Ink (Tsukineko); Antique Linen and Tea Dye Distress inks, Jet Black Archival ink (Ranger); Bombay Black India ink (Dr PH Martins)

Paper: Ebony CS (Bazzill); Tempting Turquoise CS (Stampin’ Up!); Note To Self Collection (Echo Park)

Accessories: California Sunshine embossing powder, Cotton Candy embossing powder, Earthtone Paprika embossing powder (WOW! Embossing); Heat It! tool, ink blending tool (Ranger); paper snips, bone folder (Stampin’ Up!);Tape Runner XL (thermo-web); sewing machine and black thread


Embossed Flower Smile

This last card is another variation of the multi-colored embossing technique whereby I show you how to color in an outline image using a Versamarker and different colors of embossing powders.  The difference between this card and the one above is that with the one above, all the embossing powders were applied and then heated at once.  In this card, each color was applied and then heated individually. I’ll be sharing a few more of the embossing cards over the next few weeks.

A video and pdf handout is available to our members here. (You must be logged in to see the page)

Supplies

Stamps: Lower Case Art (Wendy Vechi – Stampers Anonymous)

Ink: Tumbled Glass and Broken China Distress inks, Perfect Medium Brush, Jet Black Archival ink (Ranger); VersaMarker (Tsukineko); Basic Black Craft ink (Stampin’ Up!)

Paper: Smooth White CS, Ebony CS, Petal Soft CS (Bazzill);

Accessories: Earthtone Olive embossing powder, Whirly Pop embossing powder, Opaque Pastel Pink embossing powder, Bubble Gum embossing powder, Primary Ebony Super Fine embossing powder (WOW! Embossing); ink blending tool, Heat It! tool (Ranger); Sketchbook Foam Thickers (Amy Tangerine – American Crafts); Dotto temporary adhesive (optional)(Dotto); embossing buddy, bone folder (Stampin’ Up!); Tape Runner XL (thermo-web)

Have a wonderful weekend!

Guest Designer: Brenda Barton

Today we are excited to bring to you a special Guest Designer, Brenda Barton. Brenda was a Makeover Monday winner in June. Would you like a chance to be featured on Paper Crafter’s Library? Here’s how:

At the end of each month, we will draw one name from all our Makeover Monday participants and the winner will be featured as a guest designer on the Paper Crafter’s Library blog as well as our Facebook page. As a guest designer, we’ll feature your biography, some of your favourite paper crafting projects and we’ll link to your blog.

Brenda Barton
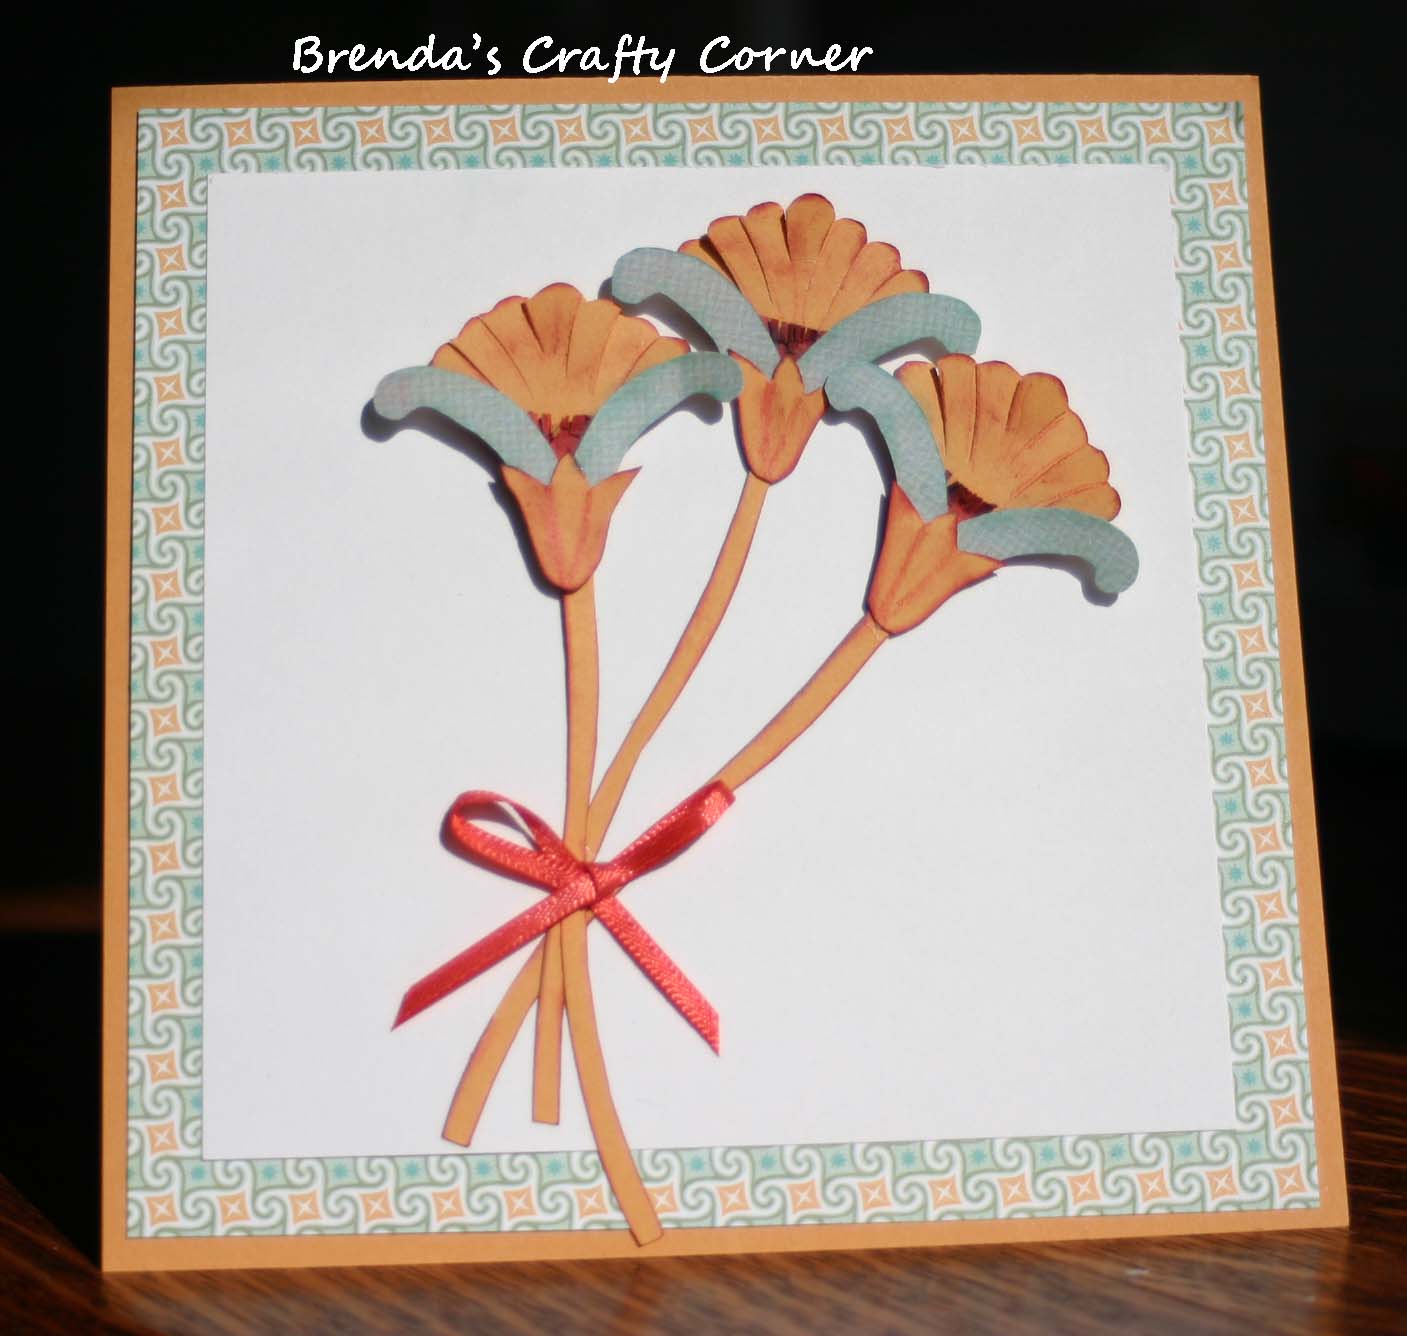
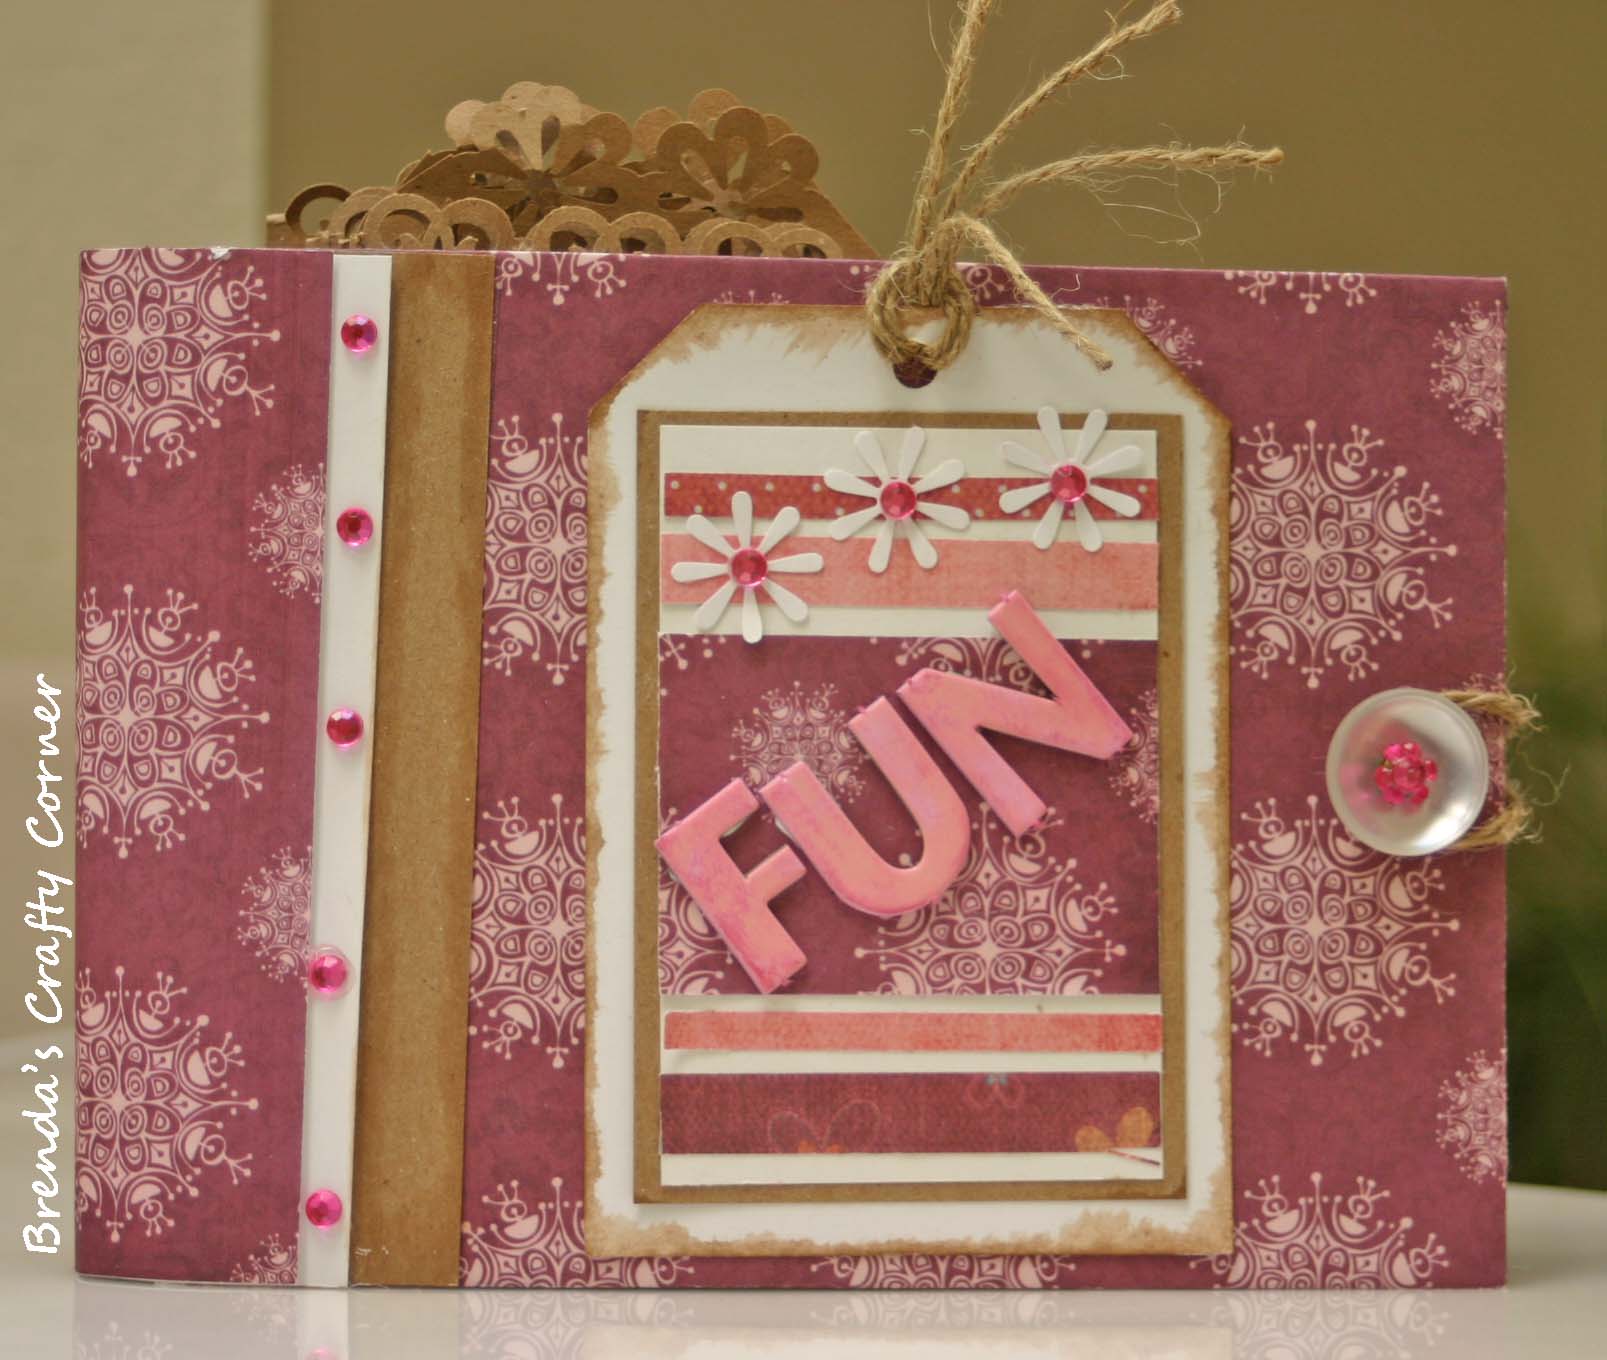
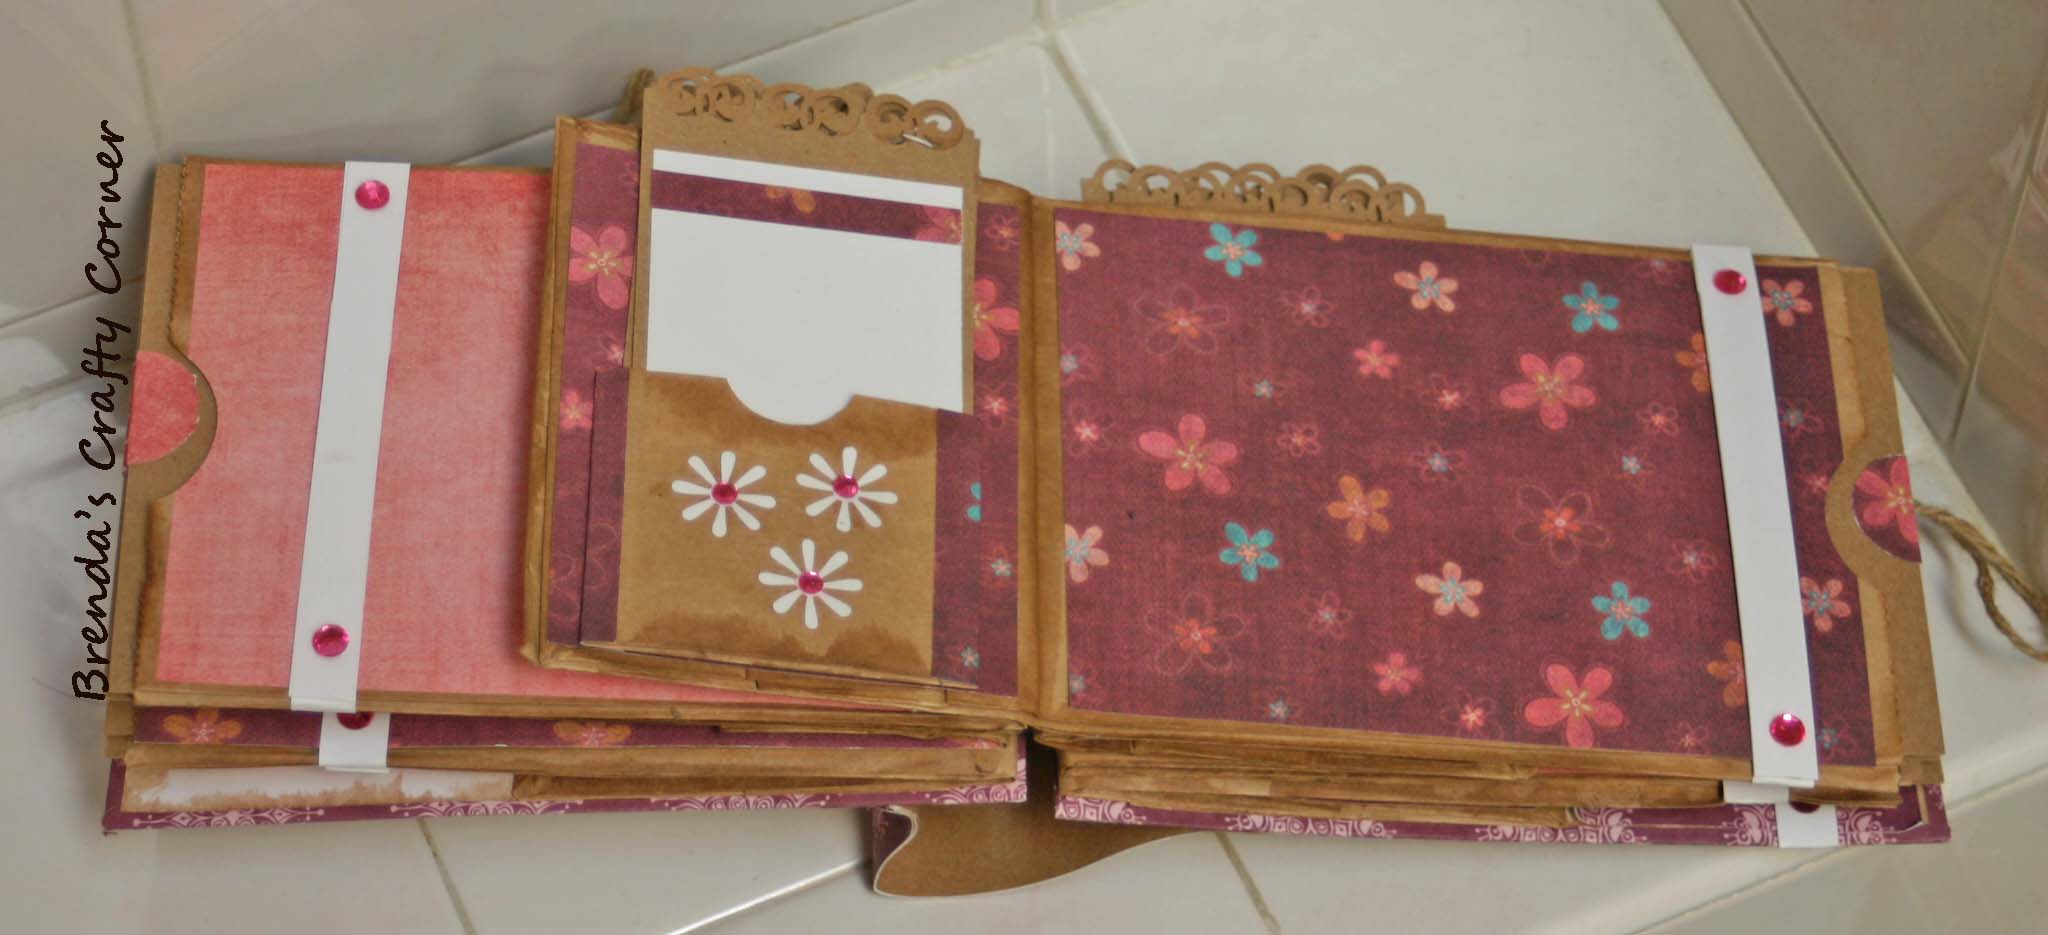
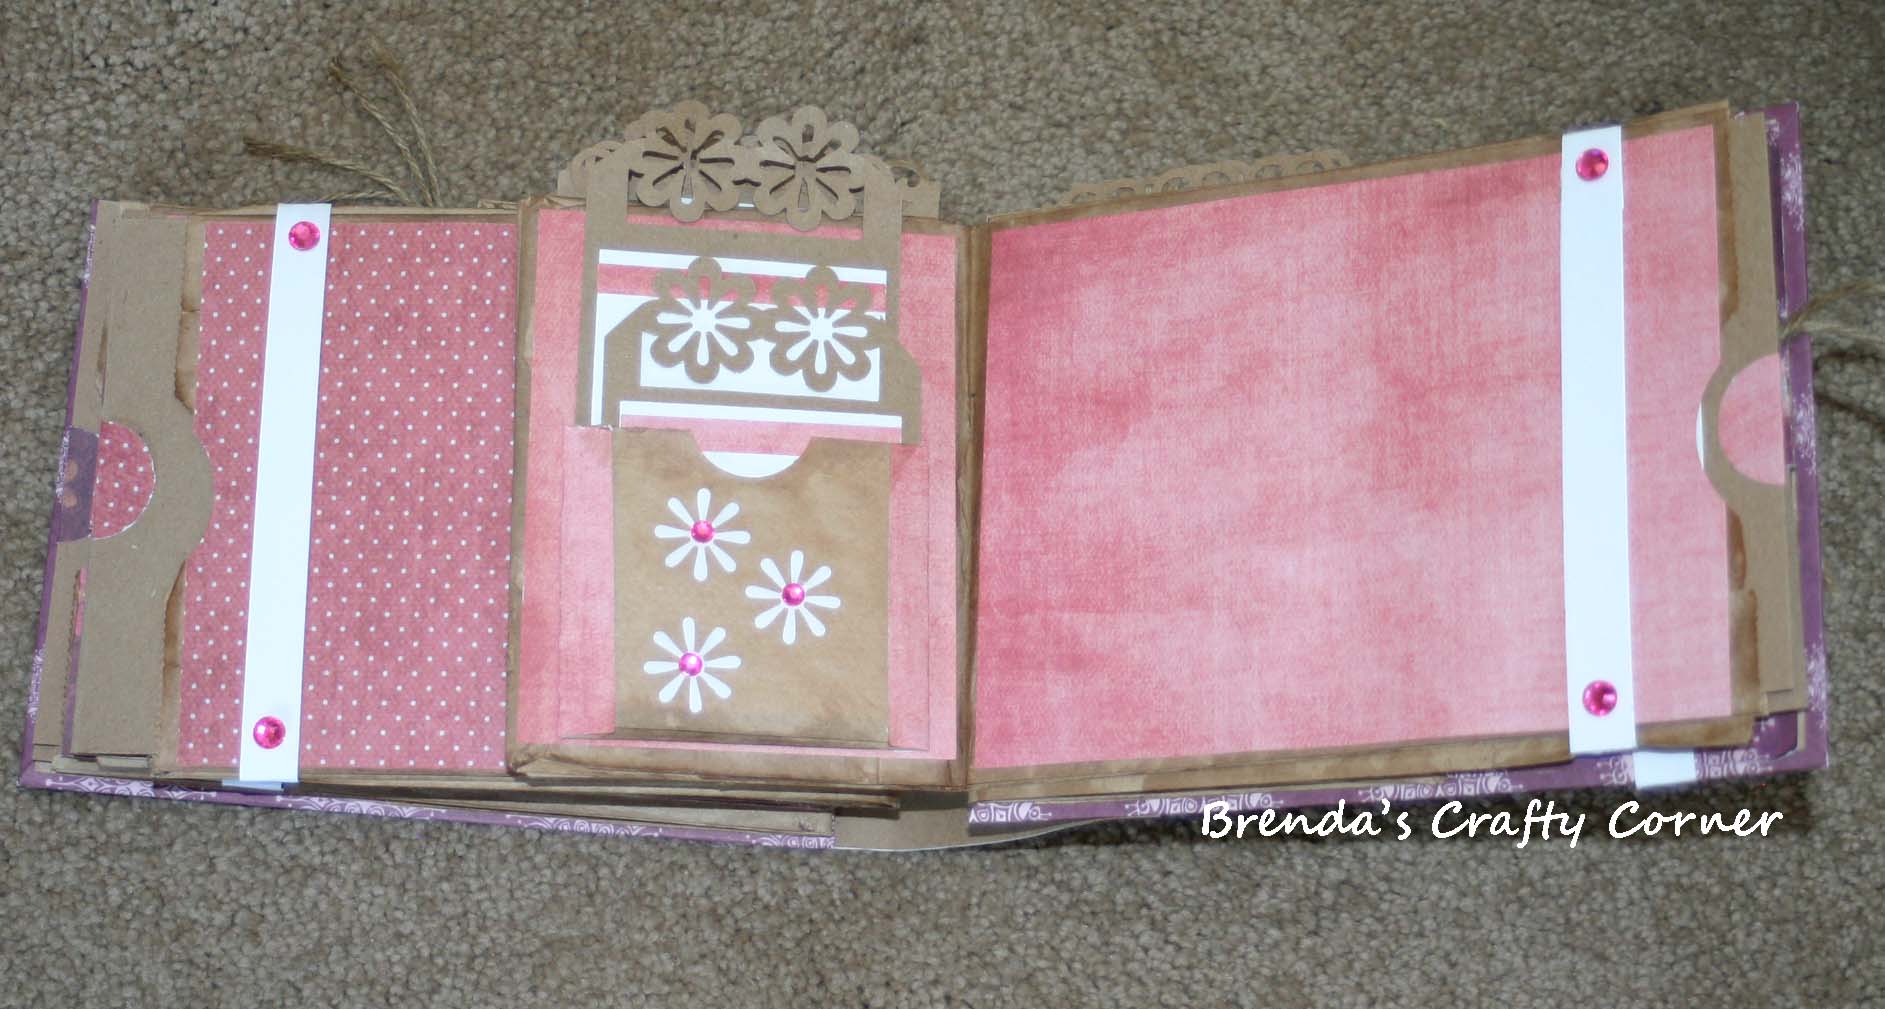
This month we bring you Brenda Barton. You can visit her blog here. Below, you can see Brenda’s projects, but first, here is a little more about Brenda:

I am so excited and honored to be a guest designer here at Paper Crafter’s Library.  I have been a long time follower of this wonderful  site and have learned so much from the talented members of the Paper Crafter’s Library staff.  I thank them for their ongoing inspiration and appreciate this opportunity to be a guest designer.

I have always been a passionate crafter and have dabbled in many forms of crafting. My paper crafting  journey began with scrapbooking and has grown to include card making,  creating mini books/albums and dimensional crafts. One of the aspects I like most about paper crafting is designing my own embellishments or creating a design by hand.  In the cards that I am sharing, I was inspired by images from a book called Decorative Ornament by Owen Jones. This book is full of fantastic images.


Projects

There are two card projects and then a Mini Bag Album.  I hope you enjoy them!

Three Flowers Card

For this card with three flowers, I used scissors to cut out the various parts of the flowers. The funny thing about me is that my handmade designs are always better if I just start cutting.  For some reason, if I try to draw the design, it doesn’t end up looking like what I had intended.   So, instead of sketching the flower, I just cut it out.  I really enjoy this part of creating.  To add detail to the flowers, I used red ink and a red colored pencil.

 Barton Three Flowers

Supplies used for Floral Card with 3 flowers:

  • Echo Park This and That patterned paper
  • Goldenrod cardstock (not sure of the brand)
  • Cream cardstock (from my scrap stash)
  • Scotch Advanced Tape Gun
  • Page Craft Chanti Pigment ink
  • Offray ribbon
  • Inspirational Resource:  Decorative Ornament by Owen Jones
    Ink
  • Dimensional adhesive from Scrapbooks Adhesives

Green Flowers Card

For this card, I  used some of the same patterned papers that I used on the first card.  Instead of cardstock, I used watercolor paper, cut it into a circle and used it to mat my hand cut flowers.  I used green chalk around the edge of the circle and added my flowers using dimensional adhesive behind flower heads. To make the card pop, I used embroidery thread and stitched around the circle and two edges of the card base.  My goal for these cards was to keep the design simple and allow the flowers to be the focal point.

 Barton Card

Supplies used for Floral card with 2 flowers:

  • Echo Park This and That patterned paper
  • Canson water color paper
  • Goldenrod cardstock
  • Scraps pieces of green patterned paper and green cardstock
  • DMC Green embroidery thread
  • Fiskars circle template
  • Decorating Chalks


Mini Bag Album

The second project I’d like to share is a mini bag album.  One of the things that I love about technology is the accessibility to other crafters.  I follow many blogs and discover wonderful tips and ideas from tutorials.  I have seen several tutorials on creating mini paper bag albums and decided to try one.  The  album I am sharing  was one of the first ones I made and it was a great learning process.I won’t go into detail on how to create this type of album, but encourage you to search for a tutorial on the internet.  For my album, I tried to include plenty of room for both journaling and photos.  I inked around the edges of the Kraft cardstock and some of the white cardstock with a walnut ink to give the pages and elements a softer look.  My goal was to use similar colors and embellish it with similar designs elements.

 Makeover Monday Barton

The image above shows the inside of the album with a large tag that pulls out.  The pictures below show some inside pages.
Brenda Barton

Brenda Barton makeover monday

Supplies:

Mini Paper Bag Album supplies: • My Minds Eye Patterned paper (simply Delightful) • Paper lunch bags • Kraft paper • white cardstock • Scotch Advanced Tape Gun • Chip board letters • Button • Twine • Studio G gems • EK success floral chain punch • Fiber Scraps e-z Walnut ink

We hope you have enjoyed Brenda’s projects. We look forward to next month’s Makeover Monday Guest Designer. Could it be you?