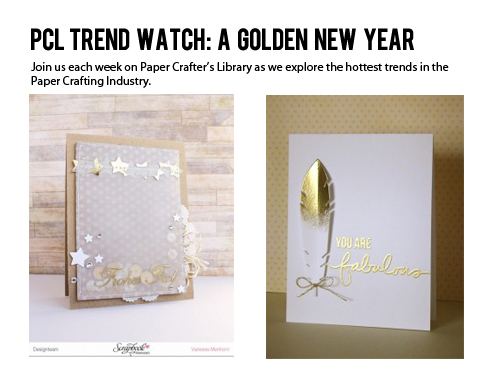
I am happy to welcome everyone, I’m sure not for the first time, to a wonderful New Year. There is something so promising and new about a brand new year. One of my favorite singers, Jill Scott has a song named Golden. And she sings about living your life, like it golden. I love that. There is so much to be thankful for and to appreciate in our lives. Not the least of these is the opportunity to craft and share crafting inspiration. This week, I am looking at the glowing glory of gold.
Julia calls this one dripping with gold. Aptly named, this card uses gold paper, gold painted chipboard, gold pen, and just when you thought there couldn’t be any more gold, golden glitter in a little jar! This card is magnificent.
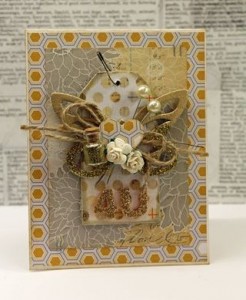
Card by Julia Staton image courtesy of ellenhutson.com
Embossing is another lovely way to achieve a smooth gold coverage on a card or paper project. This card is a wonderful art deco inspired piece that uses background stamps as well as a face stamp to achieve a dramatic gold look. Layering the background stamps gives this one some depth as well.

Card by Jean Martin image courtesy of Stampin Scrapper
I just love the effect of gold embossing on vellum paper as well. And when it is lifted off of the card stock too, the floaty look is just whimsical and lovely. This card by Vanessa is just wonderful. Check out the colorful sequins she included in the middle of the vellum envelope she sewed.

Card by Vanessa Menhorn image courtesy of Wings of a butterfly
Another example of stellar embossing is this beauty from Donna. She pounced Versamark on the tip of her paper feather and embossed it and it looks so lovely. The concentrated color looks so rich, like it was dipped in gold.

Card by Donna Mikasa image courtesy of 3 umbrellas
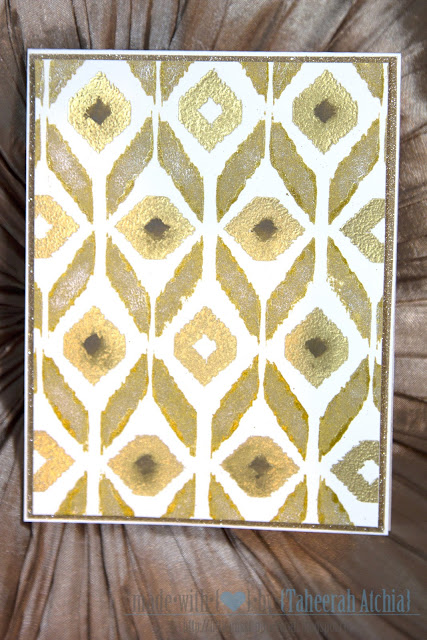
This next awesome card is made using distressed ink as well as embossing powder. She mapped out a pattern using a stamp and created the golden lovely and embossed in gold for an even deeper golden contrast.
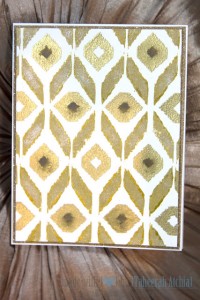
card by Taheerah Atchia photo courtesy of Fill the Paper with the breathings of your heart
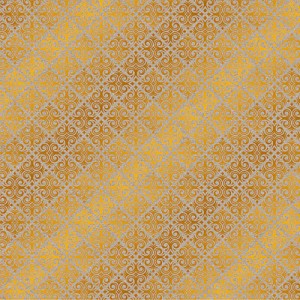
Even if you are not into wet embossing, you can still achieve the metallic look. One option is to let the paper do the work. There are all types of glittery, shiny, golden and textual papers out there can add some sparkle to your projects. This gold leaf pattern paper really adds a nice accept to this page. ETA: When we originally posted this content, we had accidentally given credit to the wrong person for this layout. The credits have now been corrected. We sincerely apologize to Donna for this error.
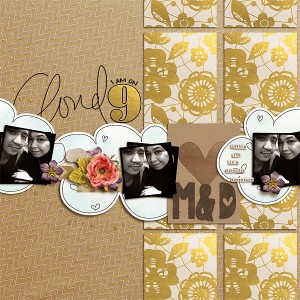
Page layout by Donna Ong image courtesy of Pink Reptile Designs
Or how about this. Solid gold paper background and a gold patterned paper coupled with a die cut expression. It is clean and simple yet the color really makes a strong statement. I just love how the gold paper with the spots creates a horizon and the thanks goes on and on.

card by Lisa A. photo courtesy of I’m in Haven
Heidi’s card is just so celebratory it makes you want to grab a glass of bubbly. She created the bubble effect using a background die and awesome gold paper and a few sparsely placed sequins. Party on!
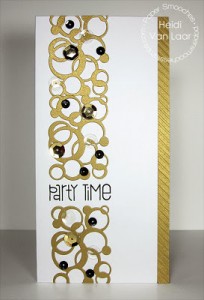
Card by Heidi Van Laar image courtesy of Van Laar Designs
When you use a color that is so saturated like metallic gold, you don’t have to use a lot of it to get a brilliant effect. You can see how lovely the craft paper looks against the peek of metallic paper behind it. The gold string and star are additional small touches of gold that tie in the whole look nicely.

Card by Lucy Librarian image courtesy of Lucy’s Crafty Cards
This lovely card was created with gold mist from Tattered Angels. Danielle Sprintzed a bit but got most of the gold color from painting it on with a paint brush. There is a lot of versatility in the color mists.
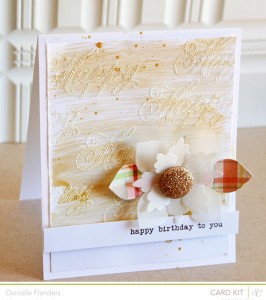
Card by Danielle Flanders image courtesy of Homespun with Heart
Don’t forget about washi tape too. There are many fun prints and a lot more metallics to choose from. This card from Caroline uses several to create a trendy diagonal look. To top it all off she used gold glitter Thickers to spell out hi.
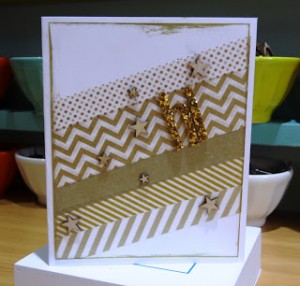
Card by Caroline Hancock image courtesy of My Creative Place
I think this next card is just amazing and the gold effect was created roughly following an uninked letter press by doodling with a gold pen. I think this is so cool, I have to try it. Erin also did use some glitter paper as a background but the doodling steals the show for me.

Card by Erin Bassett photo courtesy of Creativite
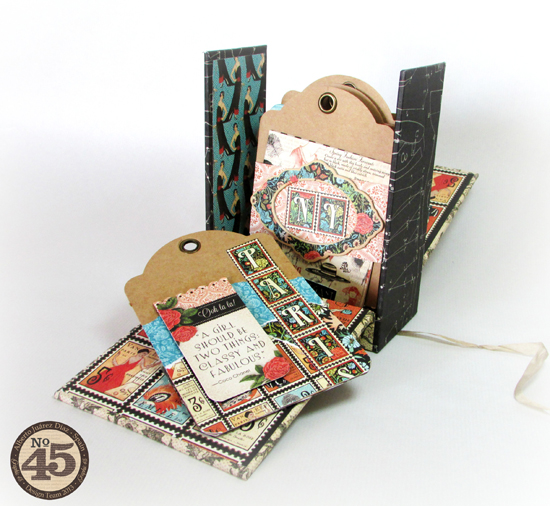
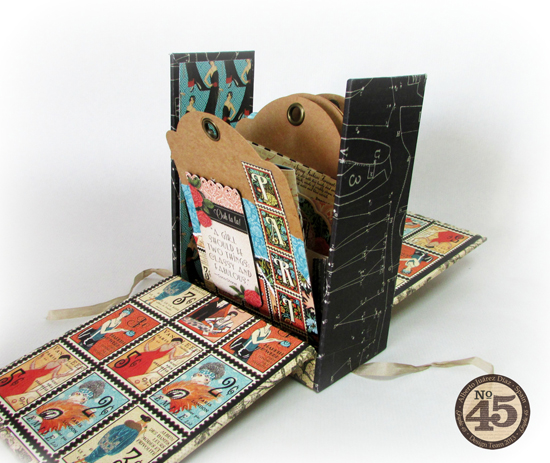
These nautical themed notebooks use traditional gold leaf. While it is messier than gold foiling, the final look is outstanding.

Notebooks by Eunice and Sabrina photo courtesy of Hello Lucky
Either way you choose it, creating a golden paper project in 2014 can set the tone for a year that is so golden you’ll need shades.
I found some fun products below that you might want to check out too. So go ahead… make something pretty.
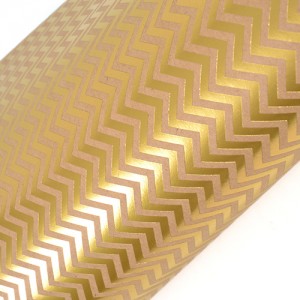
Golden paper
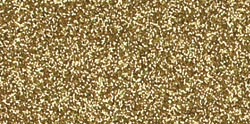
Gold sequins, Stickles and embossing powder

Spritz, ink and gold pens


Gold leafing

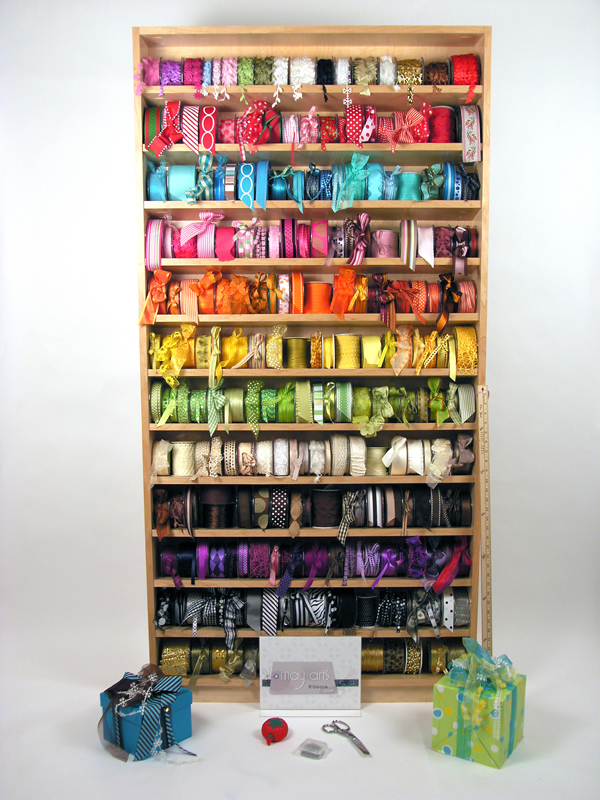
 I’d like to extend a HUGE thank you to May Arts and their guest designer Karen Baker for sharing such a wonderful project and for their generous give-away of 2 rolls of ribbon from their collection shown below.