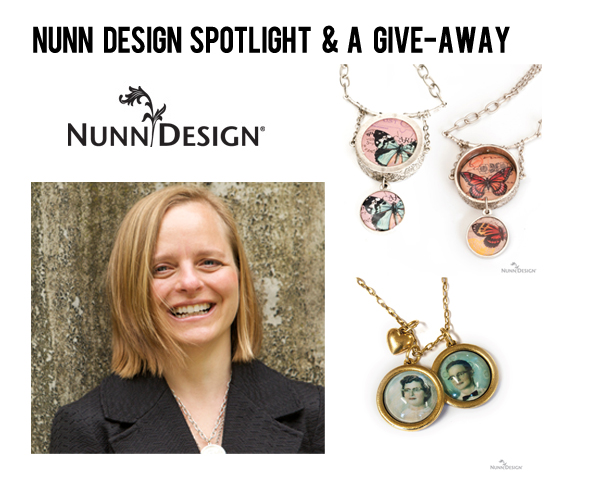
Today we are very pleased to welcome back Nunn Designs a company created by designer Becky Nunn which offers gorgeous handcrafted jewellery findings.
About Nunn Designs
Elements of Inspiration is the original, flagship line created by Rebecca Nunn and her team of artisans at Nunn Design. The timeless beauty of each piece is a direct reflection of Rebecca’s original inspiration, kindled during a year spent in the north of Italy as a foreign exchange student. There, she was transported by the sensory richness and artistic creations of the Old World. These enchantments left a permanent impression, and spurred several return trips to Europe, and later to Bali and Australia.
Driven by her love of crafting, art, and design, Rebecca became deeply passionate about supporting, inspiring, and nurturing the creativity of other artists. She founded Nunn Design, and began producing the products you see here, as a tangible way to manifest that passion: to help facilitate your inspired process, and to allow your unique creations to be the focus.
The artist’s path is one of great mystery — a moment-to-moment exploration of the heart, the intuitive, the inner voice. We hope to add fuel to that mystic fire. We are proud to offer you these pieces of superlative quality — each one intentionally crafted to serve your ultimate vision. And we are committed to bringing you the innovation, ease, and education you’ve come to expect from Nunn Design. We are humbled and delighted to help you follow your art.
 Becky Nunn’s mission as the founder and owner of Nunn Design is; “Through collaborative relationships, Nunn Design inspires and nurtures creativity”. Becky believes that everyone is creative and that we are born with natural abilities and a desire to express ourselves in some creative form or another.
To be inspired and nurtured, visit Nunn Design at www.nunndesign.com
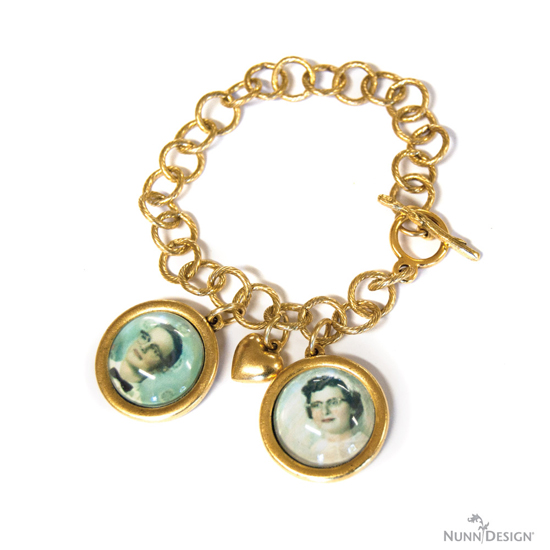
Aster Necklace

How it was created:
My parents celebrated their 60th wedding anniversary this last year, so I created a fun little bobble to wear to their anniversary party. I painted glue onto the bottom of a glass dome, placed it where I wanted it, squished it back and forth to get the excess glue and bubbles out, cut the image around the dome, trimmed the image to fit, and then glued it into a framed pendant small circle. I repeated the steps with another dome, image and framed pendant and then attached them to a chain with toggle connectors and a heart charm.

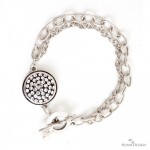
I experimented with attaching my pendants to a large loop charm bracelet…
…but went with the necklace in the end.
Instructions can be downloaded here: http://www.nunndesign.com/cheatsheets/DIY_Glass-Dome-Necklace_Nunn-Design.pdf
Supply List for Glass Dome Necklace:
Framed Pendant Small Circle Single – Antique Gold (fpscs-gb)
Patera Glass 22mm Circle (pg22c-b)
Large Jump Rings-Antique Gold (ljrg-b)
Small Heart Charm – Antique Gold (shgo-b)
18” Small Fine Cable Chain – Antique Gold (sfcc-gb)
Small Jump Rings – Antique Gold (jrg-b)
Twig and Connector Set – Antique Gold (ttb-gp)
Nunn Design Glue
Hornad Necklace
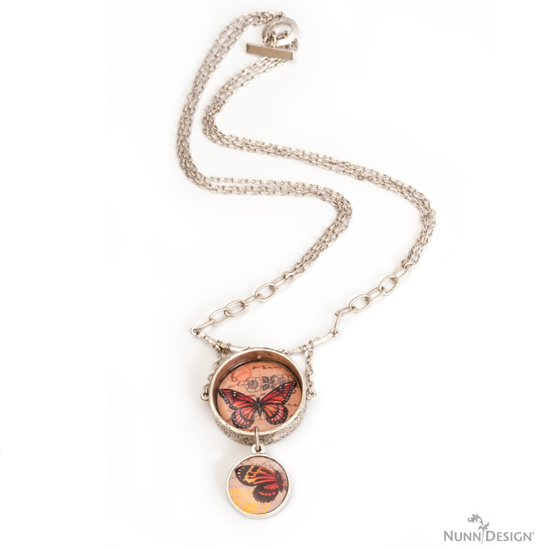
How it was created:
Butterfly images were punched from our Collage Sheet Butterflies and glued to both sides of a flat tag grande circle. Once dry, one side got a dose of UV resin and cured under a UV lamp for 20 minutes. Then the flat tag was cemented with Bond Cement into the open bezel and filled with UV resin for the other side. The same steps were applied to a double sided pendant to dangle from the open bezel. After that, all it took was some assembly and bam! A double sided butterfly necklace!


Instructions can be downloaded here: http://www.nunndesign.com/cheatsheets/DIY_Resin-Butterfly-Pendant-Necklace_Nunn-Design.pdf
Supply List for Double-Sided Resin Butterfly Pendant:
Grande Pendant Circle Open – Antique Silver (gpco-sb)
Double Sided Pendant Circle – Antique Silver (dpc-sb)
Flat Tag Grande Circle Single Hole- Antique Silver (ftgcs-sb)
Twig Connector Bar – Antique Silver (tcb-sb)
Large Textured Cable Chain – Antique Silver (ltcc-sb)
Small Hammered Cable Chain – Antique Silver (shfc-sb)
Small Fine Cable Chain – Antique Silver (sfccsb)
Ring Toggle – Antique Silver (rt-sb)
Simple Toggle Bar – Antique Silver (stb-sb)
1/2 Collage Sheet Butterflies (csbf)
Nunn Design Glue 2oz (glue 2oz)
Gel du Soleil 4 oz (gel 4oz)
Optional:
Punch Large Circle – 1.25 inch punch (plc)
Punch Small Sided Circle – 13/16” (pdsc)
UV lamp
Other Supplies:
Bond 527 Cement
22 gauge silver wire
How to Enter the Give-Away


Nunn Designs is graciously giving away ONE of their kits to a lucky blog reader (three options are shown above). To enter the give-away, leave a comment including which kit you would like to win (bracelet, earrings, necklace) in the comments section of this post. We’d love to hear about whether or not you have done any jewellery making of your own, or whether you’ve incorporated these types of pieces into your cards, scrapbook layouts, home decor pieces, altered art, art journals, mixed media pieces etc.
This give-away is open for one week – the winner will be announced next Wednesday. Please ensure that when you leave your comment you include your email address (it is kept private) because we will need that to contact you if you are the winner.
We also encourage you to take a minute to visit the Nunn Designs Blog – please leave them a comment letting them know that we sent you , and then we encourage you to look around as they have LOTS of fantastic project ideas as well additional video tutorials. It is only through the generosity and kindness of sponsors like Nunn Designs that we are able to offer YOU – our fantastic audience – these give-aways so we appreciate you showing your support here and on their blog.

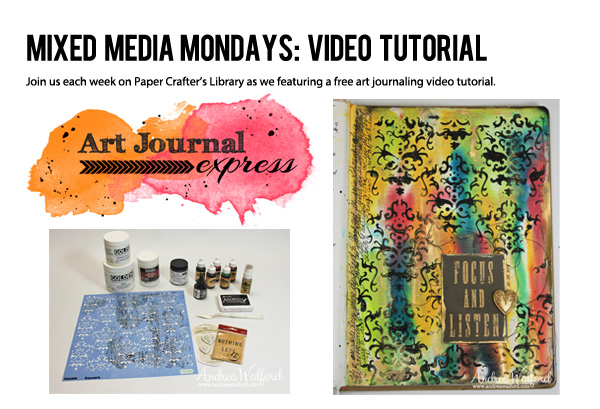
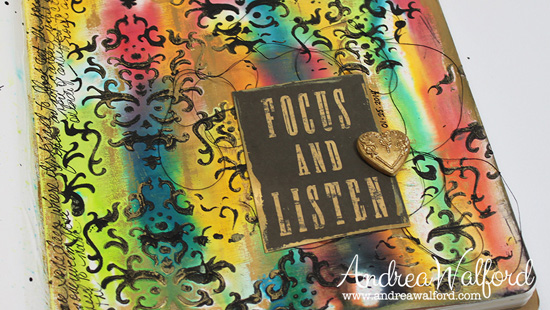
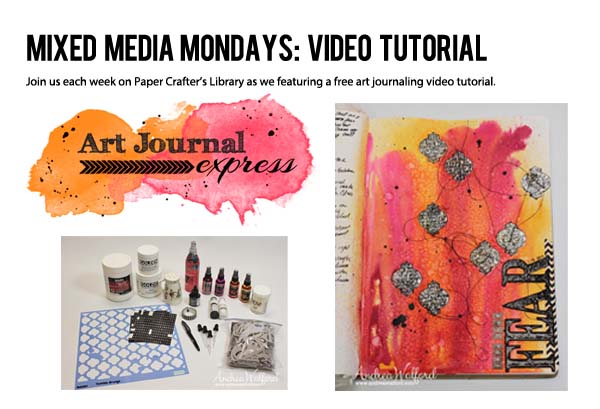
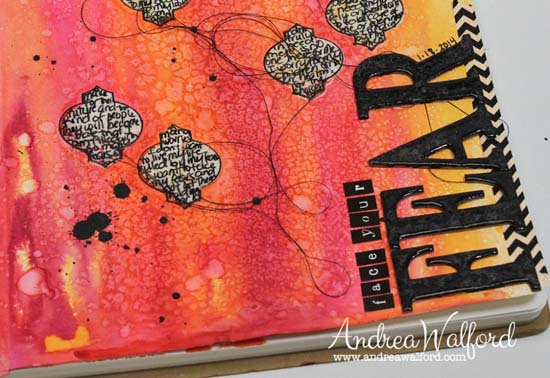
 Happy Monday everyone! Welcome to another edition of Art Journal Express brought to you by Andrea from her personal blog The Art of Simple.