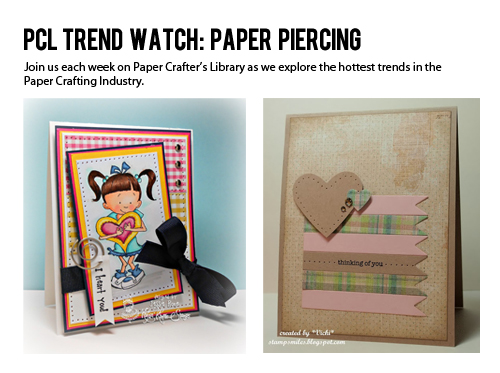
Trendy Tuesday – Paper Piercing
by Katherine Elliot
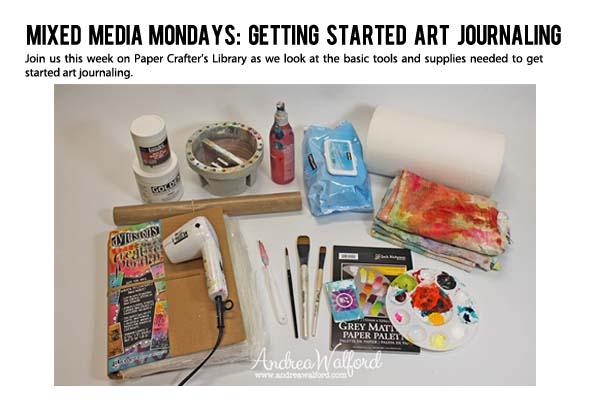
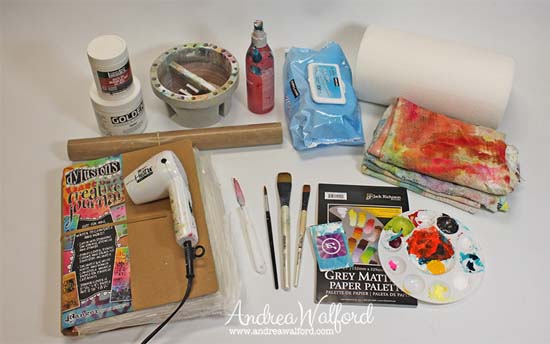
Today’s post features a technique that has been a personal favorite of mine for some time, paper piercing. This is a simple technique, however, depending on how elaborate a design you want to make, it can take some patience. The paper craft artists featured today have some wonderful examples of simple and elaborate paper piercing that can accentuate your projects beautifully.
 Pierced card by Jessie Rone, featuring Kraftin’ Kimmie Stamps, detailed view of card & piercing (below) from Kraftin’ Kimmie Stamps Challenge Blog
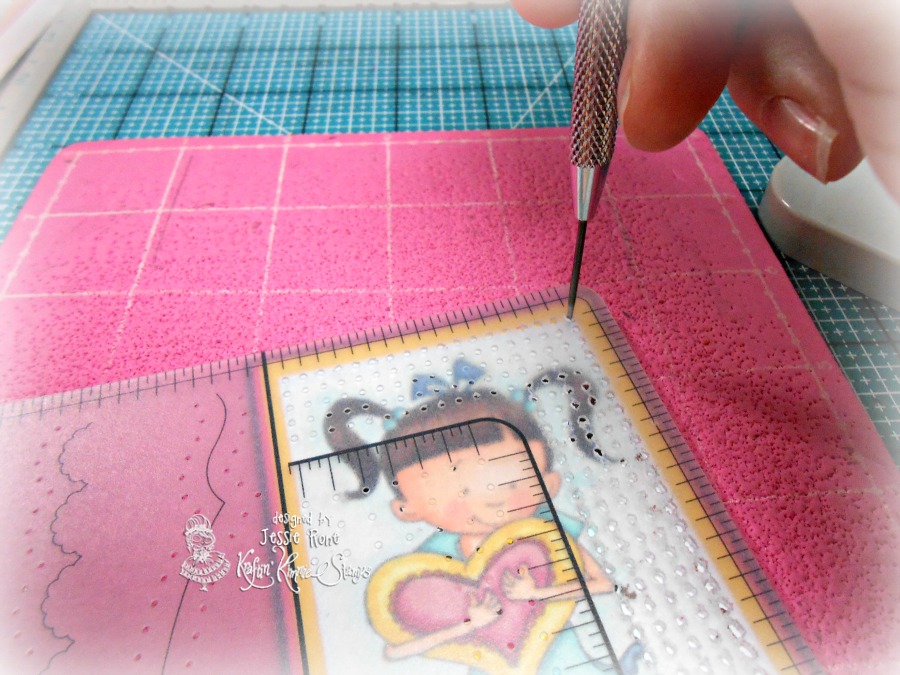
Jessie Rone’s piercing in action!
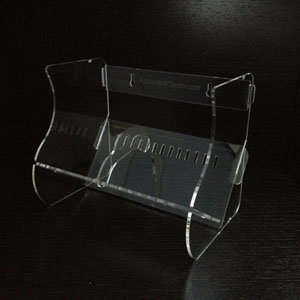
In order to poke holes in just the right places, piercing guides and mats, like the tools Jessie shows being used above, can really help. You can use items like sewing needles and craft foam you may already have on hand to achieve these effects, but many piercing specific tools offered by companies like Making Memories, We R Memory Keepers, Close to My Heart, and Stampin’ Up! offer you even better results.
 We R Memory Keepers mini piercing mat, image source Scrapbook.com

Piercing tools from Stampin’ Up!
Start with a simple plan and you’ll see your punctured design develop quickly. Simple straight lines of pierced holes look stylish and modern on Jody Morrow and Jill Coleman’s cards showcased next…
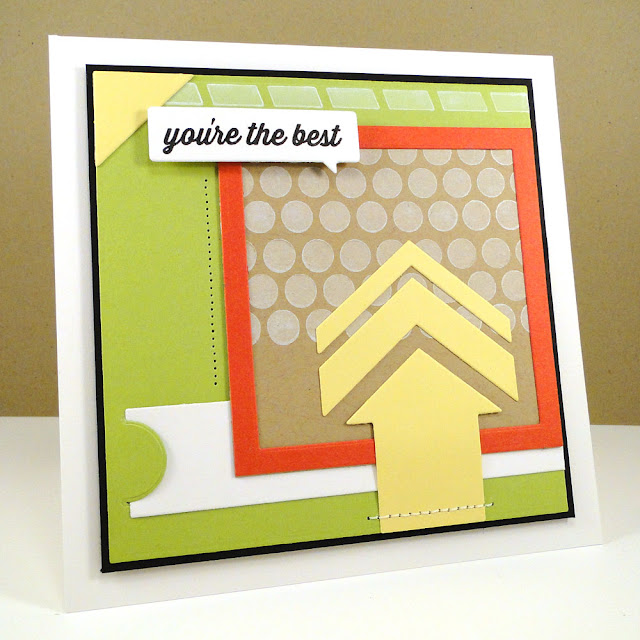 You’re the Best card by Jody Morrow, image source Confessions of a Ribbon Addict
 Card by Jill Coleman featuring stamps from Stampin’ Up!, image source, Jill Stamps
Simple piercing looks great on CAS designs as well as on more detailed layouts. Check out Angela Crockett’s delicate and elegant card. The simply pierced edge on her square design blends beautifully with all the feminine layers and embellishments.
 Card by Angela Crockett featuring stamps and dies from Our Daily Bread Designs, image source Body, Mind, Spirit, and Stamps
Follow more elaborate shapes with precisely pierced holes to add an elegant touch to your project. Up next, careful piercing shown on Jenny Gropp and Cheryl Scriven’s cards took extra time to craft using the shaped steel rule dies as guides. The extra effort was worth it – the results are gorgeous!
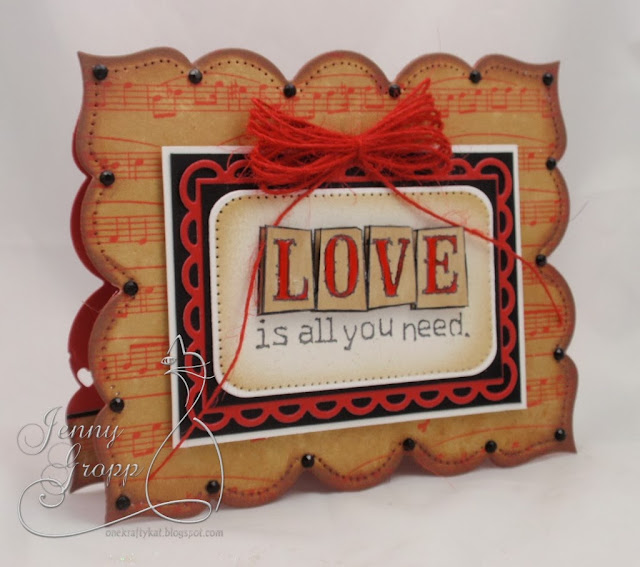 Love is All You Need, card by Jenny Gropp, featuring stamps from Impression Obsession, image source One Krafty Kat
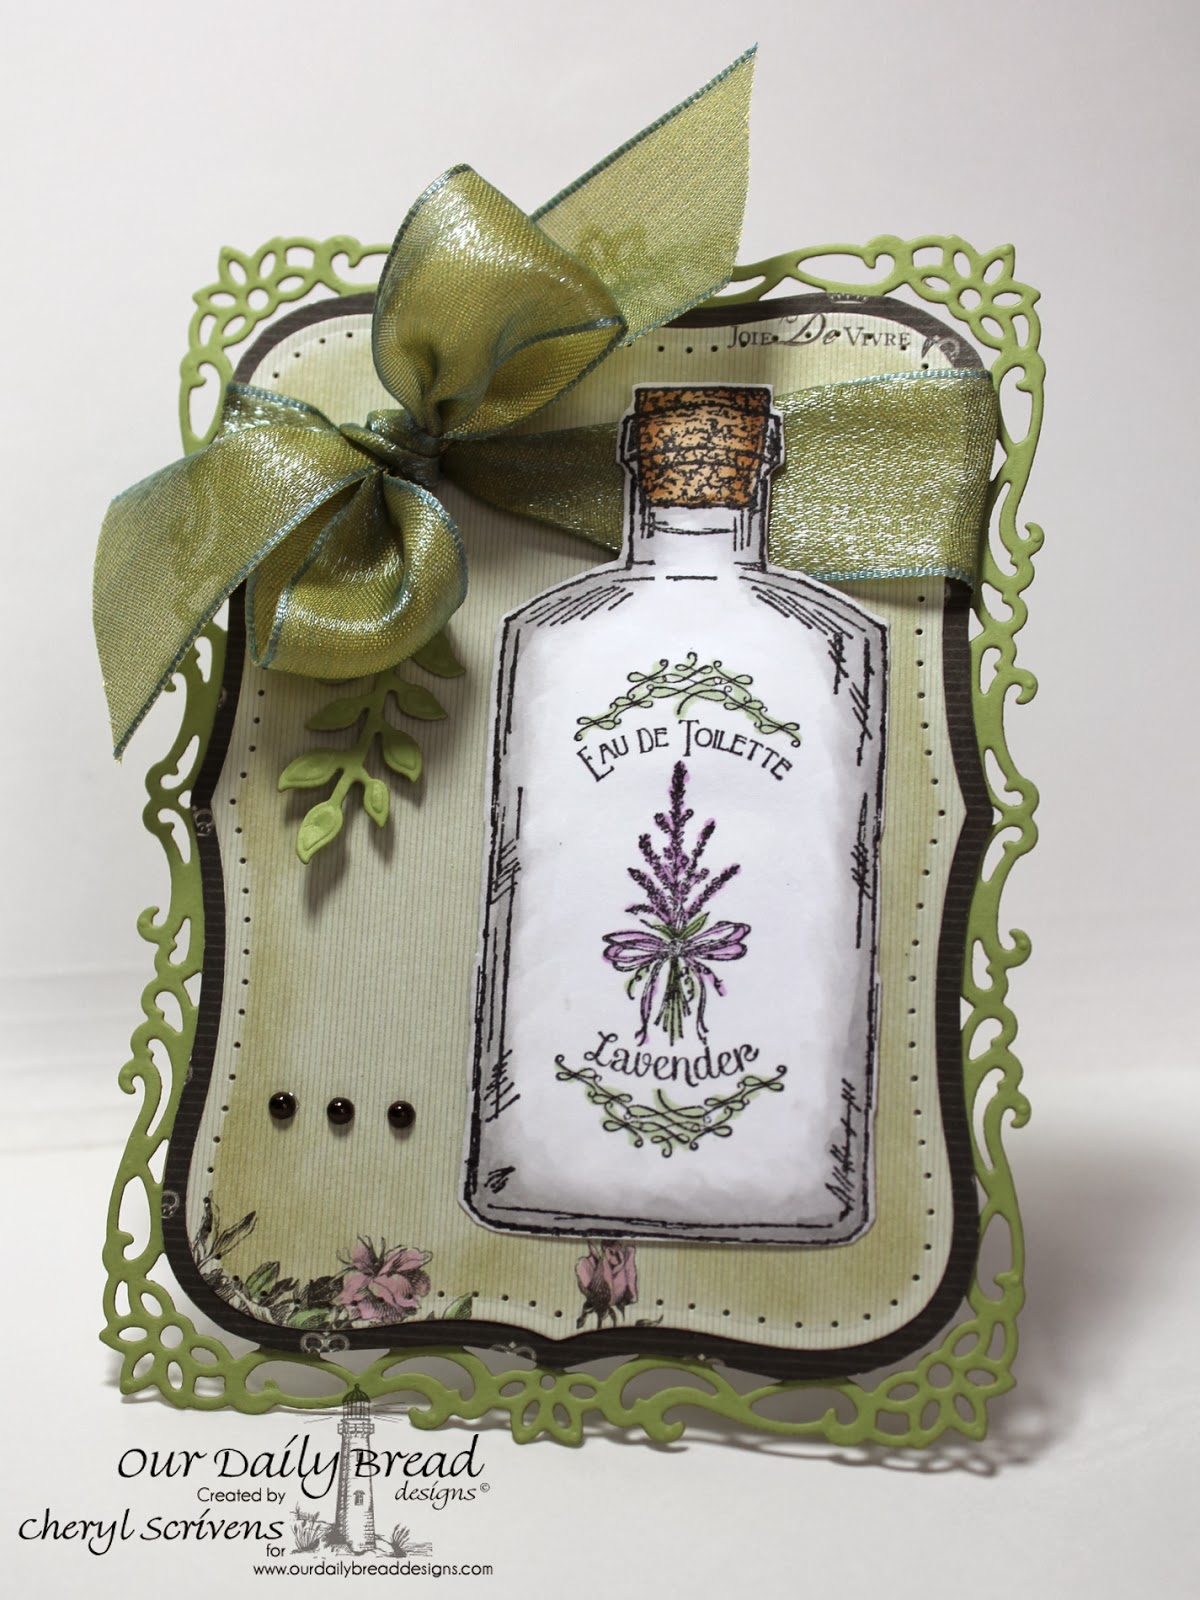 Card by Cheryl Scrivens featuring stamps from Our Daily Bread Designs, image source Cheryl Quilts
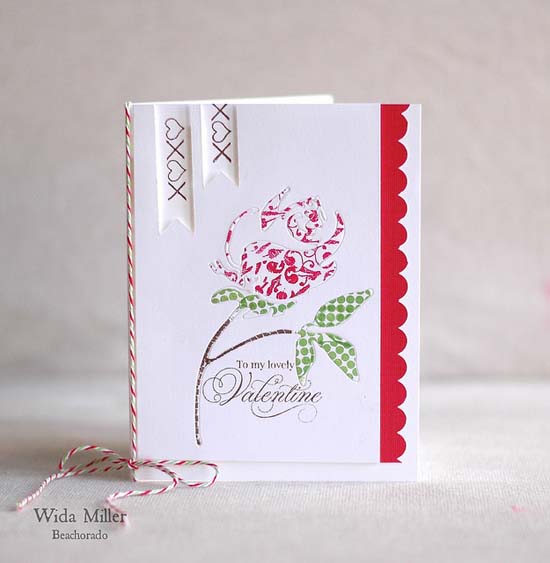
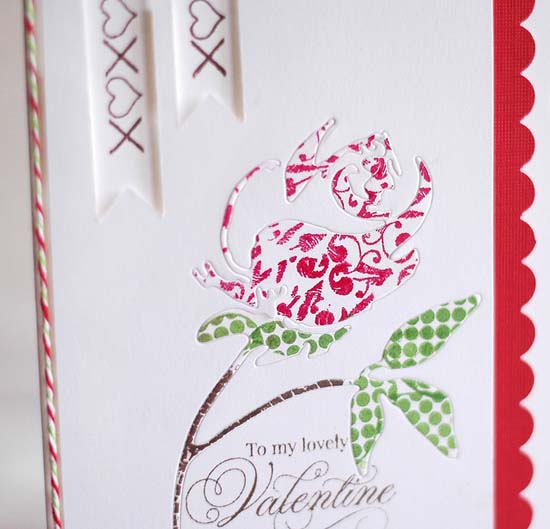
You can use other piercing guides to help design inside and around many different shapes. Here’s a couple of sweet and simple Valentine ideas with heart shaped holes to inspire you…
 Card by *Vicki*, image source Stamp Smiles
 Pierced heart Valentine by Kate Deignan, image source Kate Deignan Cards
Stampin’ Up! offers several options for shaped piercing guides that coordinate precisely with their punches and Framelits dies.
 Stampin’ Up! Essentials Paper-Piercing Pack
Other brands, like Hot Off the Press, have some patterns you can use to create different motifs, swirls and shapes on your project.
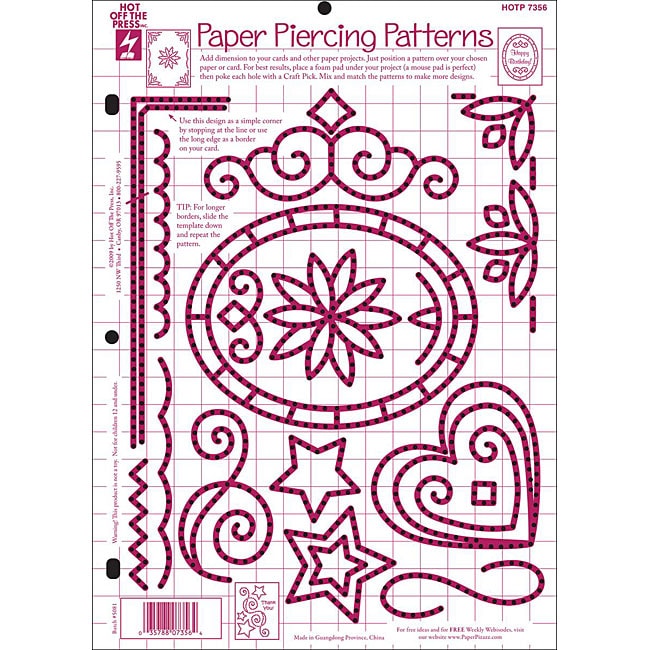 Hot Off the Press Piercing Template, image source Overstock.com
Basic needle craft grids can also come in handy. I’ve seen a few crafters refer to using plastic mesh guides that are just as easy to follow with your piercing tool in hand.
 Darice Plastic Canvas Shapes with mesh to use as piercing guides, image source Create For Less
Using well made, deep punctures, you are only one step away from creating a hand-stitched decoration. Oh yeah, hand sewing your pierced creation is not as fast as using a sewing machine, but if you cannot machine sew (like me), it’s a great alternative and looks terrific, too.

Card by Elena Joldersma, featuring stamps from Lawn Fawn, image source The Red Haired Girl
Companies like Papertrey Ink and My Favorite Things have been inspired to create more piercing inspired dies you can use, too. Papertrey Ink’s Quick Stitch Sentiment dies are your chance to quickly make a pierced sentiment. Sure, you could stitch them up with twine or thread if you like, but Nichole Heady’s card shows off how lovely a pierced word can be, all-hole-ly and all!
 Card by Nichole Heady featuring Papertrey Ink Quick Stitch Sentiments, image source Capture the Moment, Papertrey Ink Inspired
Pierced layers can be super easy to recreate with tiny pierced holes already part of the line of pierced Stax Die-namics from My Favorite Things.
 Card by Barbara Anders featuring pierced oval die, stamps and tools from My Favorite Things, image source Paper Pursuits
With all the tools and products available now, piercing is an easy trend to add to your projects. On a parting thought, I have discovered an added benefit to the fine art of paper piercing. Provided you are not crafting next to someone making you mad at the moment, there’s something very therapeutic about stabbing your paper with a piercing tool. Let out those frustrations, play safely, and go poke some holes on your card. Trust me, you’ll feel better after a rough day. 🙂 Happy crafting, everyone!