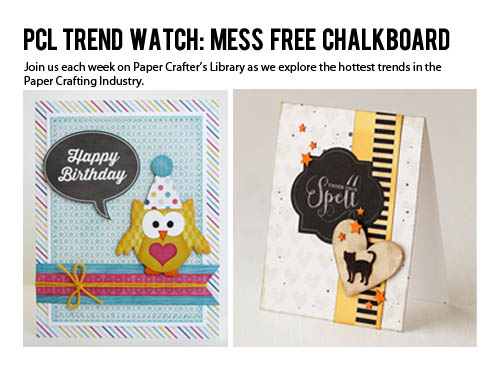
Trendy Tuesday – Mess Free Chalkboard
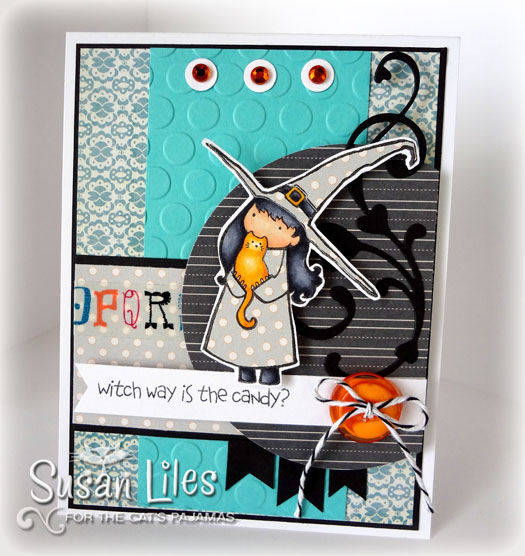
This past January we highlighted a fun, paper craft trend called the Chalkboard Technique. You have likely seen many wonderful creations with this technique as it remains very popular. Creating a project with the chalkboard style usually requires the use of white pigment ink, embossing powder, and sponging. The popularity of the technique has spun off many more products providing more options to easily use this trend in your projects. Don’t fear the embossing and sponging that may be used for this technique. Instead find and enjoy some of these fun “mess free chalkboard” tools!  Card by Lisa Spangler, image source Studio Calico
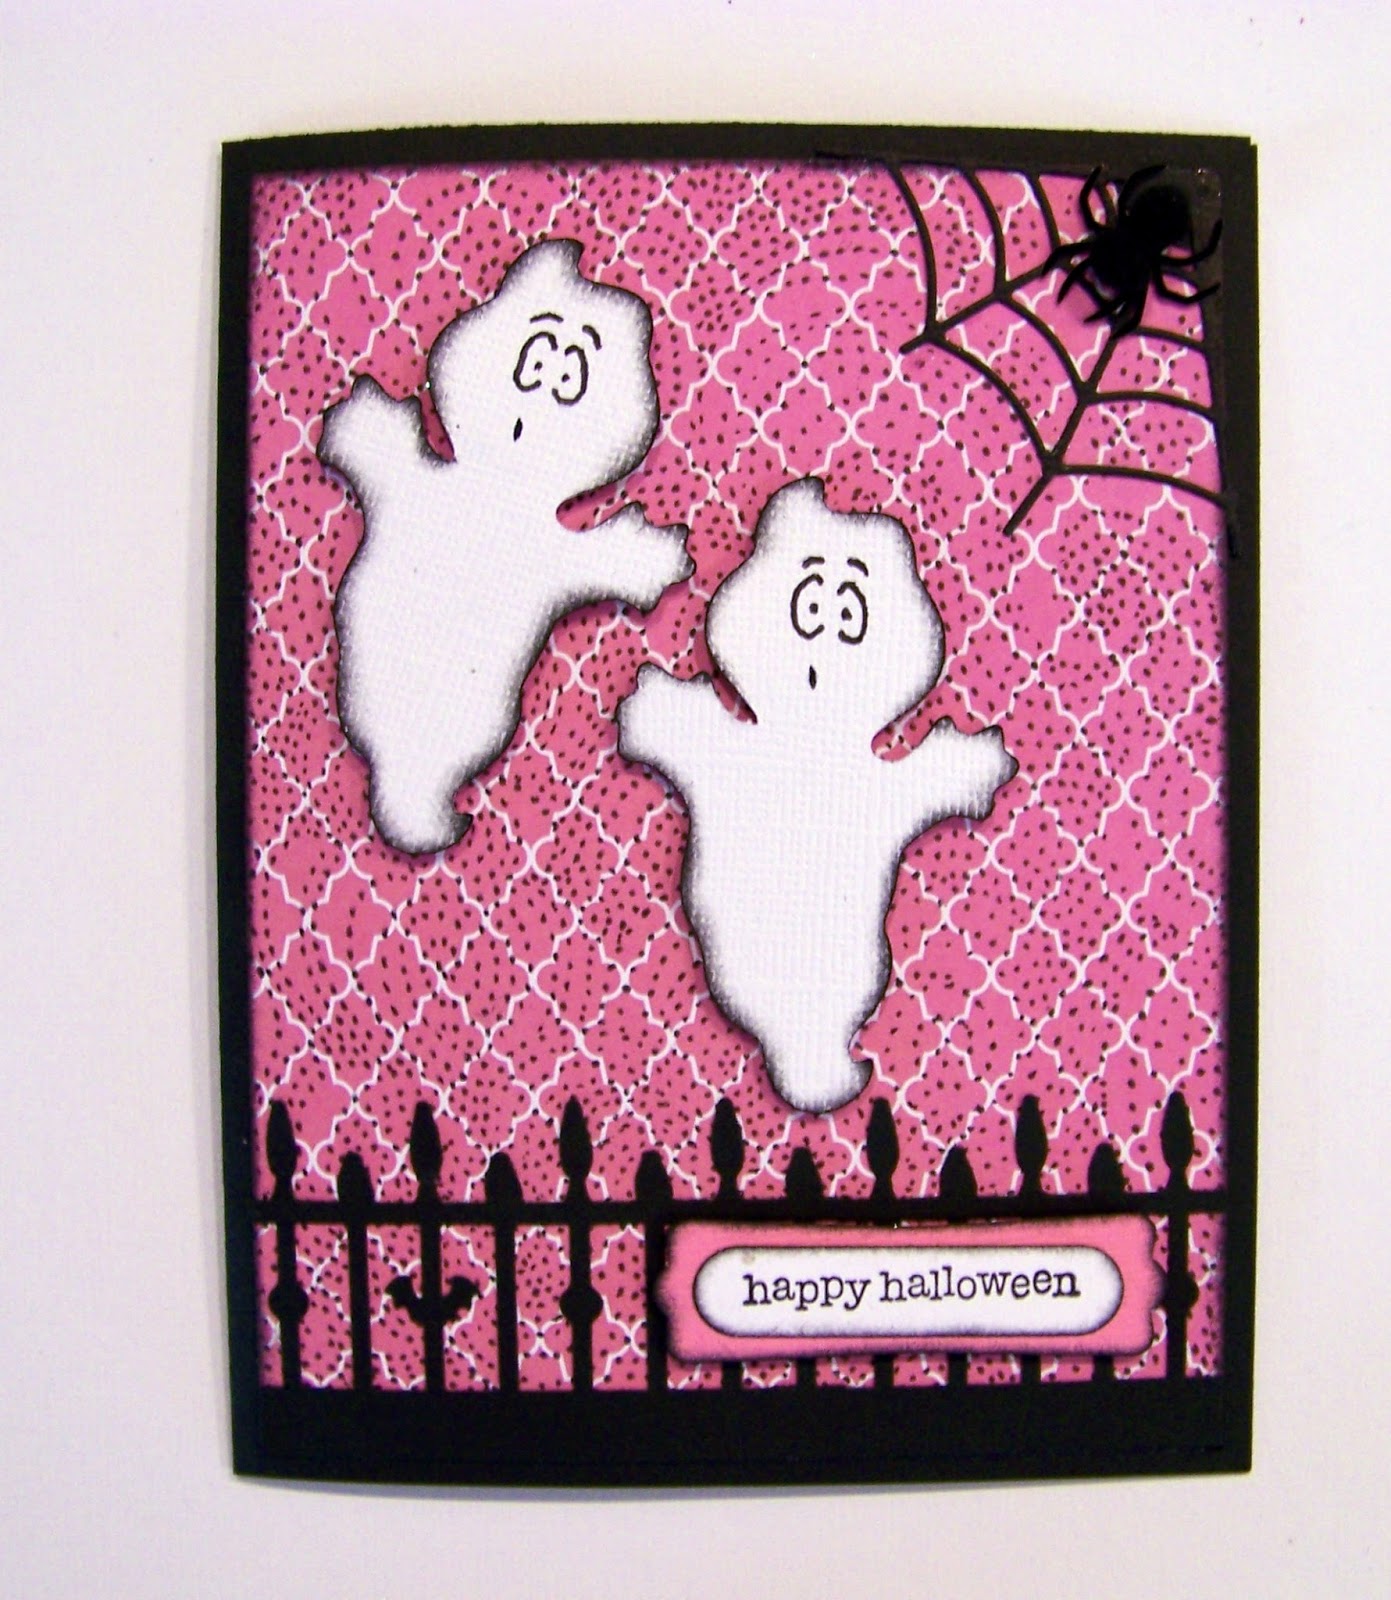
Chalkboard inspired die-cuts, stickers and papers are the easiest tools you can find to use in your project. I love Lisa’s Halloween project using a Studio Calico kit that includes terrific chalkboard labels from Pebbles that are perfect for this month’s favorite spooky holiday.

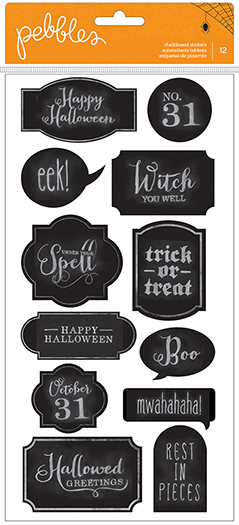 Pebbles Chalkboard Label stickers, image source Scrapbook.com
Layered chalkboard elements look terrific as shown on Diana Fisher’s project below featuring projects from My Minds Eye line, Chalkboard Studio. Card by Diana Fisher, image source Whimsical Twist
 My Minds Eye Chalk Studio Die Cut Stickers, image source Frantic Stamper
Find chalkboard style scrapbook papers ready for your traditional books, Project Life pages, cards and other crafts. Some brands that offer options with this style include American Crafts, Diecuts with a View, Heidi Swapp, We R Memory Keepers, and Echo Park, just to name a few. Here is a quick view of some chalkboard paper options.
 American Crafts Dear Lizzy Polka Dot Party Cheerful Chalkboard paper, image source Two Peas in a Bucket
 DCWV Chalkboard Stack paper, image source Stampington & Company
Heidi Swapp Jingle All the Way paper, image source Two Peas in a Bucket

Holiday mini album featuring chalkboard elements from Heidi Swapp, image source Heidi Swapp blog
 We R Memory Keepers Chalkboard Paper Pack, image source Two Peas in a Bucket
 Project life page from We R Memory Keepers blog
Just add washi tape, and your pre-made chalkboard sentiment is ready to go! How simple is that?

Card featuring We R Memory Keepers chalkboard sentiment, image source We R Memory Keepers blog
 Echo Park Here and Now Chalkboard Quote paper
Cut a chalkboard quote from this Echo Park paper, or download one of their digital kits from the Here and Now collection, and you can create many different projects with their on-trend product line.

Card by Mendi Yoshikawa, featuring Echo Park Here & Now digital kit, image source Snippets of Mendi
Further enhance your chalkboard creations with a little chalkboard embellishments, like the decorative tape coordinating with My Minds Eye Chalkboard Studio.

Chalkboard Studio decorative tape from My Minds Eye, image source Simon Says Stamp

Card by Michelle Woerner, image source Stop and Stamp the Roses
Confession time… I am pleased to see the options for chalkboard elements expand as my attempts to stamp and sponge my own chalkboard images have been pretty poor. I am determined to keep on trying, but in the mean time, if you’re at all like me, I hope you will find these ready-made products lots of fun to use. Happy crafting, everyone.