
It’s Day 5 – our last day of Maya Road week on the Paper Crafter’s Library blog! We’ve enjoyed our partnership with Maya Road and hope that you have too! This week has been filled with fantastic project ideas featuring Maya Road Products. Since discovering the Maya Road booth at CHA, we’ve been absolute Maya Road Junkies – or to use Maya Road terminology – “Roadies”. They have such a fantastic array of products which can act as building blocks to just about any project you can think of – they’ve got tons of chipboards, albums, trims, trinkets, Mists, stamps, rub-ons…..and that doesn’t even scratch the surface!
Every day this week we’ve featured projects both from Maya Road Design Team members as well as some of our Paper Crafter’s Library Designers/Educators. As part of this week’s projects we – and the Maya Road Design Team challenged ourselves to create as many different projects as we could with the collection of Maya Road products shown below. Our goal was to show you how incredibly versatile these products are and how many different looks you can achieve with them. I have to tell you, I was blown away in seeing every one’s projects and what a different spin everyone puts on those same products. So as the week progresses, you’re going to see these products appearing over and over again in the projects. For ongoing inspiration using Maya Road products be sure to visit the Maya Road blog or the Maya Road Facebook page.

Maya Road Prize Pack
As with our other manufacturer spotlights, at the end of this week two lucky winners will receive a Maya Road prize pack. Winners will be drawn from all the comments left here on the Paper Crafter’s Library blog or the Paper Crafter’s Library Facebook page. Remember, each comment you leave is one entry, so be sure to visit every day not only for the great project ideas, but also to enter your name into our give-away. One winner will receive the goodies shown below which includes 5 rolls of May Road’s awesome twine cording each with over 100 yards, and 8 of their wooden spools. The second winner will receive the prize pictured below that, which is an assortment of the same products we used in our projects throughout the week along with a few different trims.


About Maya Road
Maya Road was born in 2003. Two sisters, Deborah and Caroline, were spending the weekend together, and went shopping for all of the latest scrapbooking supplies. As they browsed the aisles, they were struck by how difficult it was to find unique scrapbooking products and how expensive products were. They started chatting about products they wanted to see, and they brainstormed how they could combine their business knowledge and design skills to produce the unique products for scrapbooking. Thus, Maya Road was formed.
After much soul-searching, they decided to launch Maya Road nationally with 38 unique products at HIA (the prior name for CHA Tradeshow) in 2004. Since then Maya Road has added over 2000 new products to their line. Creative items include such as chipboard, trims, twines, metals, Maya Mists, embellishments and more.
Maya Road was founded on a belief in each person’s creative ability and on the commitment to making high quality scrapbooking products available and affordable to everyone. Maya Road believes that scrapbooking and memory keeping should be an everyday event available to everyone.
Our signature products are carried in over 1000 scrapbooking stores in the US, Australia, Canada, the UK and beyond. People often ask where the term “Maya Road” comes from. Maya is actually a combination of nicknames, Caroline and Deborah, had as kids. They looked up “Maya” and realized it meant “The Art of Creation” and thus, Maya Road was born.
Follow Maya Road on Twitter, Facebook, Pinterest, YouTube and on their Design Team Blog
Twitter: http://twitter.com/#!
Facebook: https://www.
Pinterest: http://pinterest.
YouTube: http://www.youtube.
DT blog: http://mayaroad.typepad.
Maya Road Designer Project
 Our final Maya Road Designer this week is Anne Jo Lexander from Norway, also called Ania. You can see her beautiful project below but for now, here is a bit more about Ania:
Definitely not a 20-something-anymore living at an island on the West Coast of Norway with husband and two kids. Found scrapbooking in 2005 and have never looked back since. So while not working as a journalist at the local newspaper I enjoy dividing my spare time pretending to be a photographer, playing with paper and playing games on the PC.
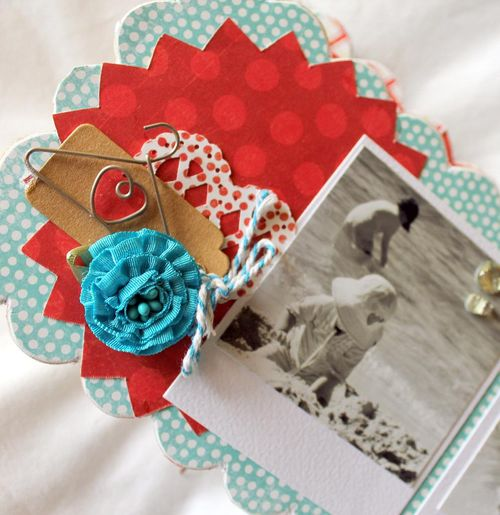
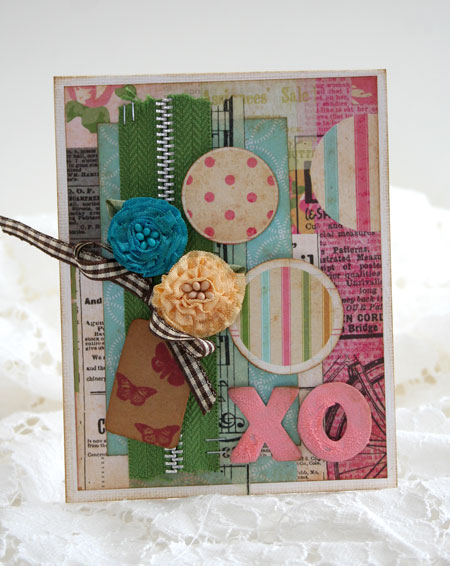
A Very Different Mini Banner/Layout
Welcome back to the final installation of the Maya Road + Paper Crafter’s Library blog swap! This is Ania from Norway, here with yet another different (or maybe not so different??) take on the same 10 products as the other MR-girls and the gals at PCL!
Curious yet? When I signed up for this challenge, I thought; Ooh, a challenge, I love them! Then I got the list over the products and thought; Uhm right, too late to back out, I can’t let them down now….. THEN I got the products in the mail, making me go; Ooookaaaaaaayletseeee…gosh why do I always have to volunteer for challenges?!

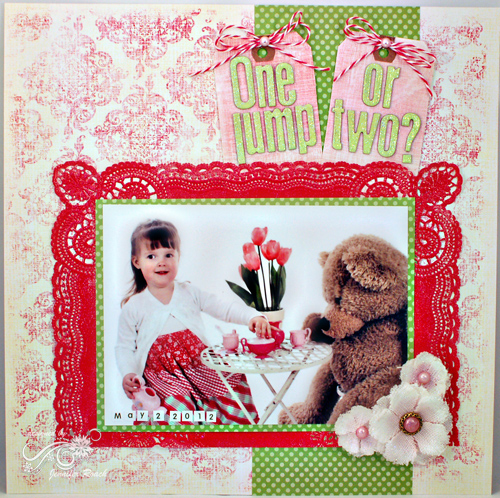
And then, once I found the right papers to accompany the products, it all went like a breeze. Now, while I’m typing this post, I have *no* idea how the other gals final products looks like..so I am quite thrilled and curious on how it went for the others (you can scroll down the blog to find out the other gals’ take on this challenge), I’m sort of thinking I can’t be alone in creating a minibanner of the banners and tags now, can I…?

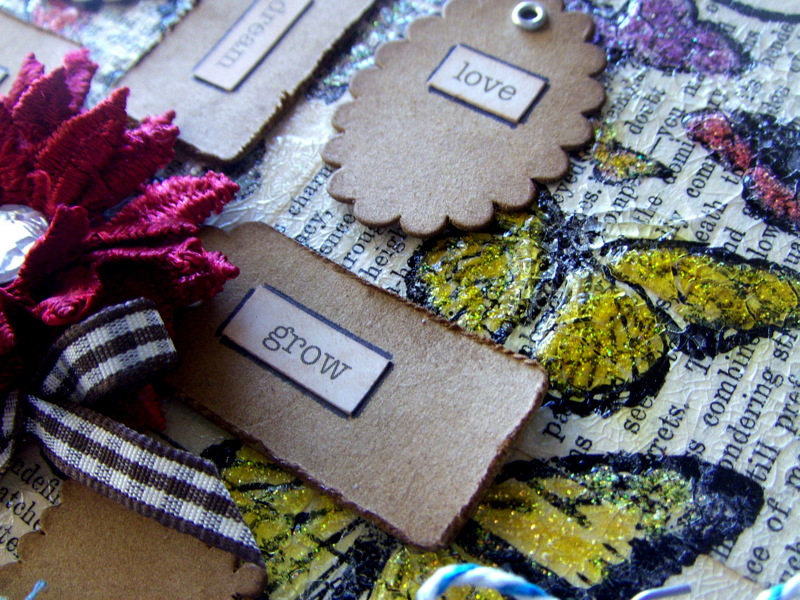
I used the Vintage Ornament Butterfly stamp quite a bit here; see the mini kraft tags? On the ones to the right and the left I stamped them with white chalk ink pad and embossed with clear detail embossing powder. Yields a fine, sheer look… on the middle one however, I embossed the butterflies with white detail embossing powder. Next to the photo; a regular stamped butterfly onto a piece of paper that’s cut out.
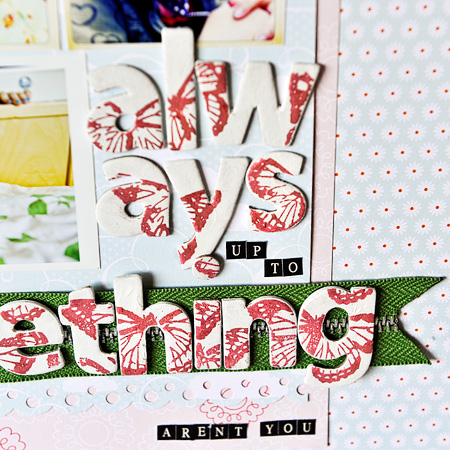
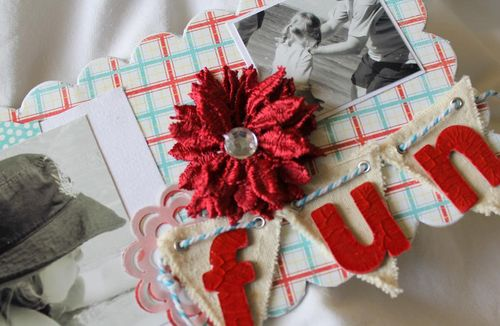
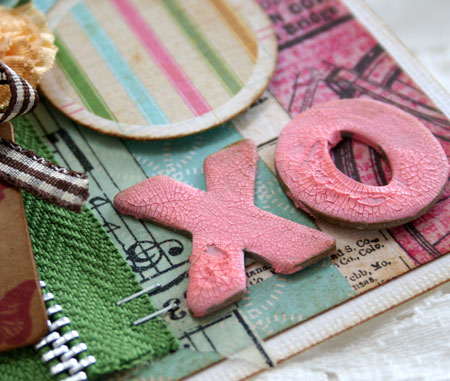
And then – on the chipboard letters that I covered with white paint first; Butterflies randomly stamped onto the letters.
Tah-dah.
It was fun doing this challenge, and extra fun knowing the other gals got exactly the same MR-products as me!
Here’s the 10 product list we all got to play with:
- love hangers
- canvas triangle banners
- mini kraft tags
- turquoise twine
- coffee brown mini gingham trim
- leaf zipper trim
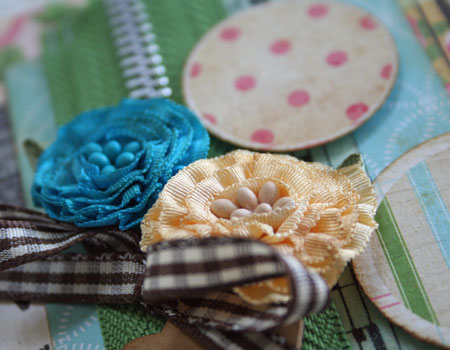
- turquoise and yellow ruffle flowers
- jonathan alpha chipboard
- Ornate Vintage Butterflies stamp
- Vintage Lace Mums – Apple
Paper Crafter’s Library Designer Projects
We’re finishing off the week this week with a fun technique video I (Andrea) created for Maya Road which shows you how to use Maya Mists to color in outline stamped images and then how to create the colourful halo effect you see around the stamped image.

Our week wouldn’t be complete if I didn’t share some sort of mixed-media piece with you 😉 I (Andrea) created the canvas below for my 9 year old daughter Julia – she is such a ray of sunshine, especially in a household full of boys (we have 4 boys). I incorporated all 10 Maya Road products shown at the beginning of this post into this canvas:
- I used the canvas banners as the petal for my flower.
- I used the red flower as a focal point flower.
- I used the leaf green zipper trim as the stem of my yellow flower
- The gingham trim was the stem of my red flower.
- The mini kraft tags were the leaves for my yellow flower
- The vintage love hanger is a leaf for my red flower.
- I used the twine cording to create my cloud.
- The butterflies were stamped on the background.
- The Jonathan chipboard letters were used for the word “Smile”
- The ruffled flowers were incorporated as part of my “field of flowers”. Because the yellow ruffled flower was too light in color, I misted it with my Lemon Metallic Maya Mist.


There were so many products incorporated into this canvas that I thought it might be a good idea to include the supply list:
Supplies:
Stamps: She Art Print Texture, Tattered Chicken Wire, Distressed Grid (Christy Tomlinson – Unity); Vintage Ornate Butterflies (Maya Road); Art From The Heart (Wendy Vecchi); Small Typewriter Alphabet (Stampendous)
Ink: Lemon Metallic Maya Mist (Maya Road); Sunshine Yellow, Pool, Lettuce and Aqua Adirondack Acrylic Paint Dabbers, Olive Archival ink (Ranger); Cobalt Teal, Green Gold, Interference Gold and Quinacridone Crimson Golden Fluid Acrylics (Golden Paints); Vivid Lime Green and Brilliant Yellow Green Acrylic Artist Color (Liquitex); May Green and Permanent Green Olive Pitt Pens (Faber Castell)
Paper: She Art DP (Christy Tomlinson)
Accessories: Mini Triangle Banner Canvas Pieces, Kraft Mini Tags, Ruffle Blossoms – Golden Yellow and Turquoise, Leaf Green Zipper trim, Coffee Gingham ribbon, Metal Vintage Trinkets – Love Hangers, Slushie Blue Twine Cording, 2” bottle cap (Maya Road); Claudine Hellmuth multi-medium matte, Claudine Hellmuth gesso, non-stick craft mat (Ranger); Alpha Parts Newsprint pieces (Tim Holtz Idea-ology); Clear Braille Ultra High embossing powder (WOW! Embossing); Standard Circles Small dies, Grand Calibur (Spellbinders); Blackberry Mini Alphabet Stickers (My Little Shoebox); She Art Doodle Art Stitches rub-ons (Christy Tomlinson – Pink Paislee); bubble wrap (Office Supply Store); drywall tape (Hardware Store); non slip shelf liner (Dollar Store); corrugated cardboard on inside of a coffee sleeve (Starbucks); Art Is 6” x 6” template (Crafter’s Workshop); 8” x 10” Canvas (Dick Blick)
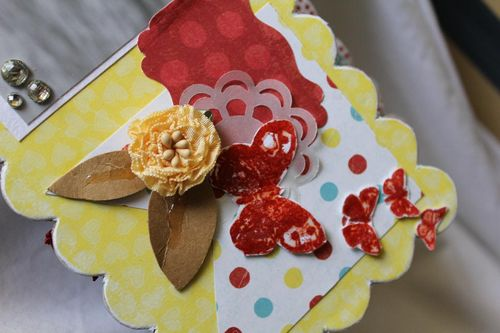
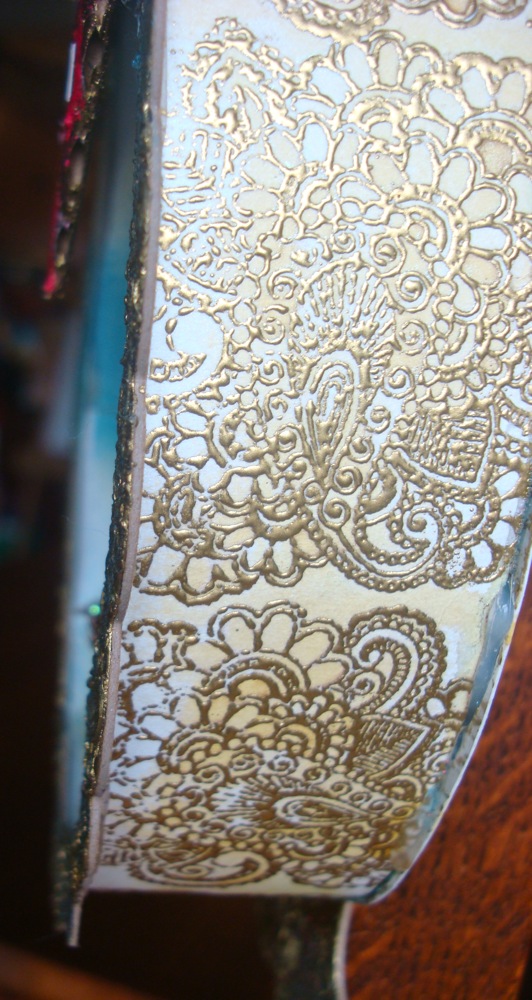
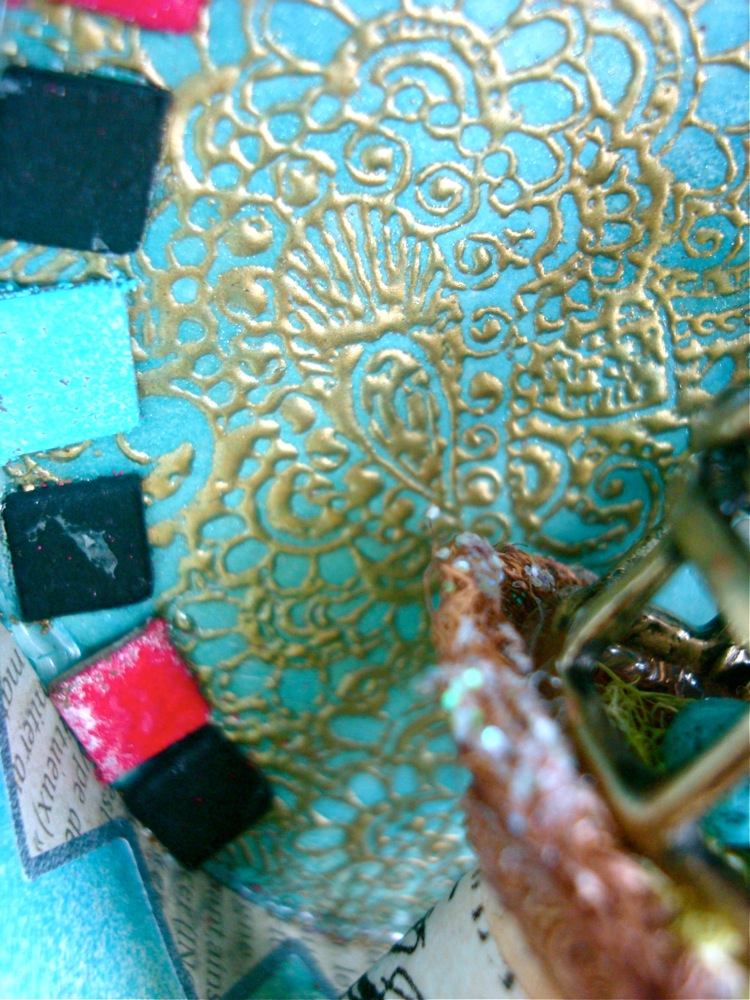
Our last project for today is this Bloom Bouquet Box created by Sophia. Sophia started with a Blume Box which is a special cardboard box lined with a heavy plastic designed to hold flowers. Sophia decorated it again using all 10 Maya Road products.

Supplies:
Stamps: Ornate Vintage Butterflies (Maya Road)
Ink: Lime Metallic, Lemon Metallic and Cherry Metallic Maya Mists (Maya Road); VersaMark ink (Tsukineko); Broken China and Seedless Preserves Distress inks (Ranger) Paper: White Smooth CS (Bazzill)
Accessories: Mini Triangle Banner Canvas Pieces, Jonathan Chipboard Alphabet, Leaf Green Zipper trim, Slushie Twine Cording, Vintage Lace Mum – Apple, Ruffle Blossoms – Turquoise (Maya Road); Heat It! tool, Claudine Hellmuth Sticky Back Canvas (Ranger); Square Swatches dies, Grand Calibur (Spellbinders); sponge daubers, paper snips, White embossing powder (Stampin’ Up!); 6” Blume Box (www.blumebox.com); Big Bite (We R Memory Keepers); Fabri-tac (Beacon Adhesives); wire cutters, fabric leaf (Craft Store); Fabric scissors (Fabric Store)
There is a video tutorial and handout for this project available to our Paper Crafter’s Library members.
So there you have it! Day 5 of our celebration of Maya Road! I hope you have enjoyed all the projects that our design team and the Maya Road design team have created for you.
A Bit About Paper Crafter’s Library
The world of paper crafting is HUGE! Whether you are a beginner, or you’ve been creating for years, the sheer number of different products, tools, techniques and project ideas can be overwhelming. After spending 6 years helping thousands of paper crafters around the world become more successful in the creative space through her series of kits, digital tutorials and online classes, Andrea Walford began looking for a new approach to education. In 2011 she launched Paper Crafter’s Library – the first, and still to this day, only website that provides an all-in-one learning solution for paper crafters. With almost 800 videos currently in their library and 4-5 new videos added each week, Paper Crafter’s Library offers comprehensive training on products, tools, techniques, and project ideas. From beginner through to advanced, whether your interest is in stamping, card making, scrapbooking, creating 3D items or altered art – you’ll find all the resources you need to navigate the world of paper crafting in ONE place, organized and indexed so that it’s quick and easy to find.
Be sure to sign up for our free email newsletter which features weekly video tutorials. For more information about Paper Crafter’s Library and how we can help you take your paper crafting to the next level, check out the Benefits of Becoming a Member.
Maya Road Give-Away
To enter to win one of the Maya Road prize packs please leave your comment below. Winners will be drawn from all the comments left either here on the Paper Crafter’s Library blog or the Paper Crafter’s Library Facebook page. For ongoing inspiration using Maya Road products be sure to visit the Maya Road blog or the Maya Road Facebook page. Be sure to take a minute to stop by Anne Jo Lexander (Ania’s) blog and say hi as well, and of course check out all of her gorgeous creations. Don’t forget, winners will be drawn today at 4 pm EST and announced here on the blog.

 Our Maya Road Designer today is
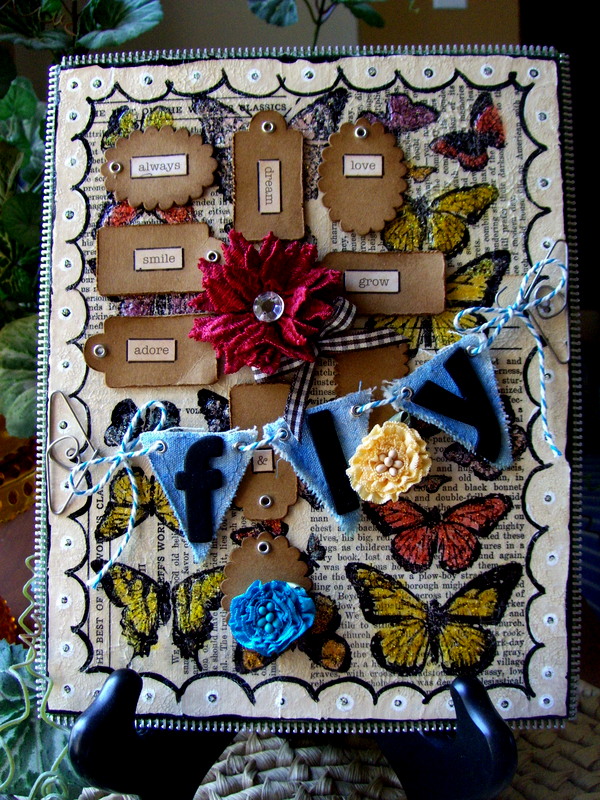


 Our next Maya Road Designer is


 Our next Maya Roady Designer is


 Our first Maya Road Designer is


 Our WOW! Designer today is Jan Hennings. You can see her project below, but before that, here is a little more about Jan:
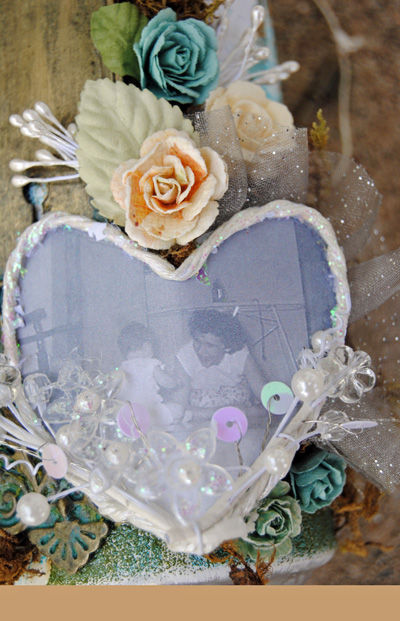
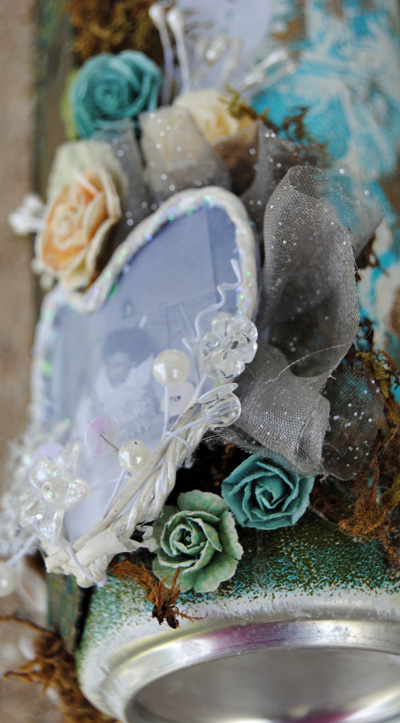


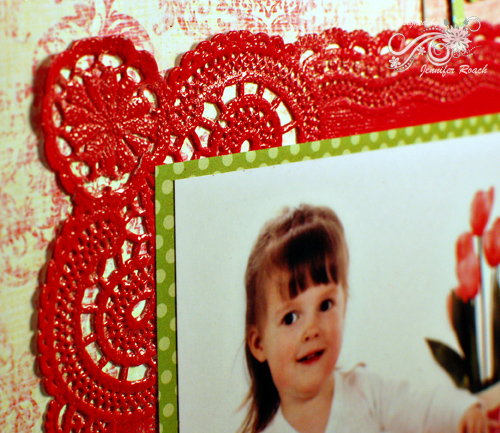

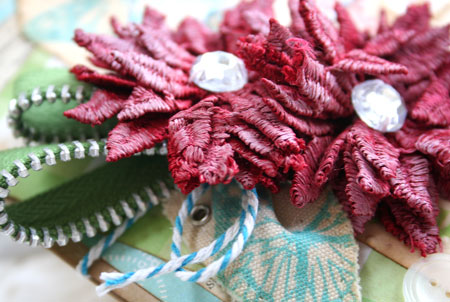
 Close up 3: Another view of the flwoers and doily


