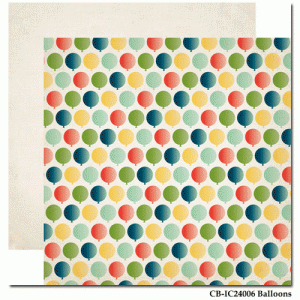
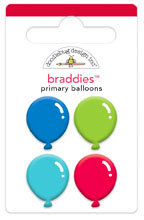
I don’t know about you, but as a kid there was nothing more thrilling to me than a huge bunch of helium balloons in different sizes and patterns. At birthday parties I always wanted the balloon guy to come up with a really cool design for me when he was making balloon art. I thought the hats were always the most awesome. So maybe my fascination never really ended. I still love the anticipation of a good party when I see a bunch of balloons and remember fondly the goofy games my brother and sister came up with for the balloons when the helium wound down. Whatever the reason, I am still in love with balloons and am thrilled that they seem to be an evergreen trend in the paper crafting world. I hope you enjoy this journey with me and find some new inspiration within this trend.
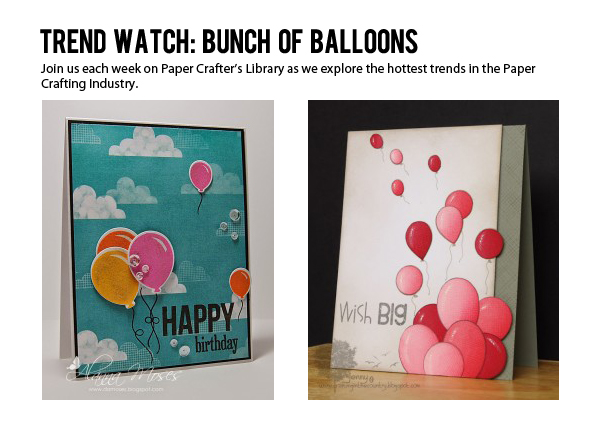
Die cuts are always an awesome and quick go to for fun shapes like balloons if you have access to them. You can make them in whatever colors you like and create a theme based on paper you have on hand. The combined look of balloons and the banner in Michelle’s card is just great.
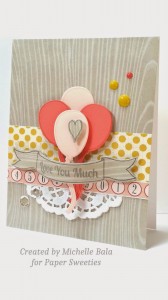
card by Michelle Bala photo courtesy of My Passion for Crafting
With the awesome cloud background paper and the dimension of the balloons, the movement and scene of this next card is just delightful. I can almost feel the sun on my face as I am looking up watching the flight of the balloons.
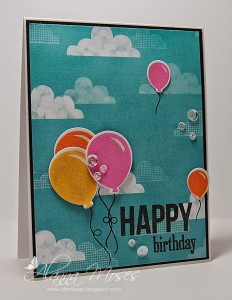
card by Alanna Moses photo courtesy of Alanna’s Spot in the World
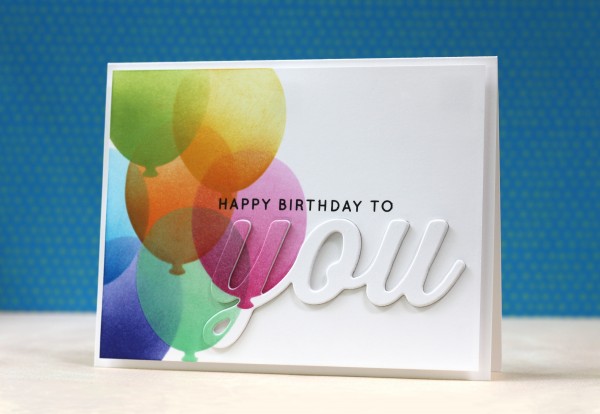
I thought the paper in the background of this card was printed until I read her blog post. Amber has such lovely stamping techniques I thought the balloons were printed!

card by Amber Kroening photo courtesy of Bella Rose Cards
Another great look using balloons is make your own designs on them by double die cutting. You can use a smaller pattern or word die and inlay the patterned die in the negative space you cut out in the balloon. Does that make sense? Just look at the cute striped rainbow stars in the middle of Laura’s card below.

card by Laura photo courtesy of Paper Lulu
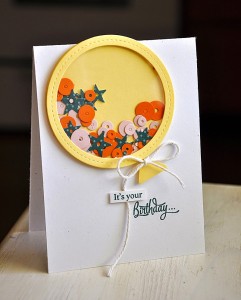
Shaped cards are so cute and the balloon is such a fun basic shape, you can create your own template freehand.

card by Barb photo courtesy of Enjoying Life…
Of course I had to share with you my utter devotion to the shaker card and this balloon card is just the cutest. I love how Maile uses the whole card and goes off the edge on the top to create a floaty look.
card by Maile Balles photo courtesy of Simply Stamped by Maile Balles
You don’t even have to limit yourself by using card stock. Vellum looks awesome in this example below and gives the balloons a cool light-as-air look that fits so well with the composition.
card by Daniela Dobson photo courtesy of Emma’s Paperie
If you love stamping, this next card is such a wonderful technique to try. Masking off this colorful bunch of balloons is so inspiring but with the bonus lifted die cut, makes it drool worthy.

card by Laura Bassens photo courtesy of Simon Says Stamp blog
If you like a bit of a challenge, you can try to create a beauty like the one below using stencils and masking off the balloons for color as well as to create the cool pattern on the balloons like Amy did in this gorgeous card.

card by Amy Kolling photo courtesy of Stamp-n-Paradise
Miriam get a super cool ombre effect by stamping her balloons. This reminds me of a beautiful wedding I saw in a magazine once.

Card by Miriam Pranther photo courtesy of Sooner Rather than Later
Sequins are another great way to bring added interest to your balloon design. Here, Chari layers coordinating colors under each of her balloons to show through the holes she cut out of her stamped images. The effect is so colorful and cheery.
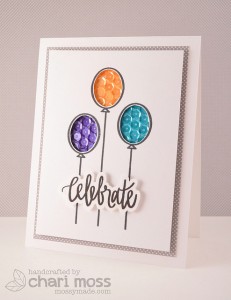
Card by Chari Moss photo courtesy of Neat and Tangled Blog
This last card just makes me smile, the movement that Jenny created is so real to me, I can imagine the kid holding the balloons letting each one go and float into the sky. Perfect.
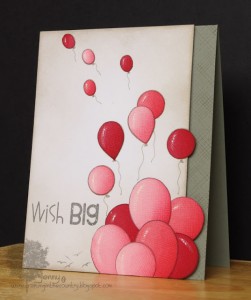
Card by Jenny photo courtesy of Crafting in the Country
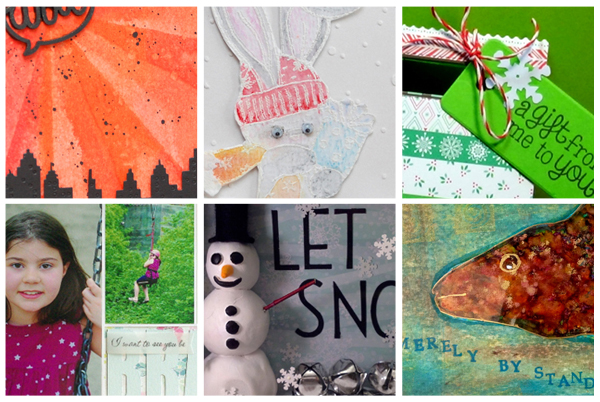
I hope you found some new ideas to use as you shop your stash of balloon paraphernalia or you can get inspired by some of the products I found below.
Either way, go ahead… make something pretty.


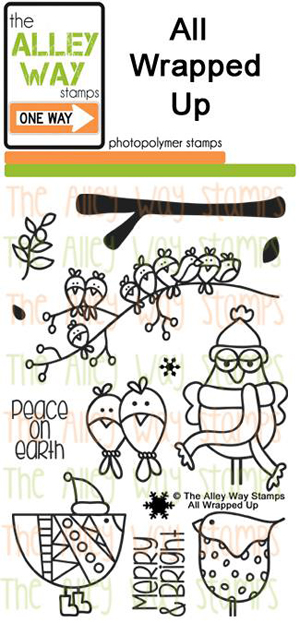
 Season’s greetings by Francine, image source
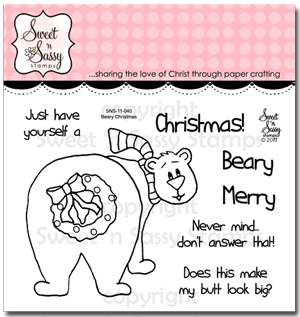
  Polar Bear card by Sweet ‘n Sassy, image source
  Merry Christmas by Kara, image source
  Peace on Earth by Anna, image source
  Winter Sparrows by Jenny, image source
 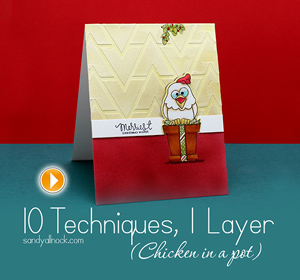 Chicken in a pot by Sandy Allnock, image source
  Christmas tag by Nichol Magourik, image source blogged by
  Winter Penguin by

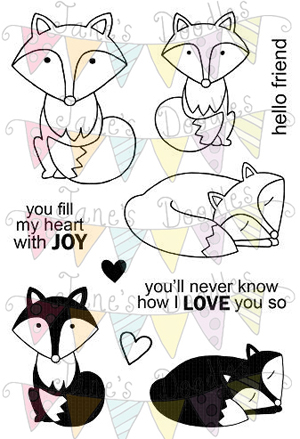 Hello Friend by