Lifted and Layered
By Aliya White
I am still not sure what to call this trend but once you see some examples you will recognize what I am talking about. I settled on lift and layer because what I see is designers creating projects that use foam or thick glue dots to create dimensions to highlight paper or sentiments in the background. The final look is super cool and adds that little something to the design.
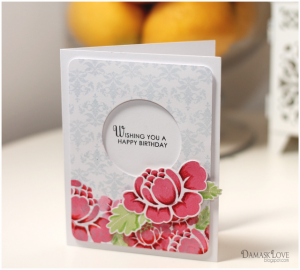
This first card highlights a sentiment. Amber used a flower stamp to lay slightly over the lip of the circle she created.
Card by Amber Kemp-Gerstel photo courtesy of Damask Love
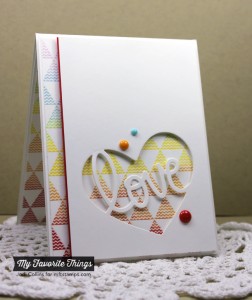
I love how the stamped background paper peaks out of the side of the card and behind the awesome die cut with the word in the middle. Plus the triangles and the epoxy dots makes this card ever so trendy.
Card by Jodi Collins photo courtesy of Stamping a Latte
This next card uses the positive image of the die cut and and layers it over and over to create an awesome rainbow effect.
Card by Amy Yingling photo courtesy of Inspiration Ave
But don’t forget about the negative because as Kathy shows in the card below that can be awesome too. Some added border die cuts and this one is a win. I love the shadow that is added by lifting the negative off the card.
Card by Kathy Racosin photo courtesy of The Daily Marker
This technique can work well with a scrapbook page as well. Geralyn used a Silhouette file she created. She created a lovely color gradient behind her words.
Layout by Geralyn photo courtesy of In a Creative Bubble
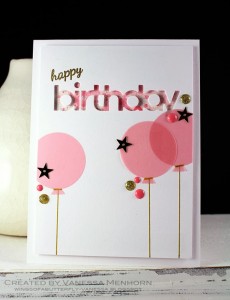
I just love the look of watercolor from the gelatos used under the birthday die cut. Plus the vellum die cut balloon and Vanessa has hit a lot of my favorite trendy buttons to make this lovely below.
Card by Vanessa Menhorn photo courtesy of Wings of a Butterfly
You can also use scraps behind your lifted die cut negative. The scrap ribbon behind the heart is super cute and is just perfect with the embossed wood grain pattern on the craft paper.
Card by Kristina Werner photo courtesy of KWerner Design blog
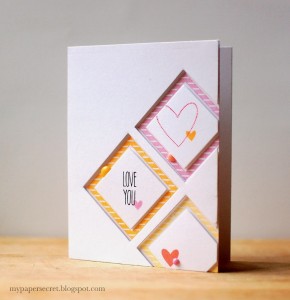
The die cut half off the card is just striking and it makes this card a stunner. Do you see how the epoxy is peeking outside of square. Loving it!
card by Cristina Kowalczyk photo courtesy of My Paper Secret
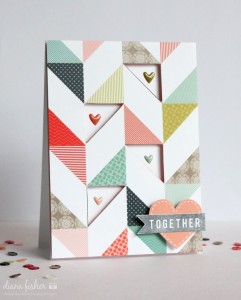
How cool are these triangles? The hollowed out triangles in the middle of the triangle paper is not only clever but striking. The dimension just added that little something.
Card by Diana Fisher photo courtesy of Lily Bee Design
I was completely fixated on how to make glittery washi tape after I saw this next card. How fun to pair it with two different quote bubbles for this sweet card.
card by Martha Inchley photo courtesy of Inch of Creativity
If you don’t have die cuts, you can make your own shape and still take advantage of this technique. I just love how this curvy rainbow almost looks like a smile wishing the receiver a happy birthday.
Card by Ardyth Percy-Robb photo courtesy of MASKerade
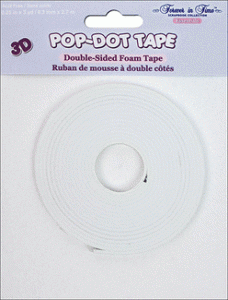
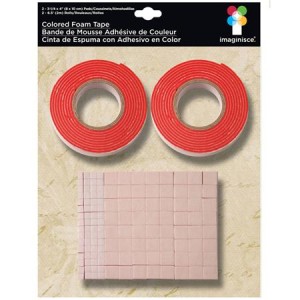
Don’t forget your foam tape and dimensional dots. They can help take your cards to a new level, literally.
Below is a small collection of products to help you get a little lift for your paper projects. Enjoy!
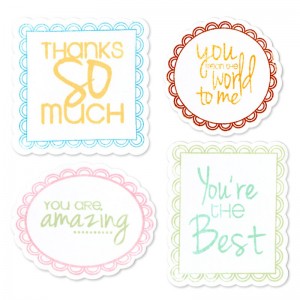
Here are a few die cuts that look awesome lifted.
So go ahead…make something pretty!








Love all these designs. Thanks for sharing.
Excellent post! Thanks so much for showing all these fab lifted-layered cards. Helps to be reminded to do more of it. 🙂
Stunning cards!
I can see this as a great way to use ‘negative’ frames from cutting diecuts. Going to have to try this – loving the cute colours in the examples. Thanks for bringing it to our attention. x
All these cards are awesome! I love lots of layers and these are just wonderful. Thanks so much to the inspired and talented artists!
Great post! You chose so many cards that are each fantastic!