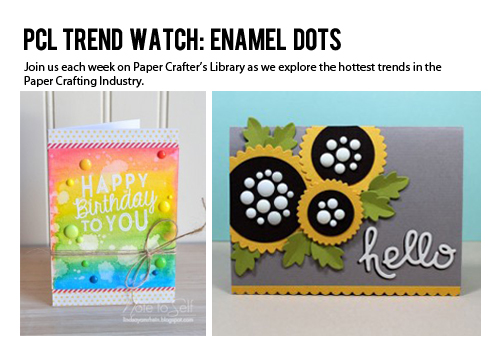
I must have missed the first round of these yummy candy like embellishments because only recently I have discovered them for myself and can’t seem to get enough of them. Then, when I realized I could make my own, there was no stopping me. Let me show you some of the cool ways crafty ladies have been incorporating them in their projects.
The color and layers on layers really stood out on this card. There is so much fun going on in this card. The enamel dots are just perfect for adding more color.

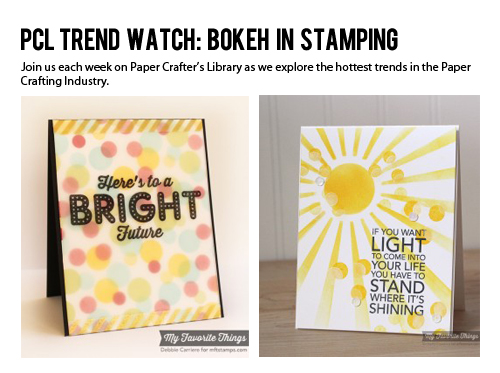
Card by Kathy Martin photo courtesy of Card-Blanc
The little splashes of color in this mostly monochromatic card are just perfect. They can set off splatter marks as well as add extra texture.
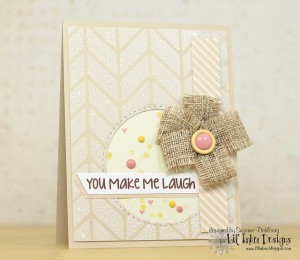
card by Suzanne Dahlberg photo courtesy of Freshly Noted
Kimberly made her own “enamel dots” in this next card, out of paper. I just love the creativity and the color pop is awesome. If you look closely, you can also see the texture she created with them as well.

card by Kimberly Crawford photo courtesy of For the Love of Paper
The contrasting color and texture in this card is just awesome. It looks like the perfect card for a birthday girl party.

card by Pearl Gateway photo courtesy of Pearl Gateway
This next card is super sophisticated as it uses so many cool trends in one. Between the letter shadowing, triangles, die cuts and enamel dots and sequins, Jeanne hits all of the trendy points perfectly.

card by Jeanne Jachna photo courtesy of A Kept Life
The soft pastel colors of some of the enamel dots are perfect for traditional baby cards. This one is just adorable.
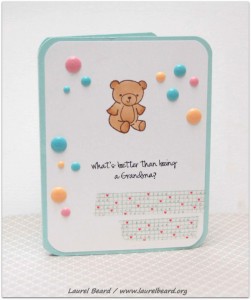
card by Laurel Beard photo courtesy of Papercrafts by Laurel
I just love how Lindsay used the coordinating dots to match her watercolor strokes. Beautiful work.
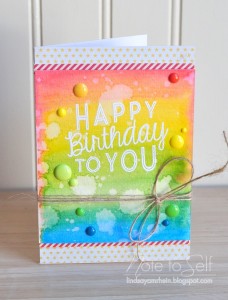
card by Lindsay Amrhein photo courtesy of Note to Self
I was also floored with her use of the black dots too. I have to remind myself that back looks awesome beyond a background color.
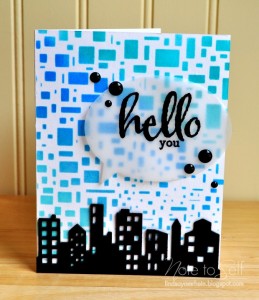
card by Lindsay Amrhein photo courtesy of Note to Self
Enamel dots are awesome as an accent but also look great incorporated into designs too. I love them at the center of these pinwheels.

card by Rebecca Deeprose photo courtesy of Paper Primrose
I just adore the sunflowers that Kim created using multiple sized enamel dots in the center of the flowers.

card by Kim Hughes photo courtesy of Paper Smooches
This tag art is just fabulous. The multicolored rain is so awesome. Ronda uses the dots as central elements for her designs as well as accents throughout these pieces.


tags by Ronda Palazzari photo courtesy of My Mind’s Eye Blog
This bubblegum machine was just the sweetest thing I have ever seen. The gumballs look almost edible.

card by Karolyn Loncon photo courtesy of Paper Therapy
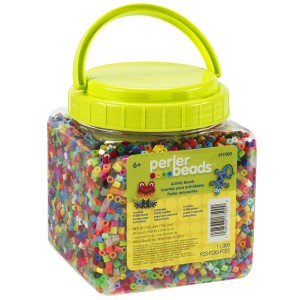
I have read several blogs that have DIYs on making your own enamel dots. Because once you start using these, you really want access to a lot of them. Making your own can be a less expensive option. The recommendation is to use Pony beads or Perler beads. However, Perler seems a better solution because they are designed to melt and don’t give off odor when they are melting. One site mentioned to stand the beads up on a non stick cooking mat/ranger mat/parchment paper and to heat them in an oven at 325 for about 20-25 mins until they are melted and the dimple is gone. (We have not personally tried this.)

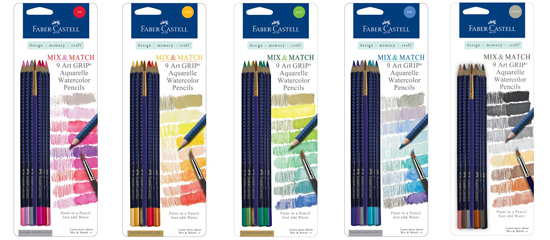
Of course you can also buy an assortment of fun colors and really cool shapes too. Check out a few of the brands I found.
So go ahead,… make something pretty.


by Aliya White


 Bokeh Blue Butterfly card by