Happy Monday everyone! I’d like to introduce you to a brand new feature we’re launching here on the Paper Crafter’s Library blog. It’s called Keep It CASual – and it’s a video series featuring Clean and Simple Card Making. Each Keep it CASual video will be released on a Monday although as of yet, we’re not really sure how many times a month we’ll be posting this feature.
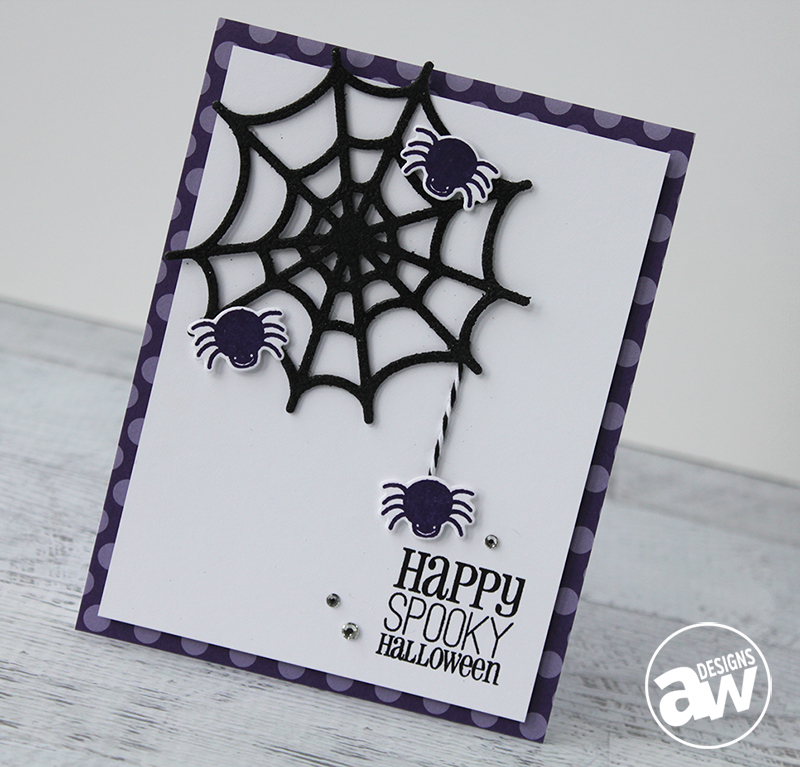
In today’s video I’m going to show you how I made this Happy Spooky Halloween Card.
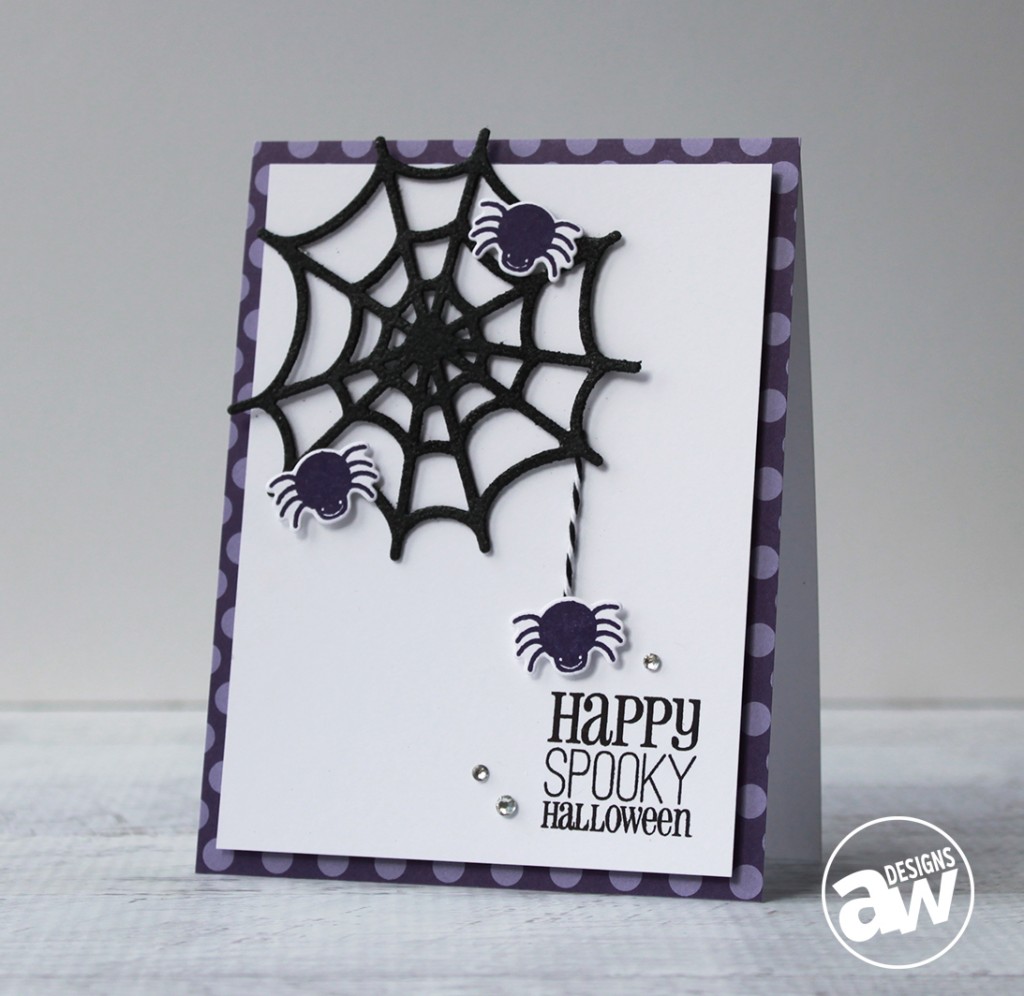
Halloween is one of my favourite holidays of the year to create projects for, although typically I end up creating more projects than I actually have people to given them to LOL!
Pretty much all the products I used other than the rhinestones are from Papertrey Ink. The stamp set and coordinating die I used are both called Mr. Bones. I also used the Spider Web Trio die. These are all older products released a few years ago (I don’t remember exactly when), but I love them so much I find myself reaching for them over and over again.
Here’s the video on how I created this card.
Here’s a list of the supplies I used:
- Stamps: Mr. Bones (Papertrey Ink)
- Ink: Royal Velvet (Papertrey Ink); Jet Black Archival (Ranger)
- Paper: Stamper’s Select White Cardstock, Royal Velvet Pattern Pack, True Black Cardstock (Papertrey Ink)
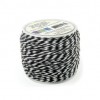
- Accessories: Mr. Bones Die, Spider Web Trio Die (Papertrey Ink); Big Shot (Sizzix); Sticky Stuff Embossing Powder (Judikins); Charcoal Baker’s Twine (the Twinery); Jewels Basic Rhinestones (Stampin’ Up!); Black Opaque Microfine Glitter (Glitter Ritz); Foam Mounting Tape (Scotch 3M); glue dots, 3D foam squares (Thermoweb)
Stamps, paper and ink can be purchased from Papertrey Ink. Other products used are linked below and can be purchased from Simon Says Stamp.
Paper Crafter’s Library Member Highlights
I also wanted to show you a behind-the-scenes sneak peek of some of the projects that were released to our members these past two weeks. We’ve put together a sneak peek you of just a few of the video tutorials & pdf handouts our members received during the weeks of October 6 – October 17, 2014.
Each week at Paper Crafter’s Library our monthly members can expect to receive access to a minimum of 5 exclusive videos each week. Typcially members receive upwards of 25 exclusive videos each month. In planning for our projects we ensure that we cover a range of project types so that there is something for everyone whatever their interest or preference – whether it be card making, stamping, scrapbooking, altered art, mixed media, 3D items, templates, techniques etc. Projects range in difficulty level – so there will always be projects in library for whatever your paper crafting “level” whether you are a beginning paper crafter, or a more intermediate paper crafter.
Highlights these two weeks:
- An art journal page
- A scrapbook page
- Using Twinkling H2O’s to create a background for die cutting elements
- Watercoloring using Distress markers
- Watercoloring using watercolor paints
- Cards from our Amazing Birthday Creative Inspiration Collection
- MDS – Adding photos and text to punches
Read about all the perks of being a Paper Crafter’s Library member you can visit our Benefits of Membership page HERE.




This looks like a terrific class, I hope I have the chance to win a place!!!
Loved watching this video tutorial. Your narrative, which included lots of tips and tricks for success, was really interesting. Such a cute card! Love stamping with my “Thing”…always get perfect placement of images and words. Nice to see you using this invaluable tool. Well done!
Your video is great, so is your card, Andrea. I have a few PTI sets that have that go-to status! It is always great to learn a few tricks along the way… thanks!!
=] M
Will your new Keep It CASual feature be available as part of PCL
Hi Andrea,
Love this Spooky Halloween card. Just wondering if the Mr. Bones Stamp Set as well as the die cut is still available for purchase? I know you mentioned that it is an older set. Also if it is still available can you tell me how I can order it & the cost. Also the Royal Velvet Papertrey Pattern pkg.paper.
Thank you for your help.
Andrea, you can save a lot of time and frustration if you simply stamp the spider and then die cut it! No need to worry about whether it’s lined up or not. Always stamp, then punch, too. Same principle.