Today on the Paper Crafter’s Library blog, we’re continuing our weekly featured artist spotlight whereby each week we spotlight a different artist/designer in the paper crafting & mixed media world and introduce you to their fabulous work.
Today we’re thrilled to welcome – Ardyth Percy-Robb
Before we show you her fabulous projects, let’s get to know her a little bit more…
 I started cardmaking in 2006, at a Stampin’ Up! Party and have never looked back. Before that, I would not have claimed to be crafty or creative at all – I’m an accountant!
I started uploading cards to Splitcoaststampers in 2006 but was really a blog ‘watcher’ until I started my blog, MASKerade in January 2012. I love clean, graphic design with bold colours and lots of white space. My favourite cards are the ones where stamps are used in unexpected ways to create something completely different.
Currently, I’m a sahm to my 13 year old son and my 9 year old daughter. I also volunteer in my daughter’s school and I am the piano accompanist for two children’s choirs.
I’m so excited that Andrea asked me to show my work here at Papercrafter’s Library today!
Card Projects
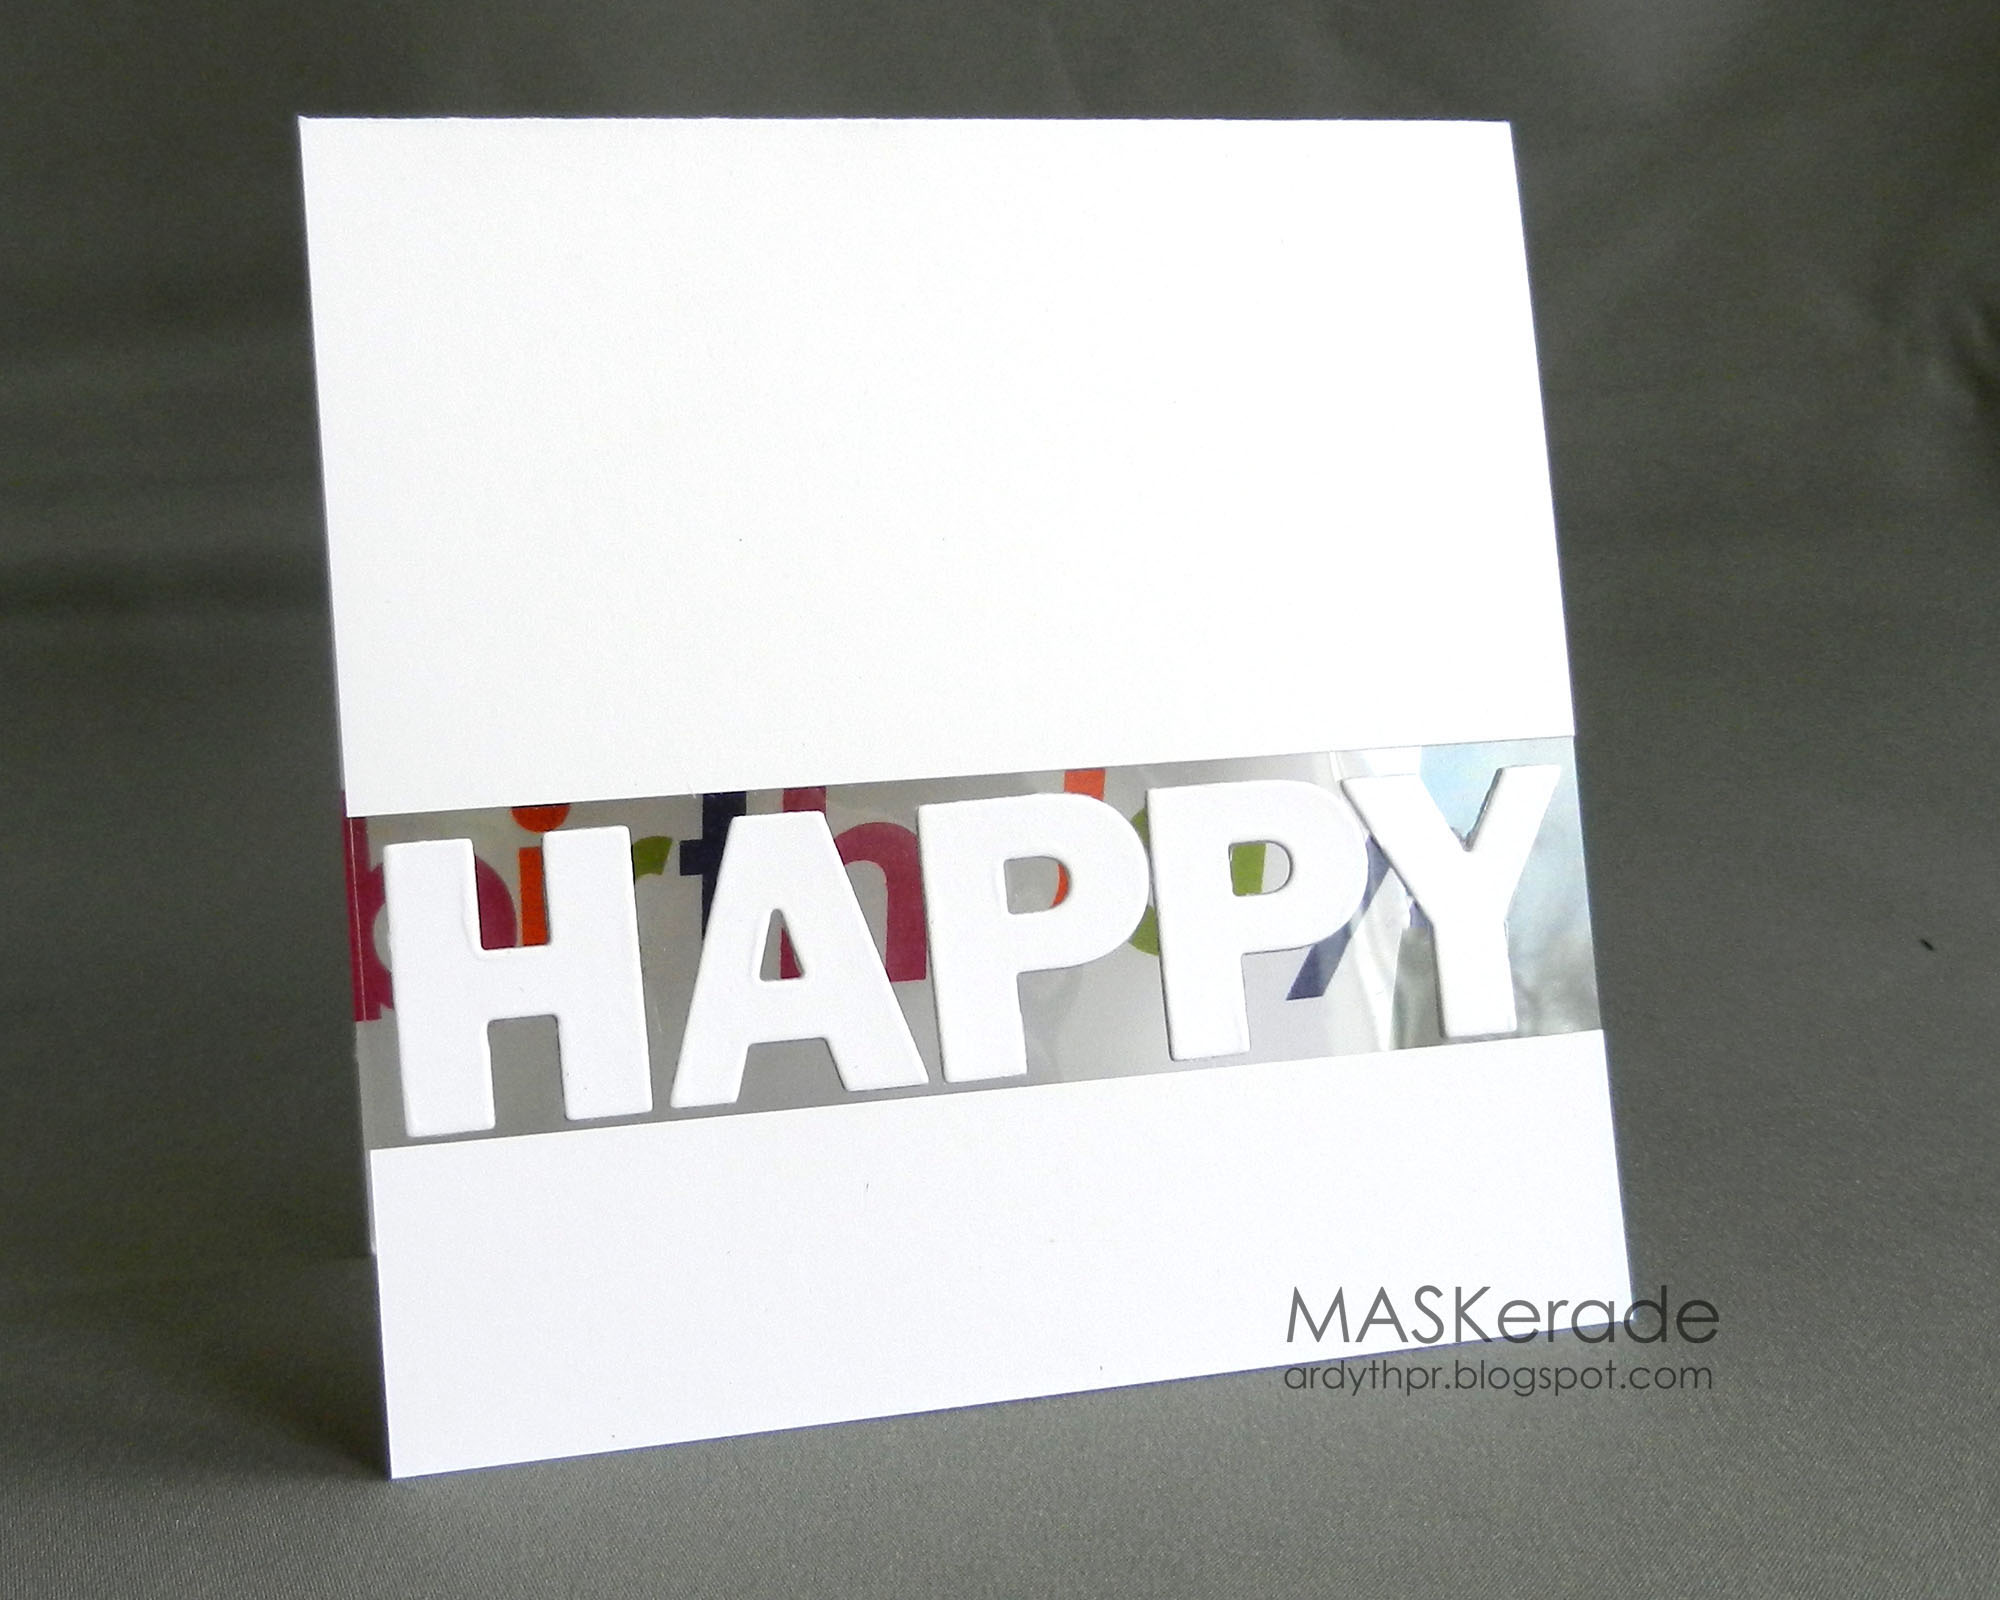
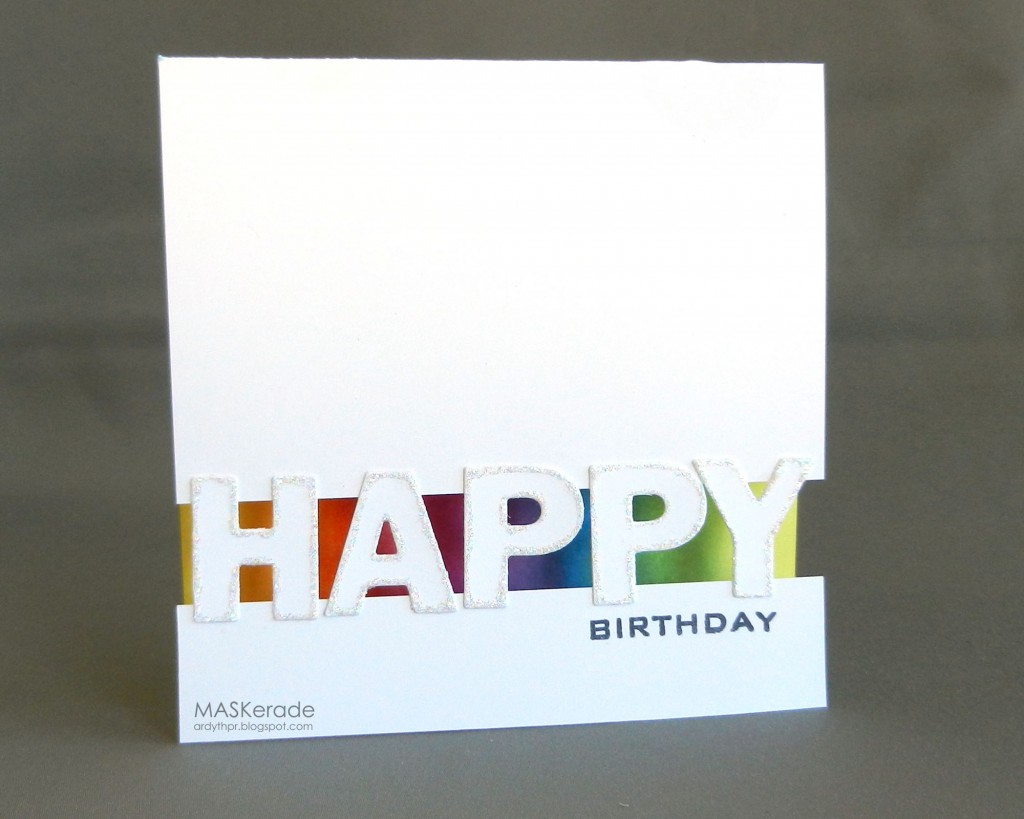
Recycling a good idea! When there are multiple birthdays in a short period of time, I will often make two (or more!) different cards using one idea. My main idea for these cards was to have a gap in the front of the card, through which you can get a sneak peek of what’s inside.
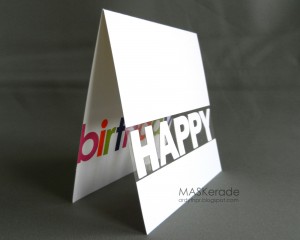
For the first card, I used acetate to bridge the gap, and glued the letters to that, so that they would ‘float’ on the front of the card. The ‘treat’ inside is the rest of the sentiment, stamped in big letters and bold colours. When you open the envelope, you’ll have a tantalizing, colourful view of the inside of the card and really want to open it to see what’s hiding there!
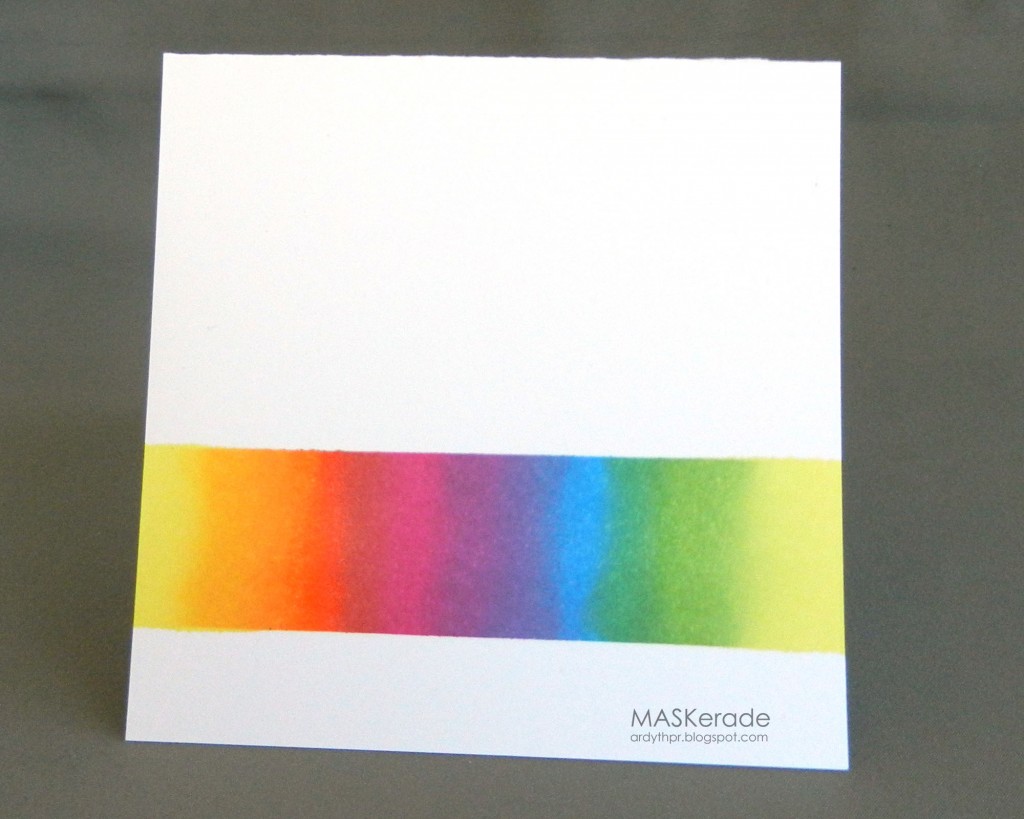
For the second card, I used the letters themselves to bridge the gap. I cut the letters and edged them in glitter. Once they were dry, I glued them to the card, using graph paper behind it, to keep everything straight and lined up. I stamped ‘birthday’ on the front of the card. This time the whole sentiment is on the front of the card, so the ‘treat’ inside is the masked and sponged rainbow. Of course there are many other variations on this idea – you could use coloured letters, or you could use something other than letters – a pretty swirl, maybe. But you get the idea – there’s nothing saying you can’t use one idea as a jumping off point and keep it going and going…..
Supplies:
Both Cards – Gina K Pure Luxury 120 lb Cardstock (white)
Memory Box Parker Upper Case dies
Cuttlebug
Card 1
Acetate sheet (Staples)
MFT Stamps Monogram Alphabet
Stampin’ Up Ink (Melon Mambo, Lucky Limeade, Concord Crush, Only Orange)
Card 2
Stardust Stickles
Tim Holtz Distress Ink (Squeezed Lemonade, Spiced Marmalade, Picked Raspberry, Dusty Concord, Salty Ocean, Mowed Grass)
Memento Tuxedo Black Ink
Waltzingmouse Stamps
We hope you have enjoyed today’s projects courtesy of Ardyth Percy-Robb. Also, be sure to stop by Ardyth’s blog to see even more of her beautiful work (and let her know we sent you).


Great design Ardyth! I love them both as I love rainbows … but I would say that second one would be my favourite … rainbow and sparkles.
As always your cards are S T U N N I N G, Ardyth! Love that peak through element!
I like both of your creations! Thank you so much for sharing.
<3
Congratulations on being featured Ardyth. I just love the idea of your card. So clever. Love both versions.
Fabulous, graphic and totally appealing! I love Ardyth’s cards :0)
Gorgeous!
Way to go Ardyth! Amazing cards as always. What a fun site to be featured on…Ardyth ROCKS!
Ardyth is SO AMAZING! As stunning as these cards are, they are typical of the ones she creates EVERY DAY! Great feature : )
Beautiful — such a simple design with lots of impact!
Wow! both are fabulous Ardyth! Love the simple design, yet so beautiful.
Thanks for showcasing Ardyth. I’ve enjoyed her CAS style for a long time. What clever cards. I’ll be CASE’g them, as I do a lot of her ideas.
Ardyth is such a an awesome card designer! Each of her card element and detail make SENSE! Love seeing her featured here!