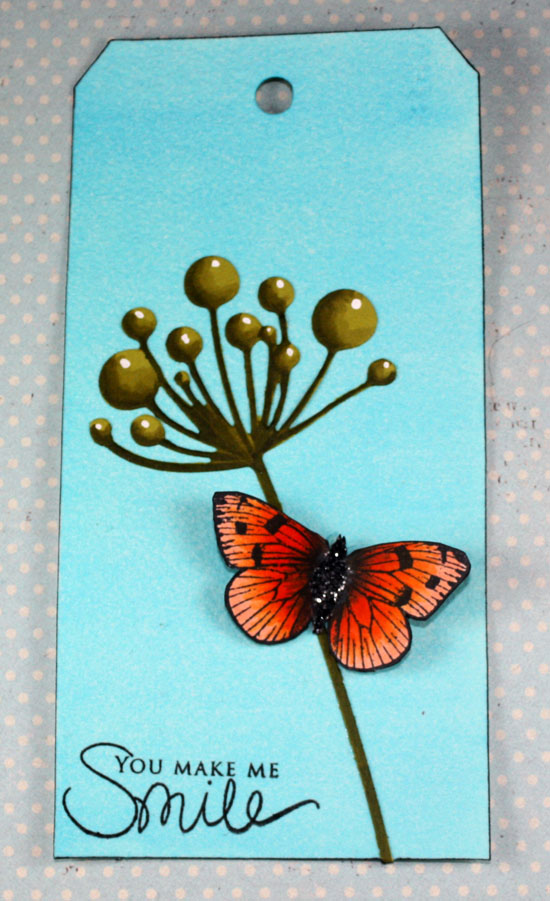
Today I wanted to share with you all the techniques we are doing this week for Club 52 (which you can read about here) and Paper Crafter’s Library members. This week’s Club 52 features the technique of creating a flat wash. This is a beautiful and versatile technique, and is designed to create a perfectly smooth (no lines) background. This is an often tricky technique, which requires practice to master. That being said, the end effect is well worth the effort. Use these as backgrounds for stamped and cut images, as backgrounds for die cuts, or use this technique with sihouette stamping. Either way, it is a usefull technique to know, and the foundation for several other wash techniques which will be explored in the coming weeks.
The tag above features the simple flat wash technique. Don’t be fooled by the one layer of color into thinking that this is easy to do. Most often I see looks of unmastered washes. Streaks, pools, cauliflowers and lines are not a natural part of this look lol. That being said, when you follow a few simple guidlines, and practice, you will find mastery, just a few steps away!
This is the next great step to go to after mastering this technique. Think Sunsets on mountains, or rolling green hills. Upon mastering the flat wash, you will find it easy to move into doing simple variations that produce stunning results. The video will give you (on top of its solid instruction) some fantastic tips for creating propper depth in your hills. Once mastered, you will see yourself reaching for this technique on a regular basis.


Looks lovely! Can’t wait to watch this one 😉