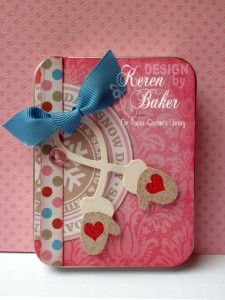
 Hi! This is my first post as part of the Design Team & its been really exciting getting to this point. The first project I have to show you is a little Scrapbook tucked into an Altoid Tin and instead of the usual fold-out design, I wanted to create something just a little bit different while also giving a new spin to a die that I already owned. As you open this tin up, the pockets inside all contain little inserts that you can pop extra photos on or simply scribble on some journalling reminding you of exactly what happened and where. To make these pockets I used the Pillow Box Die from Sizzix (Stampin’Up!) and simply cut it down a little. The whole thing folds out forwards to give you access to each little pocket and I have loved using the Snow Day papers and accessories by Pink Paislee.
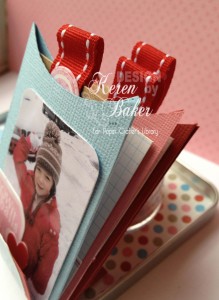
I have to confess that initially I thought that some of the papers weren’t my ‘thing’. But, its always worth persevering, and while I didn’t use the snowmen, some of the other Snow Days papers in the set were absolutely perfect for the tin project. To see the full details of exactly how to create this pocket sized scrapbook, you’ll need to get access to the Video Library. I have lost myself in there several times because there is an incredible amount of information and inspiration. Whether you’ve just begun papercrafting or you’re an old (or young!) pro, the subscription is well worth it. You’ve also got access to the forums, detailed instruction sheets for every projects and you can replay the videos to your hearts content.
The second project using these gorgeous supplies is a card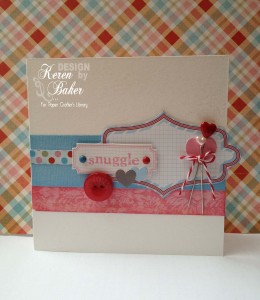 . I make mostly cards at the moment and this was really quick and easy as I just used a few of the diecuts from the Ephemera packet in the Snow Days collection plus some offcuts left over from the mini-tin you’ve just seen. The video in the Paper Crafters Library explains how to put it all together. I love how with just a little sponging, your projects develop more depth and lots of tiny accents give it a finished look.
The next two projects are using the Sweet Tooth range from Bo Bunny. These two aren’t videoed but you can access all the information on how to do it on pdf’s that are available to Paper Crafters Library Members. This picture is hard for you to see the detail- but I didn’t want you all falling asleep whilst reading the post so I kept the pictures to a minimum!
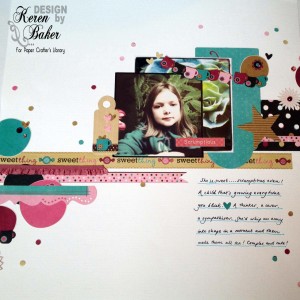
In this 12×12 scrapbook page (and the next project) I’ve used a bit of the confetti style that seems really popular right now. You only need a hole punch and either follow the holes in the patterned paper to punch out the circles or using different coloured papers. I thought it would be fun to create some bunting with the teacups on one of the papers. This is to show that you don’t need to stick exactly to how the patterns are presented- have a think outside the box and use your supplies your way! Even though I love baking, I wanted to use them for two ‘non-food’ related projects.
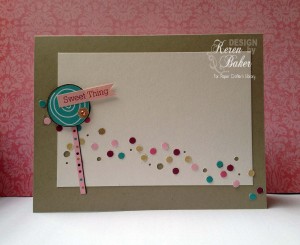 I had lots of fun creating this second project; again using the same ‘scattered’ technique that is fairly random in positioning of the dots but this helps move your eye across the card. There wasn’t a ‘lollipop’ shape in the papers but I simply used the inside of one of the swirls and added a ‘stick’. You might be able to see that I’ve punched out two different sized holes in the white shimmer card too and finished it all off with a tiny jewel.
Last but not least, is this tag. In the Paper Crafters Library video collection you will also find masses of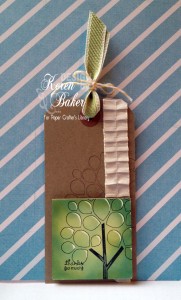 technique and ‘how to’ videos on a really wide range of subjects. There are product explanations and the best collection of stamping and ink technique tutorials I’ve seen anywhere. For my final video I’ve concentrated on an amazing product that’s been forgotten a little and I felt it needed a spotlight. Stampbord is a wonderful product that will make you stamp like a pro because the surface is so kind to ink!! You’ll learn what Stampbord is, how to use it and finishing off with how to make this tag.
Phew! Hope you’re all still with me. Thanks so much for letting share these projects with you. I’m busy creating the next set and I’m really looking forward to more Design Team projects next week. If you want to see more detailed photographs, hop on over to my blog where I’ll post a few over the next few days. Till next time… xx
These projects are awesome! Thanks for the inspiration 🙂
Love, love all the projects. I especially love the pocket album — so different using the pillow die. And the Bo Bunny Sweet Tooth page layout is gorgeous!! Way to go Keren– love your work!!
Great projects Keren! I particularly love the way you used the pillow boxes for a little pull-out album. I will definitely have to try this one.